

What is High Resolution Mode?
The Panasonic Lumix S1 and S1R are full-frame mirrorless cameras. Both have an in-body image stabilisation (IBIS) system that shifts the sensor to compensate for camera shake. However, that mechanism also enables a High Resolution mode that allows the cameras to create larger images than their 24Mp and 47Mp sensors normally capture.
In fact, the S1 can output images at up to 96Mp in size while the S1R can produce 187Mp images. And that’s not a fudge, the results are great, enabling you to produce huge prints of you want.
When High Resolution mode is activated, the camera shoots a sequence of 8 images in quick succession. Between each shot, the camera uses the IBIS system to shift the sensor by a tiny amount. This means that every pixel on the sensor is in a different location for each image so it captures a different part of the scene.
After the image sequence has been captured, the cameras merge the shots into a single raw file. As I said earlier, the file is bigger and has more detail than a standard image.
Panasonic High Resolution Mode Limitations
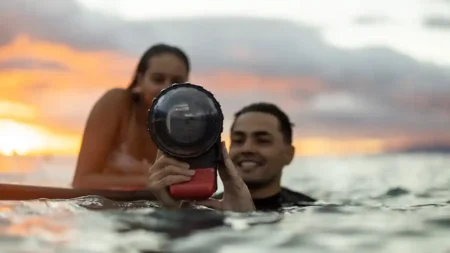
The Lumix S1 and S1R need to remain still while the High Resolution mode is active, so it’s best to support them on a tripod.
Using this mode also imposes a few restrictions on your camera’s settings. For example, you can only shoot in program, aperture priority, shutter priority or manual (PASM) exposure mode. Also, the smallest aperture available is f/16 and the shutter speed range shrinks to between 1 and 1/8000 sec. Meanwhile, the highest sensitivity setting is ISO 3200 and the Aspect Ratio can be 4:3, 3:2, 16:9 or 1:2.
In addition, the camera automatically switches to the electronic shutter and features such as the Picture Quality and Size are greyed out.
How to shot High Resolution Images with the Panasonic S1 and S1R
1. Set-up the camera on a tripod and compose the image as normal.
2. Ensure the camera is set to program, aperture priority, shutter priority or manual exposure mode and select the shutter speed, aperture and sensitivity (ISO) settings you want to use.
3. Press the menu button and select High Resolution Mode at the bottom of the first screen (Image Quality 1). Press Menu/Set or tap on High Resolution Mode to open the options screen.
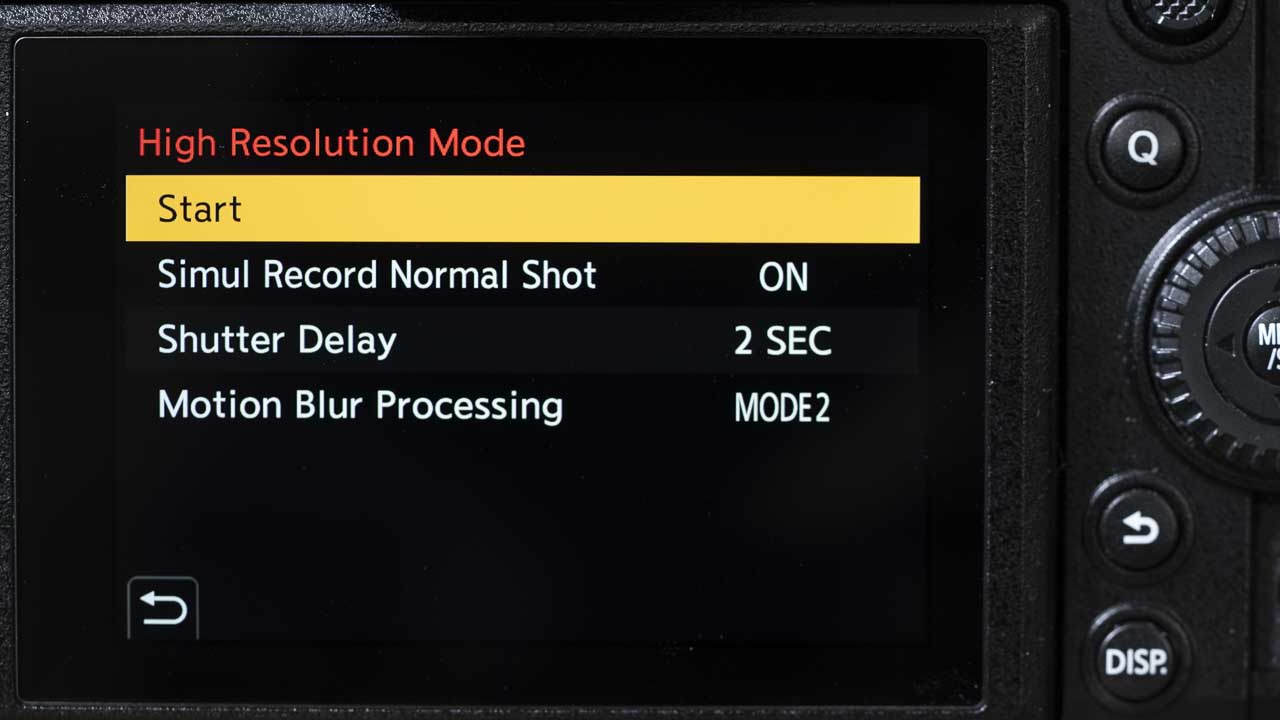
4. To ensure that you capture a standard resolution image at the same time as the high-res version, select ‘Simul Record Normal Shot’ and set it to On.
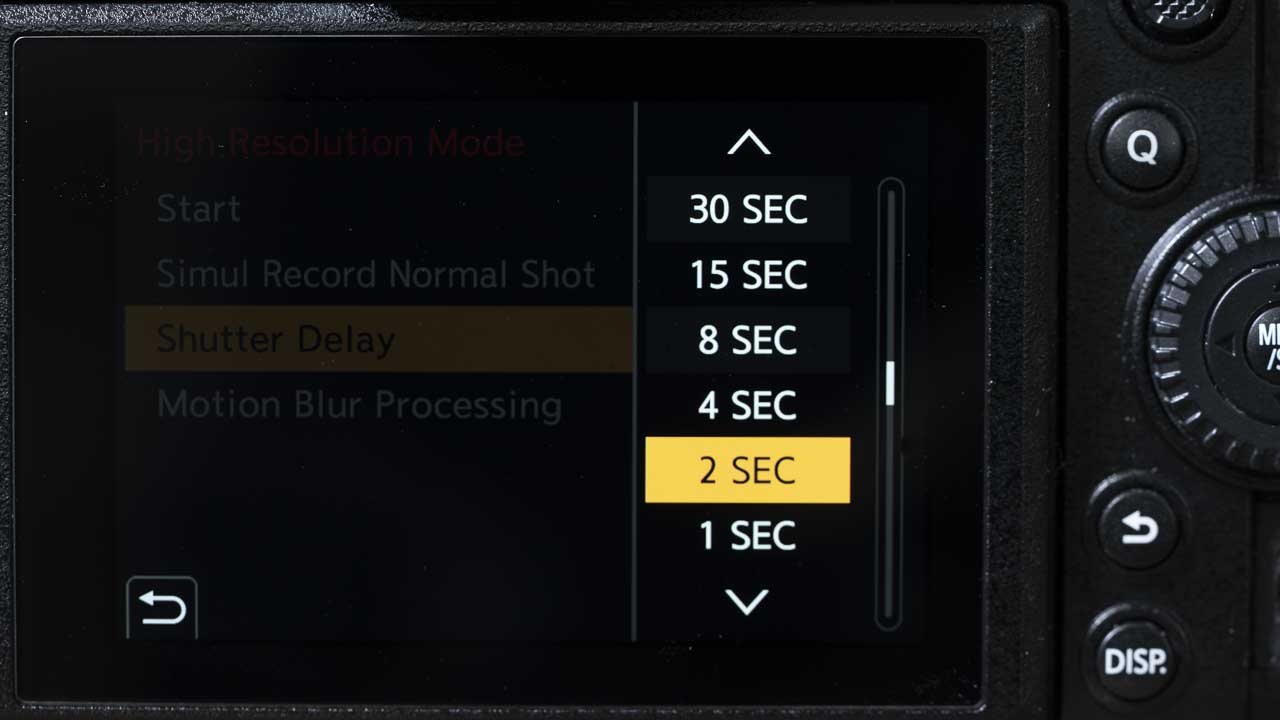
5. Tap on ‘Shutter Delay’ and set the desired delay. I tend to go for 2 Sec as this gives time for any vibration to die down before the camera starts taking any shots.
6. Tap on ‘Motion Blur Processing’ and select Mode 1 if there’s not going to be any movement in your image or you want a ghosting effect, or Mode 2 if you want to avoid ghosting of moving elements in your image.
7. Now tap on Start to see the scene again on-screen or in the EVF and press the shutter release. After your specified pause, you’ll hear the camera take 8 shots in quick succession. Once that’s done, the camera will process your images into one.
8. Turn the camera off and on again to exit High Resolution Mode.