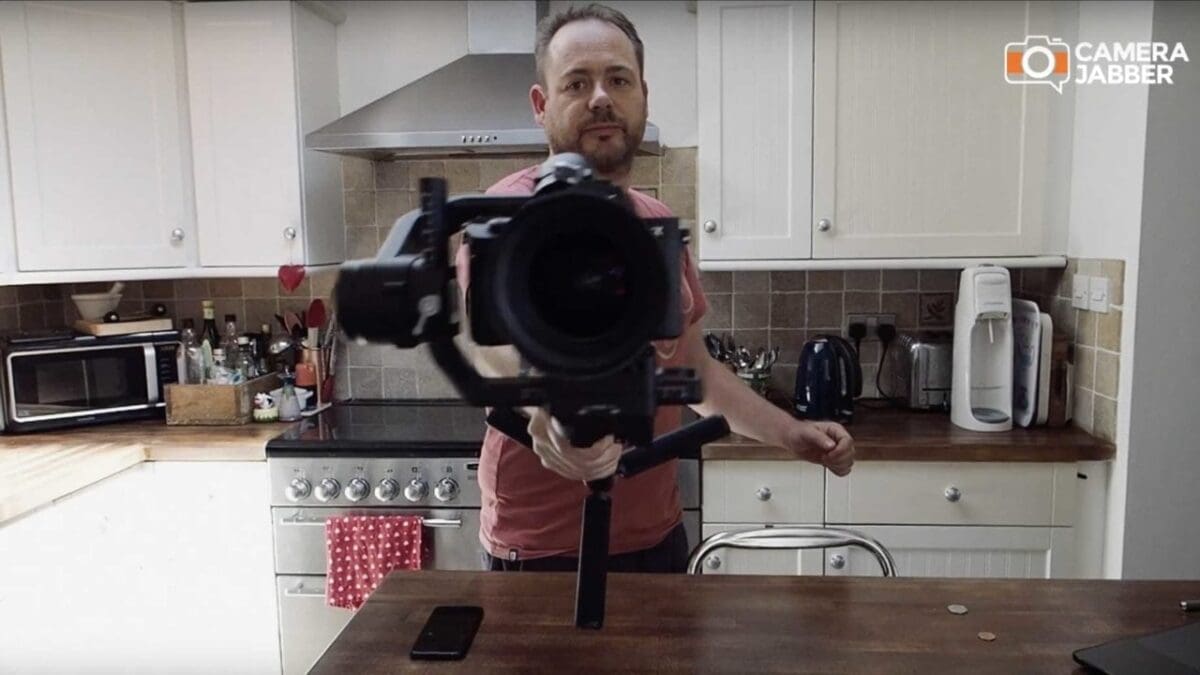
The Ronin-S is so much more than a single-handed gimbal, with built-in features and app support that vastly extend its usability.
One of the most direct options the Ronin-S offers is 360 mode. In itself this isn’t a direct creative mode like those accessed through the app, rather it needs to be configured and saved as a user mode.
Essentially 360 mode is a configuration that enables the pan to rotate around through 360º while the roll is locked.
The effect when the Ronin-S is used in flashlight mode, horizontal to the ground, is that the camera literally spins through 360º at the command of the joystick.
The effect on the footage is a spiralling motion that’s instantly disorientating and captivating at the same time.
Before you dive in and start adjusting settings through the app, it’s worth switching the user mode to the second user by tapping the M on the grip or selecting user 2 on the app.
This way you can switch between standard and 360 mode quickly, without having to dip back into the settings.
Setting up the Ronin-S 360 mode
- Open the Ronin app and ensure it’s connected
- Click the number at the top of the screen encased by a circle
- Switch the User Profile to User 2 and tap the X to exit
- On the home page click Configuration
- Select Control Settings and switch to Channels
- Set Channel 3 to Roll
- Set Channel 1 to n/a
- Tap back to exit
If you want more details on the DJI Ronin-S or any other DJI products then check out Modus Brands – UK Distributors of Ronin-S.
Once you’ve run through the 360 setup process, pick up the Ronin-S and orientate it to the Flash Light position. Double-click the trigger to re-centre and then use the joystick to roll.


