


Shooting photos of waterfalls is a thrilling experience, whether you’re a seasoned landscape photographer or not. However, knowing how to set up your camera to capture moving water can be a bit of a challenge. In this quick tutorial we’ll show you how to photograph waterfalls and the best camera settings to use.
But remember: these settings are just a starting point. Master these and then let your creativity take you further!
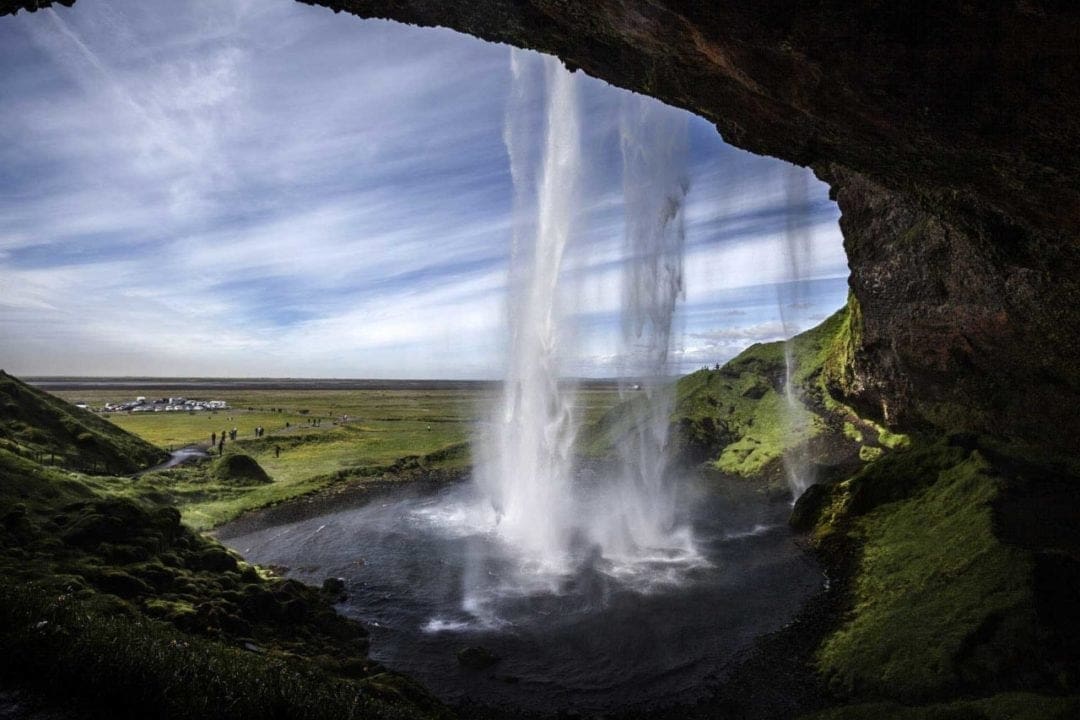
One of the challenges with taking photos of waterfalls is that exposures are so difficult to get right. In order to blur the water and get those dramatic effects you need to use a slow shutter speed.
But you’ve probably found that too often your highlights are blown because you’ve let too much light into the camera.
Another common casualty when photographing waterfalls is that pictures turn out too dark. This is usually from your camera trying to cope with the combination of bright water and dark rocks surrounding it. Sometimes getting a balanced exposure seems nigh on impossible!
Rest assured, it is possible. We find it helps to think about these types of images like Legos, or blocks that you’re building up. Get one element right, and then the next setting, and piece by piece you will soon have built up a composition and exposure that you’re happy with.
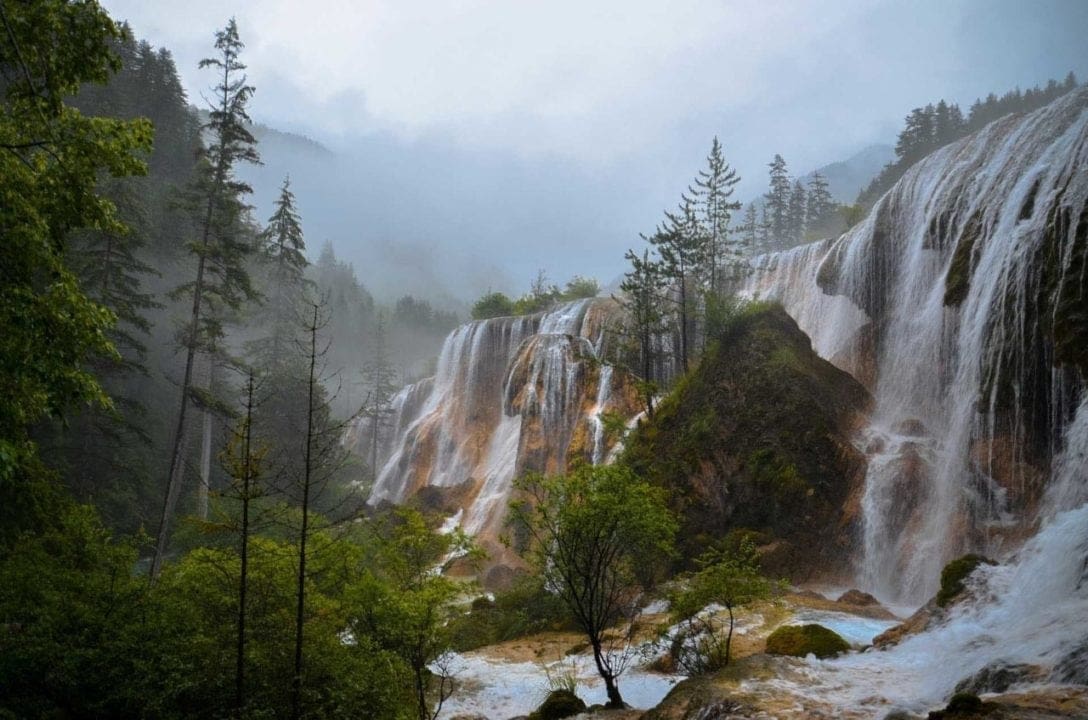
While waterfall photos have their challenges, one of the advantages is that you don’t need a bright sunny day to shoot them well. Quite the opposite.
Overcast days are often the most opportune time to photograph a waterfall because it’s easier to achieve the longer shutter speeds you need to blur the water.
What’s more, overcast conditions reduce contrast, which will help immensely towards getting a balanced exposure.
The biggest spoiler of waterfall pictures is blown highlights, so we suggest nailing this down first. Meter from the water and make sure there’s detail in your highlights. If moving water is blown out and lacks texture, your image will have no impact. Fortunately, your camera’s histogram will help you get this right.
SEE MORE: What is a histogram in photography
How to plan and set up your camera to photograph waterfalls
01 Choose the right conditions
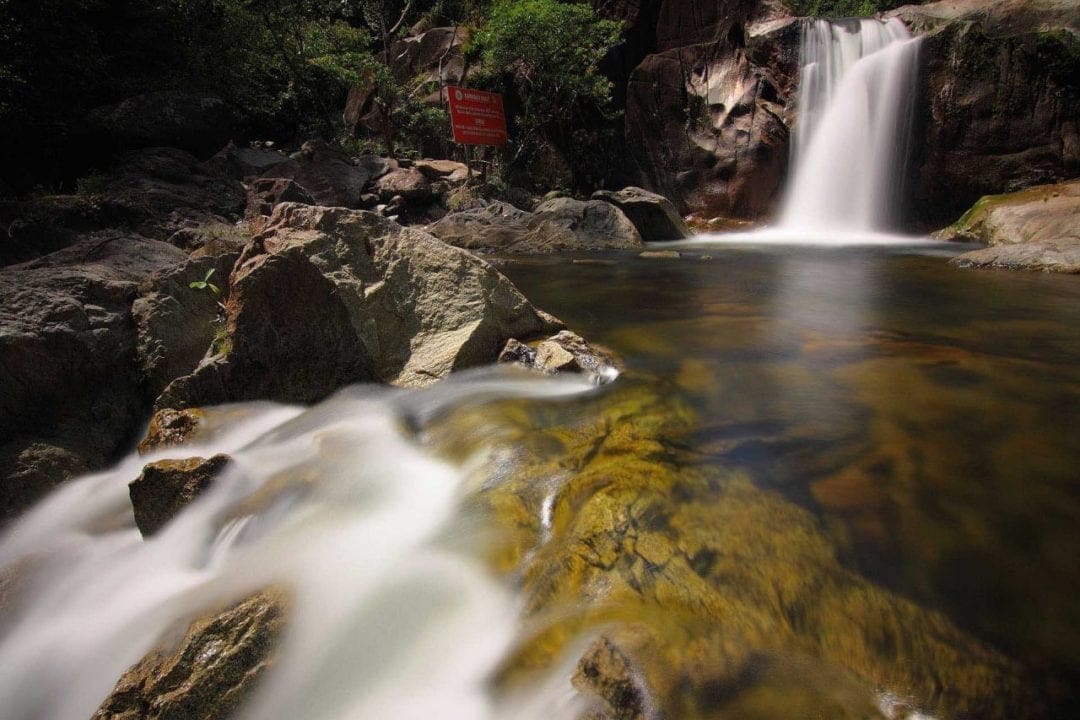
Like we said above, you’ll want to avoid sunny weather when photographing waterfalls. Your shutter speeds will be too fast in the bright light, and for a classic motion blur effect you need to slow it down to about 1sec as a rough guide.
And again, the contrast will spoil your results. Bright areas in direct sunlight will be washed out, and shadow areas of the scene will be in total darkness.
02 Pray for rain
Perhaps even more so than overcast conditions, try and go shoot your location after a heavy rain. The rain won’t affect your exposure, but a heavy rainfall will make your subject more dramatic. Or simply possible. In dry spells, as streams dry up, waterfalls often become trickles.
Check the forecast. The ideal time to visit your local waterfall would be after a couple days of rain or one solid day of steady rainfall so that there’s plenty of moving water to shoot.
03 Dial down the ISO
As we said earlier, the key to photographing a waterfall is to use a slow shutter speed to capture that dramatic motion blur. An easy way to slow down your shutter speed if the light is too strong is to set your ISO down to 100, 200 or even L1.0. This will slow down the shutter speeds you have to work with.
04 Shoot raw
This often goes without saying, but it’s especially true when photographing a waterfall. Even in overcast condition, bright highlights can be a problem when exposing from water. Raw files retain all of the data captured in a scene, which gives you more freedom to edit and ‘rescue’ detail from shadows and highlights.
SEE MORE: What is a raw file in photography?
05 Use a tripod
Again, this often goes without saying, but you’d be surprised how many people think they have a steady hand, only to be disappointed when viewing their images later on the computer. Count us among the guilty!
A tripod is essential for any image you shoot with slow shutter speeds. And ideally you’ll want a tripod that lets you unlock the legs independently and set them at uneven angles on varied terrain.
What’s more, to double-down and really keep camera shake at bay, set your camera to its self-timer mode and trip the shutter using a cable release or remote control so that residual camera movement doesn’t spoil your carefully composed image.
06 What shutter speed should you use to photograph a waterfall?
Well, as slow as you can, really! Put your camera in its Aperture Priority mode, then start with the narrowest aperture your lens allows, such as f/22. Next, half-press the shutter button and check the display on your top plate or LCD and see what shutter speed it’s offering.
You’re generally looking for 1/4sec as your starting point. This is usually good enough to capture fast-moving water. For slower streams and brooks, though, you’ll want to be down to around 10-20secs depending on the speed of the water.
Remember, if you can’t get speeds this slow, try setting your ISO even lower if you haven’t already.
07 When all else fails, use an ND filter
If it’ just too bright, if your ISO is already as low as it can be, your aperture is set to its smallest option and you still can’t get a slow enough shutter speed, then there is one more failsafe: a neutral density filter.
Landscape photographers use these to help get balanced exposures in scenes with bright skies, and they can be incredibly useful for taking pictures of waterfalls too. An ND filter blocks the amount of light let into the lens and will allow you to shoot at a much slower shutter speed.
There are all sorts of ND filters available, but general an ND8 or three-stop neutral density filter cuts 87.5% of the light and should do the job. Alternatively, you can try shooting with a polariser filter, which blocks out up to 75%.
08 Check your histogram
Don’t just assume you’ve got it right if you’ve done everything we said above. Shoot a test shot. Zoom into it in playback mode and examine the picture carefully. Are you happy with the exposure? Make sure you constantly check your histogram when taking pictures of waterfalls.
If your highlights are blown and the water is bleached out, set the exposure compensation to about -1EV and shoot the scene again. Alternatively, if your test shot is too dark, shoot it again with exposure compensation set to +1EV.
READ MORE
5 quick fixes to improve long exposures
How to develop your own style in landscape photography