


As many variables as the sea may throw at photographers – the salt, the sand, the wind, the water – it can also be reassuringly rhythmic and predictable. Its tide goes out and comes back in like clockwork.
And if you’re planning to shoot seaside landscapes you’ll want to pay close attention to the tide times. For starters, knowing when the tide comes back in will keep you safe. But knowing the tide times will also ensure you capture the beach at its most pristine.
When the tide comes in it washes the beach clean of footprints and sandcastles. So if you want to photograph the seaside at its most natural and unspoilt, the best time to plan your shoot is when the tide is moving back out. The ideal time for seaside photography then is the golden hour around sunrise.
There are some great online resources for checking the tide times, as well as apps, such as My Tide Times (Apple / Android).
Composing seaside landscapes
Rest assured that all the usual rules of composition that you use in your other landscape photography will apply here. The Rule of Thirds, the Golden Mean, all of these can be applied to seascapes.
One element you’ll want to watch carefully, though, is the horizon. A wonky horizon really stands out in seaside photography, so you’ll likely want to make sure its straight within your frame.
Many cameras now have levels in the live view display you use as a guide to straighten your horizon, or simply enable your grid display.
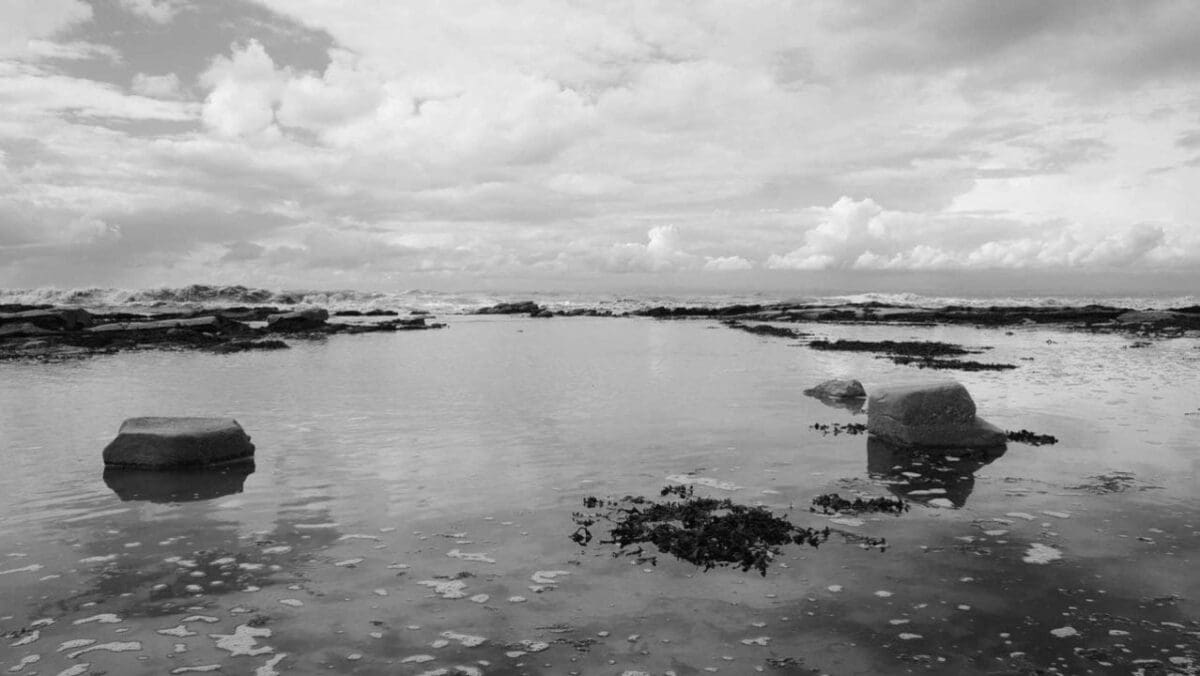
If you’re shooting a long exposure of the sea and trying to capture movement in the water, you can really emphasise this effect by including a static object in your composition. For instance, a large rock or a jetty. These won’t move during your longer exposure, and as the water swirls or flattens out around the in the process you’ll find it produces a very striking effect.
Likewise, look for foreground interest when shooting at the seaside. We often shoot at wide angles at the beach in order to fit as much scenery in as possible, but the result is often the opposite of what you intended: your viewer will have nothing to focus on in a wide empty beach, and your image will lose impact.
Something in the foreground, whether it’s a rock, a footprint or just a piece of seaweed, can give your viewer an anchor point.
Shooting long exposures of the sea
Capturing movement in the sea is a timeless way of photographing the ocean and emphasizing its power, but it requires patience and a few key accessories.
For starters, you’ll need a sturdy tripod as well as a ‘strong’ neutral density filter. A solid neutral density filter at the end of your lens allows you to shoot long exposures in daylight without burning out your sky.
Cokin, Lee, B+W, Kenko, Leica and Syrup make worthwhile additions to your camera bag.
To blur movement in the water you’ll want to dial in a narrow aperture such as f/16. This will ensure you have maximum depth of field around your focal point. You’ll also want to set your camera to a low sensitivity to ensure minimum noise and high image quality.
Your shutter speed, however, will really depend on how much blur you want, as well as the size of the waves. Typically, I find an exposure of 1sec or 2secs will do the job, but depending on the light you might find it will take an exposure of up to a minute. In these situations trial and error is really the best – and only – way to get the result you want.
When you’re using shutter speeds that are above a minute, you’re going to be using your Bulb mode and holding the shutter wide open. This makes trial and error a little more complex. So to help you calculate exposures at these speeds it’s worth using one of the numerous apps, such as Long Time, to help you discover the best shutter speed based on a test exposure (without your filter mounted).
Simply dial in the exposure without the filter along with the filter strength, and the app will tell you how long you need to make the exposure with the filter attached to your lens.
Another thing to consider is that strong neutral density filters naturally block a lot of light into your lens, and this can make it harder to compose. So it’s good practice to compose your image before attaching the filter.
Once the lens is focused, switch to manual focus mode to prevent the focus from shifting when you press the shutter button.
How to stabilize your camera at the seaside
When you’re shooting long exposures you obviously need a sturdy tripod to prevent camera shake, but there are some other environmental concerns you should watch out for, as well.
Sand can be softer than you think, and when you set up your tripod, mount a camera on top and maybe hang a bag from the centre column, you’ll likely find that your tripod will sink down very slowly during the exposure. This occurs particularly when the tide is coming back in, and will cause your images to blur.
The best way around this is to find a spot on some rocks to shoot from, if you can. Alternatively, a simple trick I do is to bring along three plastic plant pot saucers. Place these on the sand and situate the tripod legs on them.
Another option is to push the tripod legs hard into the sand so that any sinking occurs before you press the shutter button.
Wait for bad weather
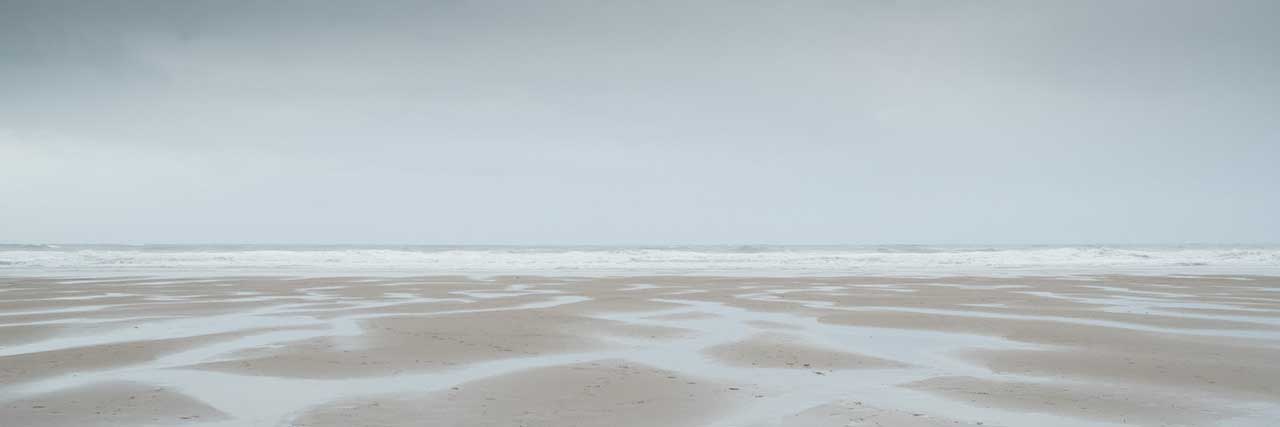
If you shoot a lot of landscape photography your inclination is to wait for good weather forecasts. But seaside photography will offer more dramatic image opportunities when the weather is stormy.
What’s more, you’ll find fewer people on the beaches on these days, spoiling your pristine coastal scenes.
I often find that dark storm clouds can emphasise the muted tones of the sea, sand and rocks, particularly in black and white.