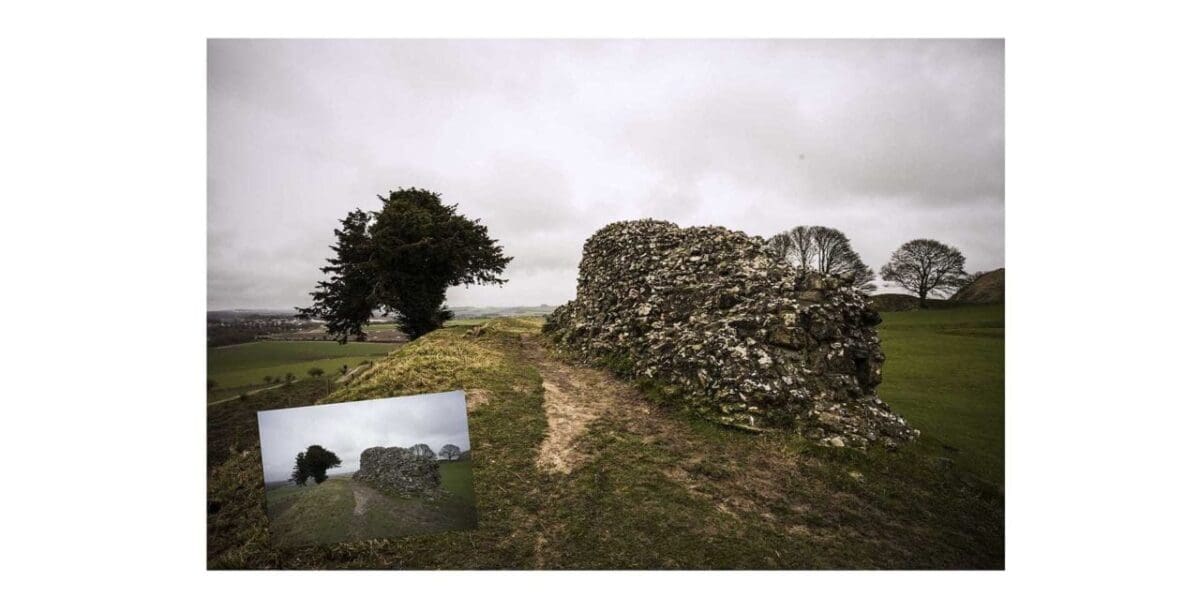


Spring and summer are wonderful seasons for landscape photographers because of its variety of colour, but what comes with that is a wide variety of weather. Spring boasts very changeable weather patterns, and if you don’t adjust your camera settings quickly, you might find your images with some strange colours and tones.
While we all strive to get it right in camera, sometimes you don’t have the opportunity to change your white balance or exposure settings, and this is why shooting raw files gives you so much flexibility.
Using Adobe Camera Raw – or most other raw editors – you can make fine adjustments to the colour, saturation, contrast and brightness of your images without damaging your file.
In this quick photo editing tutorial we’ll show you a few simple edits you can make to boost the colours and tones in your landscapes, spending less than 5 minutes on the computer.
I’ll be using Adobe Camera Raw for this tutorial, but the principle is largely the same in other raw editors. I’ll be focusing on the Clarity and Vibrance sliders in particular to give more impact to my image and try to match what I saw with my eyes.
How to improve colours in your landscapes
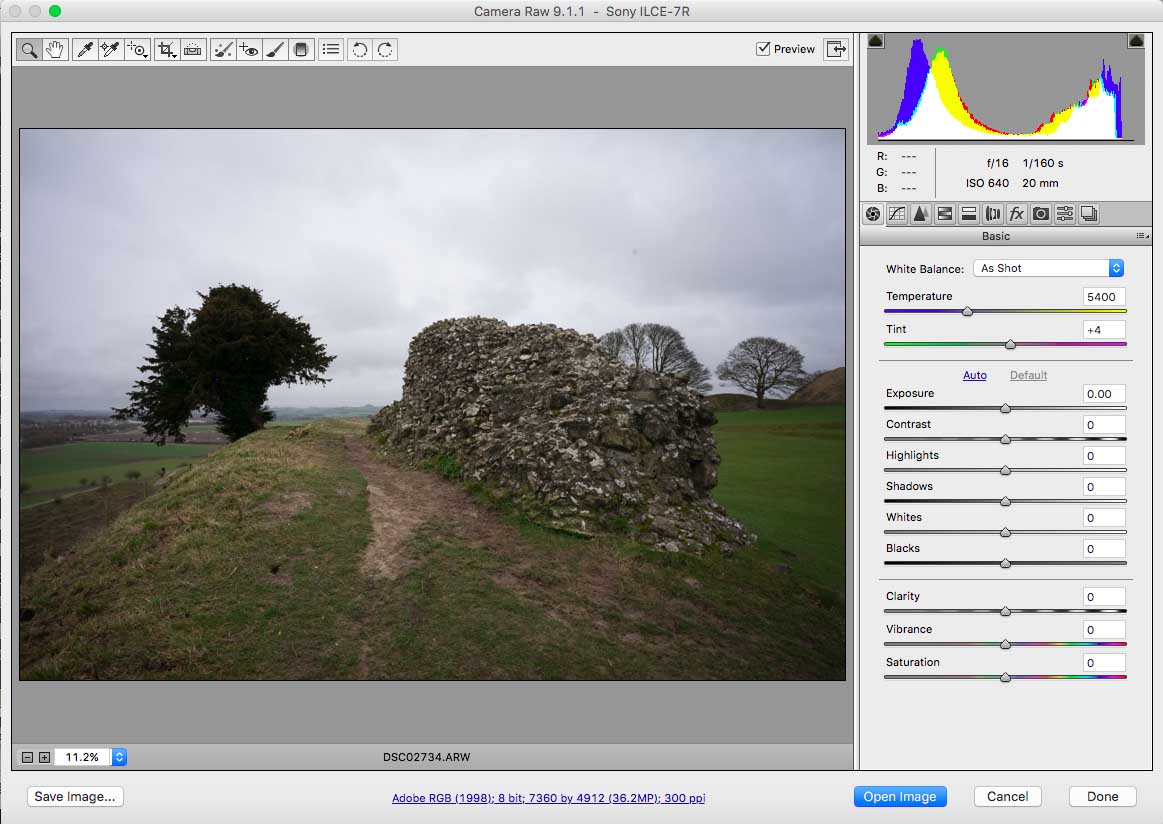
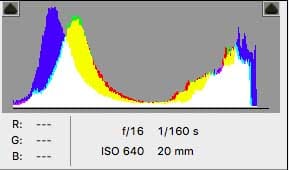 01 Open your raw file and check the histogram
Go to File > Open or drag and drop your file over the Photoshop icon, and your image will open in Camera Raw’s editing window. At the top right you’ll see a multi-coloured histogram.
Above this are two triangles that indicate highlight and shadow clipping warnings as blue and red areas on your image.
When you click each triangle these over- or under-exposed areas will be highlighted on your image display.
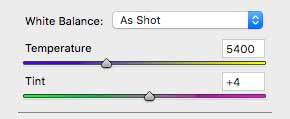
02 Adjust the white balance
What often happens this time of year is that an image can look a little warm because the white balance preset you were using wasn’t quite right for the scene. You can adjust this colour cast by adjusting the Temperature slider on the right.
You can also move the Tint slider, which fine tunes the colour even more. As you do this you’ll notice clipped highlights start to disappear and your image will gradually look more natural.
What these Temperature and Tint sliders are doing is pulling back hidden colour information that is stored in your raw file. This is why raw files are so flexible.
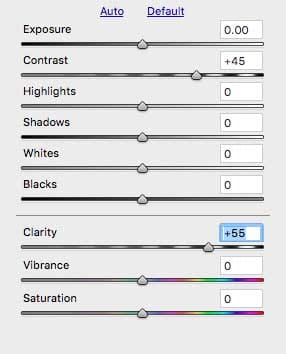 03 Adjust the contrast
Pulling the colour back improves things quite a bit, but your image may look a little muted after this.
I like to add a little contrast to the scene to give it a bit more punch.
You can do this using the Contrast and Clarity sliders.
Be subtle with it. You want to give some crisp edges to those details but not to the point it looks unnatural.
Contrast at +45 and Clarity at +55 is usually a good combination, I find.
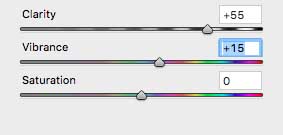 04 Fine tune the vibrance
Finally, my last edit is to give a little boost to some of the under-saturated colours in my scene. I do this with the Vibrance slider. Moving it up to +15 or +20 usually makes a noticeable difference to the greens and blues in a scene.
Watch out for clipping your highlights again, though.