Image management is an important part of the photographic process, but it’s also one of the most laborious. However, while many pros know the importance of file management, it’s one of those tasks many of us just leave for a rainy day.
But once you get into the habit of downloading images and you have a file management system in place, it doesn’t have to be that painful. It’s all about keeping things simple
The best way to transfer images from your camera to your computer is to use a memory card reader. These can be bought for as little as £10 and can be left plugged into your machine so that they are always accessible and ready. Accessible and ready is the key, if you have to hunt around for cables then you’re likely to leave it until later, which can result in not at all.
If everything is ready for you, then once you’re back from your shoot and your machine is powered up, you’re set to remove your memory card from your camera and insert it into the memory card reader.
Once inserted, the card will appear on your computer as an external drive – all easy and straightforward so far.
On a Windows machine, you will be alerted to the insertion of the card, and then asked what you would like to do. Select “Open Folder and View files.”
On A Mac, a drive will appear on your desktop and can be double-clicked to open and view the contents.
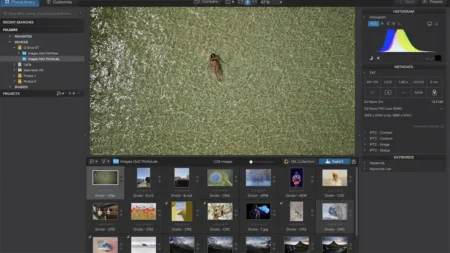
If you have image or video editing software, then that software will more than likely have its own image downloader. You can read how this works with Adobe Photoshop works in this feature on downloading and organising your images in Adobe Bridge.
Before copying your images to your computer
Before you start to copy the files from the memory card over to the computer, you need to decide where you would like to save those files.
Both Windows and Mac systems have their own proprietary image download software which will automatically catalogue and manage your files, although to no great extent, which is why it’s often better to do it manually.
The purpose of this tutorial is to enable you to self-manage your images so you can quickly locate, back-up and edit your files with your choice of software and services.
By default, all OS systems have a Pictures or Images folder which is an ideal place to store your photographs, however, as many computers these days utilise the speed of solid-state drives, better known as SSD, storage space can be at a premium so you may need to utilise an additional storage drive in your computer or an external drive.
Rather than fill your hard drive with image files, I would recommend organising suitable storage and backup system.
I would recommend having a dedicated drive such as the Western Digital Duo connected for your images along with an external or cloud-based back-up such as BackBlaze.
Make life easy with a simple file management system
To make it easy for you to find and locate the photographs you want in the future, it is imperative that you select a robust file management system.
Organising your files onto the drive these days is just the start of the process, but will form a firm foundation for image cataloguing and organisation later the simplest of which is star ratings. You can check out the tutorial on how to sort images by star ratings in Adobe Bridge in this tutorial
When the images are safely stored, you can then look at tagging them with keywords so makes it far easier for you to locate your files in the future.
Manually sorting images is a little old school, but it’s a technique that’s reliable and useful if you swap between different software and operating systems.
One of the easiest ways to manage images is to use a date filing system. For example, by creating folders that form a file structure; Year > day/month/year – description or 20012018 – New Forest.
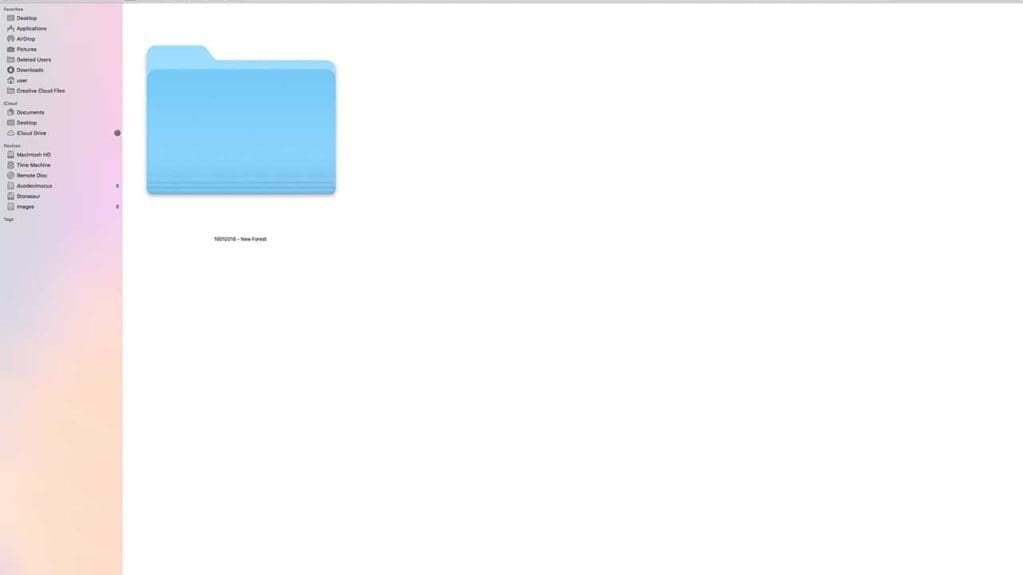
How to self-manage your image files
- Create a folder on your drive, labelling it with the year the images were taken, 2018.
- Create a new folder with the date of the shoot for example 20012018-Godshill. This shows the images were taken on the 20th of January 2018 at Godshill.
- Now go back to your Memory card double-click to open. Your image files will usually be located in the DCIM folder
- Within this folder, you’ll often find another series of folders, these will vary depending on the manufacturer of your camera. For instance, here we are using the Panasonic GH5S, so we have the folder structure DCIM and then Panasonic, and within we can find the images.
- Select all of the images in the folder and drag and drop them into the folder you have created on your hard drive.
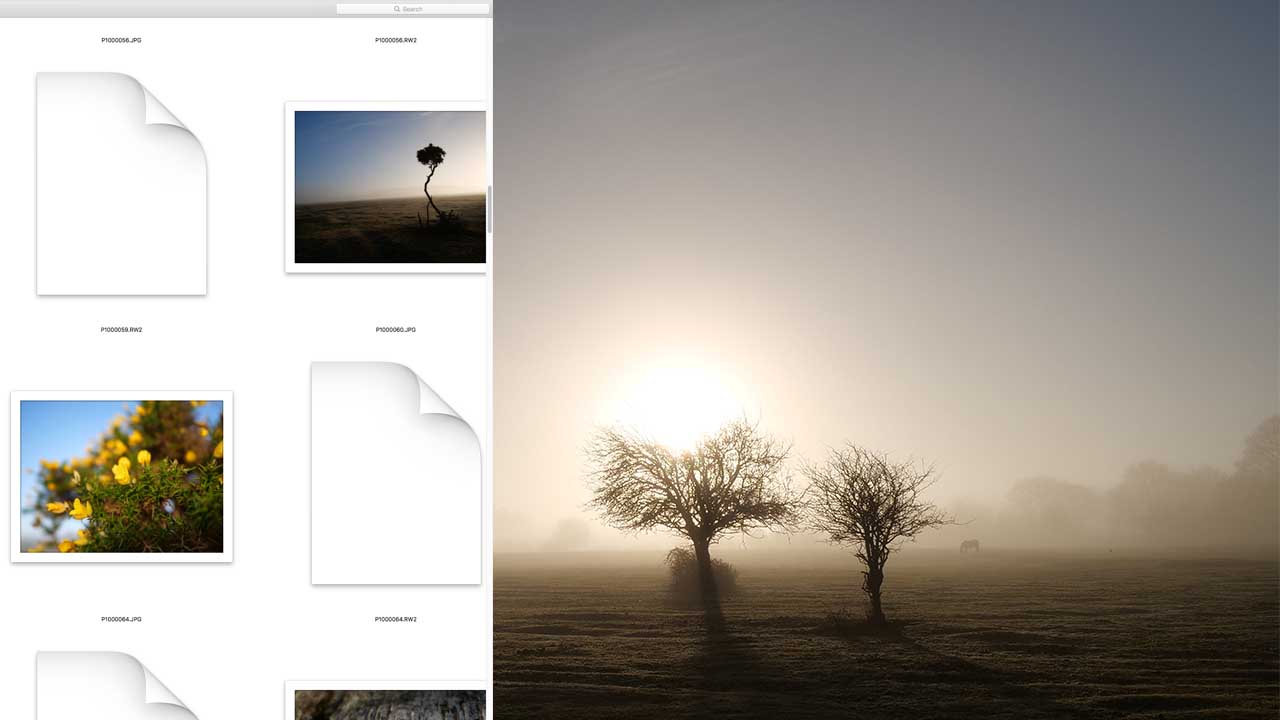
- If you shoot JPEG and raw files as well as video, then you can divide up that folder to separate the file types
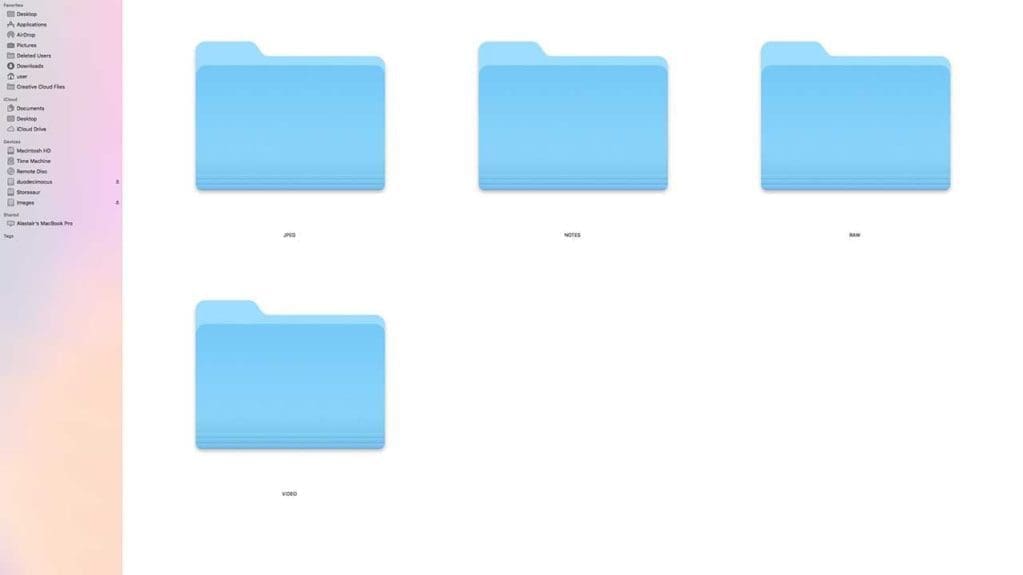
- In the 20012018-Godshill, I will create a JPEG folder, a RAW folder a Video folder, and just in case, a Notes folder for any notes that I would like to make
- Now drag-and-drop each of the file types into the relevant folder.
- With all of your image files safely copied from your memory card onto your computer, you can now re-insert the card into your camera.
- Finally, you should always make sure that the new images are being backed-up on your chosen backup solution.
- On your camera, locate the card format option and format the card ready for the next time you use the camera.
- This is also a good time to pop-out the battery and put it on to charge. While you’re there, give the camera check over so you know, it’s ready for use the next time you need it
