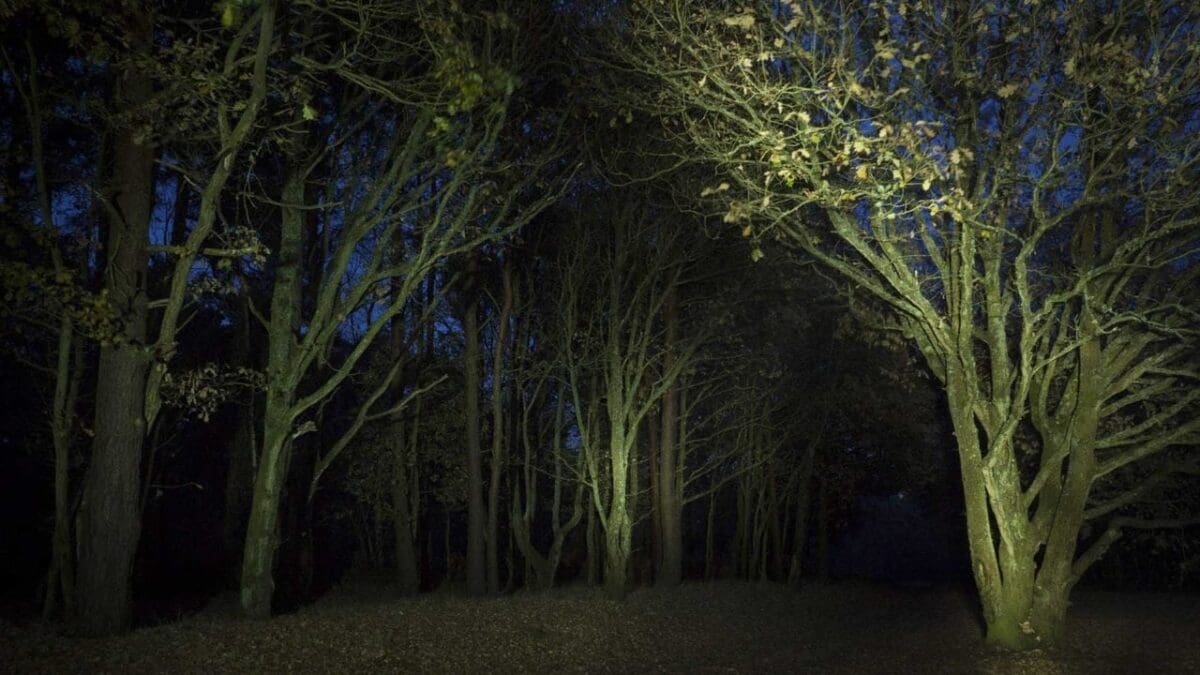


One bonus of the early, dark evenings of winter is that they provide the perfect conditions for light painting. If you’ve never tried it, it’s time to give it a go as it’s a fun technique that can produce some interesting results, and it’s not as complicated as it might sound.
What gear do I need for painting with light?
Painting with light needs long exposures, so you need a camera that has a bulb or time mode that allows you too keep the shutter open for minutes at a time.
Shooting long exposures means a tripod is essential to keep the subject sharp. You’ll also need a remote release that can lock the shutter open until you flick it open again.
On top of that you need something to light your subject. This can be the light from a torch/flashlight, a flashgun/strobe or the headlights of a car.
You can use all sorts of different light sources and there are even some that are specifically made for painting with light.
What camera settings should I use for painting with light?
The first step is to set-up the camera on a tripod and compose the scene. Then select Bulb mode. With some cameras this is a specific shooting mode like manual exposure mode, but with others it’s a shutter speed setting.
You may need to experiment a little with the exposure settings and it’s a good idea to take a shot without painting with light to see what you get with the ambient lighting.
Keep the sensitivity low to minimise image noise, I suggest starting with ISO 200, but you can go higher if necessary. Next, set the aperture to f/8 to give you reasonable depth of field.
Shoot raw files or raw and jpeg files simultaneously and either use the automatic or daylight white balance setting. The daylight setting is usually the best choice.
What shutter speed is used when painting with light?
The aim is to find exposure settings that and give you time to do the light painting without taking an absolute age. It depends upon the size of the scene and the degree of painting that’s required, but aim for an exposure time of between 30 seconds and 4 minutes.
If you find 30 seconds works, you don’t actually have to use bulb mode as this is the maximum timed shutter speed with most cameras.
Remember, the test exposure without any light painting will be very dark, perhaps with some bright areas in the sky.
How do I focus in the dark?
If you have a bright torch you should be able to shine enough light onto something in the scene so that the camera’s autofocus can work. Once the target is sharp, switch to manual focus mode so the focus won’t change again.
How do I paint with light?
Once you’ve found some exposure settings that work, open the shutter and use your torch/flashlight to illuminate the subject. Keep the light moving and paint it over the scene, passing methodically over the areas that you want to brighten.
If you want an are to be bright, keep going back to it rather than holding the torch in one area as this will create a softer pool of light rather than a patch with harsh edges.
How do I control the lighting?
Holding the torch closer to the subject intensifies the light, while moving further away makes it dimmer. If you wish, you can diffuse the light to make it softer and cover a wider area. A white plastic bag held over the end of the torch can make an effective diffuser.
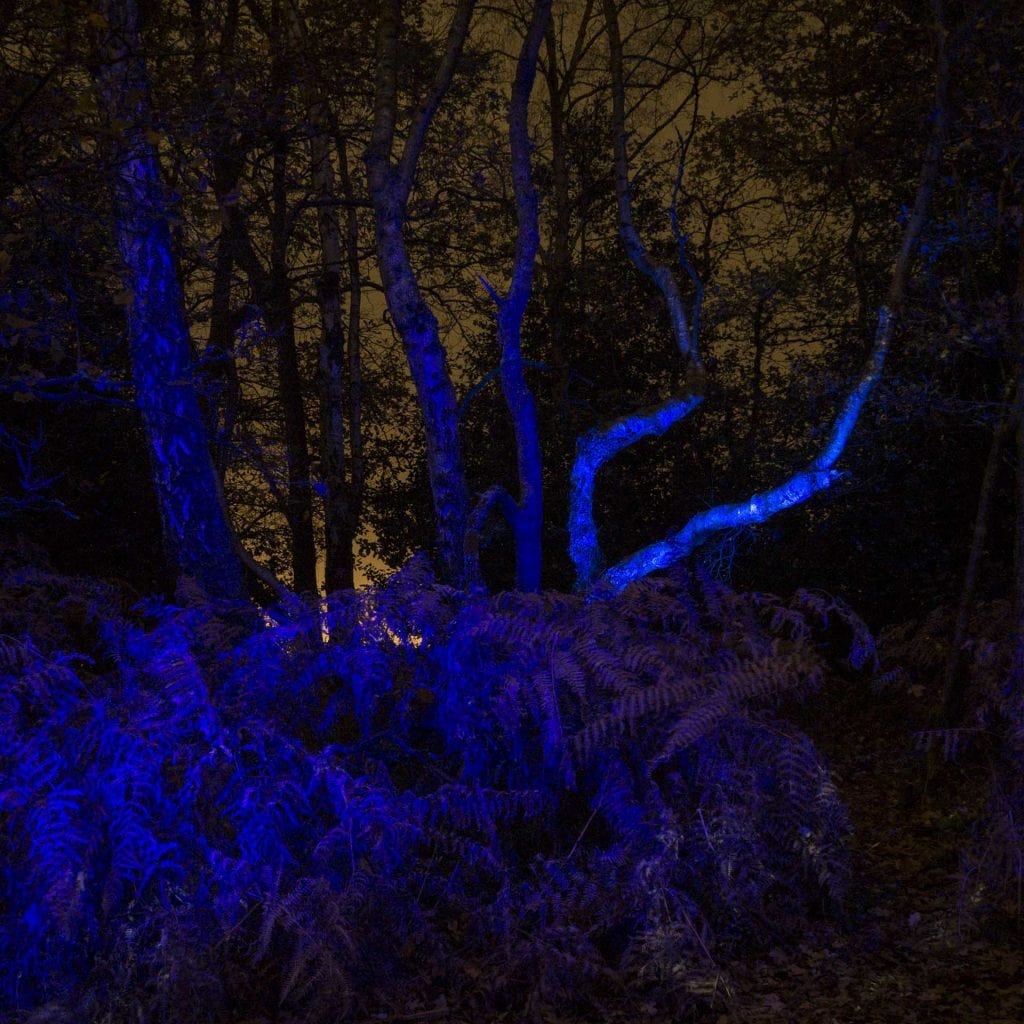
You can also put coloured gels over the light to produce different colours of light. Alternatively, you can use coloured plastic bags or sweet wrappers.
Coloured gels and diffusers will reduce the amount of light that reaches the subject so you may need to spend longer painting.
How do I target small areas in the scene?
Provided that you keep moving, it’s usually possible to walk into the scene to illuminate small areas or get closer to the subject. Wear dark colours, ideally black, and take care to avoid light from spilling on to your face or hands as this could make you register in the image.
Summary of how to paint with light
- Put the camera on a tripod.
- Set the camera to bulb mode.
- Start with f/8 and ISO 200 and aim for an exposure of 30 sec to 4 minutes.
- Open the shutter and hold it open with a remote release.
- Use a torch or convenient light source to paint light onto the subject.
- Close the shutter and check the image.
- Repeat until you are happy with the image.