


The Olympus OM-D E-M1X is Olympus’s joint flagship Micro Four Thirds camera, which sits alongside to OM-D E-M1 Mark II. It has a double grip, two Truepic VIII processing engines and a host of clever features like Live ND Shooting, High Res Shot (Tripod and Handheld) and Intelligent Subject Tracking.
- Read our Olympus OM-D E-M1X review
- Check the price of the Olympus OM-D E-M1 II at Amazon UK, Amazon.com, Wex Photo Video, Park Cameras, Adorama, BH Photo Video.
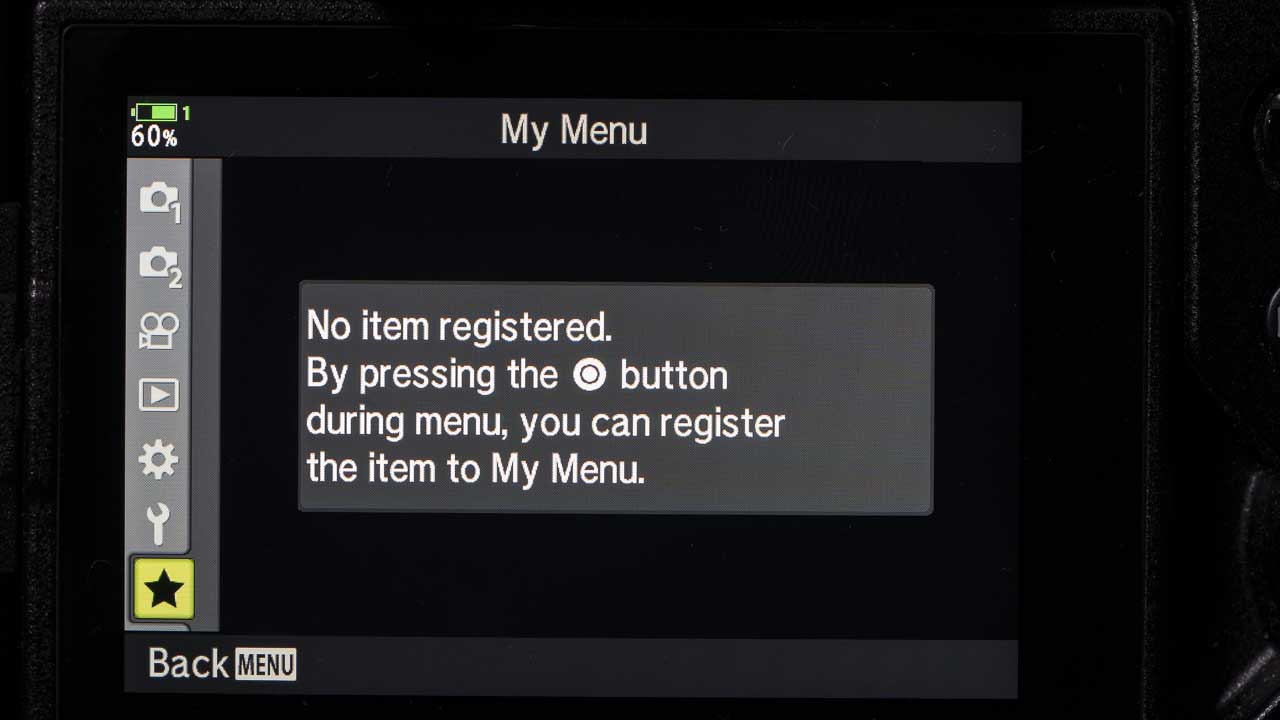
A natural consequence of the Olympus E-M1X’s high status and extensive range of features is that it has a long, complex menu. However, Olympus has given it a My Menu screen to which you can assign the features you use most often. That means you can access your favourite features quickly.
The Olympus OM-D E-M1X’s My Menu can have up to 5 pages with up to 7 features in each.
Helpfully and unlike most other cameras, you can add features to the My Menu screens while you’re browsing the main menu. Other cameras usually demand that you go to the My Menu screen and select the option to add features. Working the other way around makes it easy to add useful features as you discover them. Here’s how it’s done.
How to customise the Olympus OM-D E-M1X My Menu
- Press the Menu button and browse through the options until you find one you’d like to add to the My Menu section.
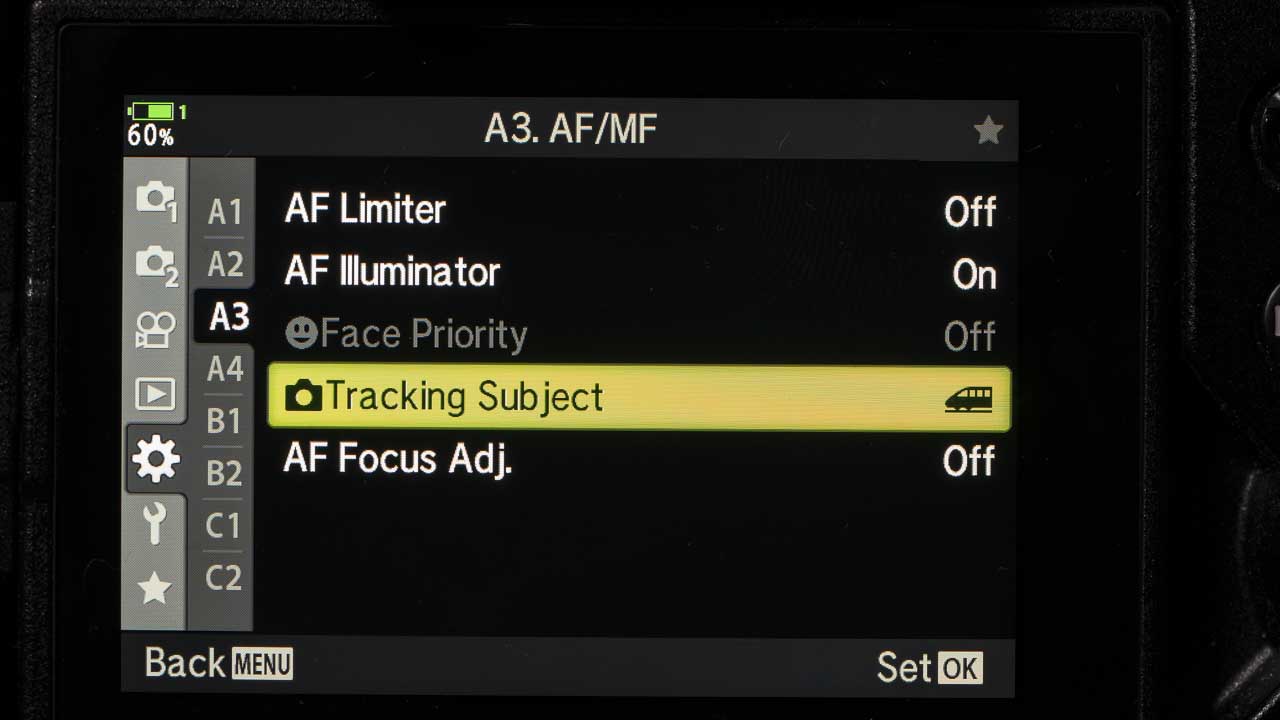
- Press the movie record button on the camera’s top plate.
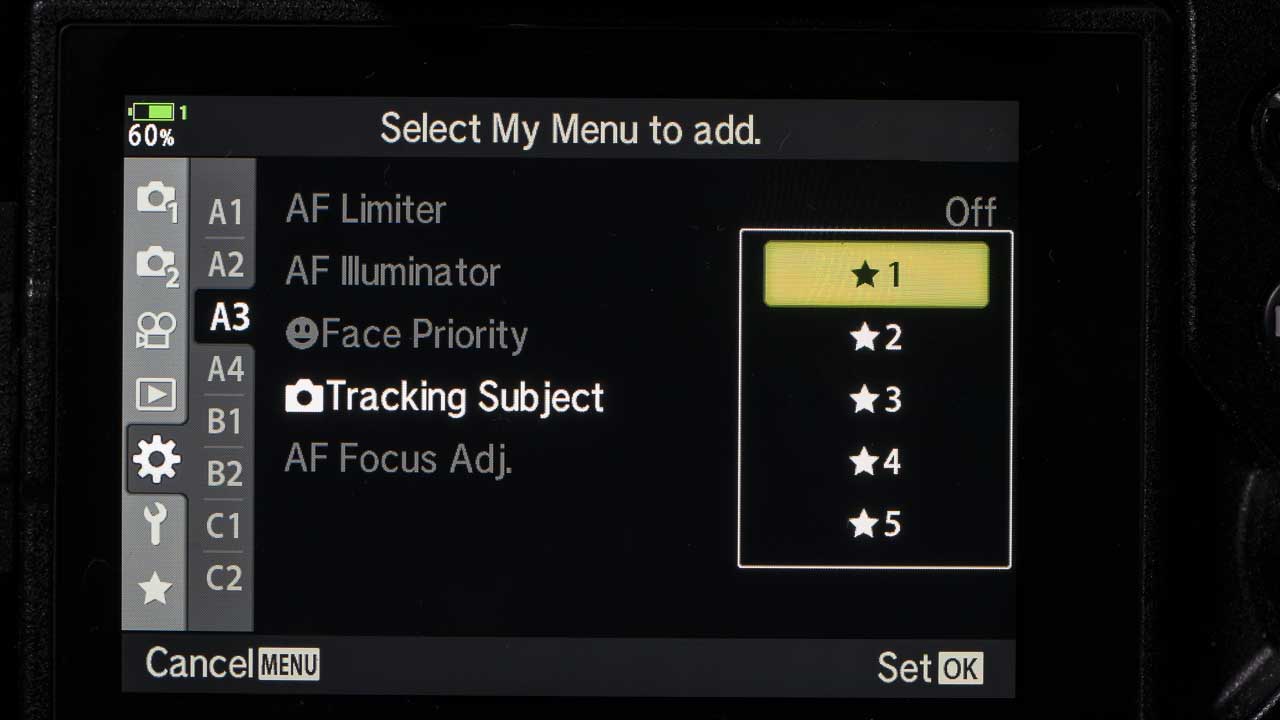
- You’re now prompt to select the My Menu page that you’d like to assign the feature two. Simply use the up and down navigation keys to select the number you want and then press the ‘OK’ button.
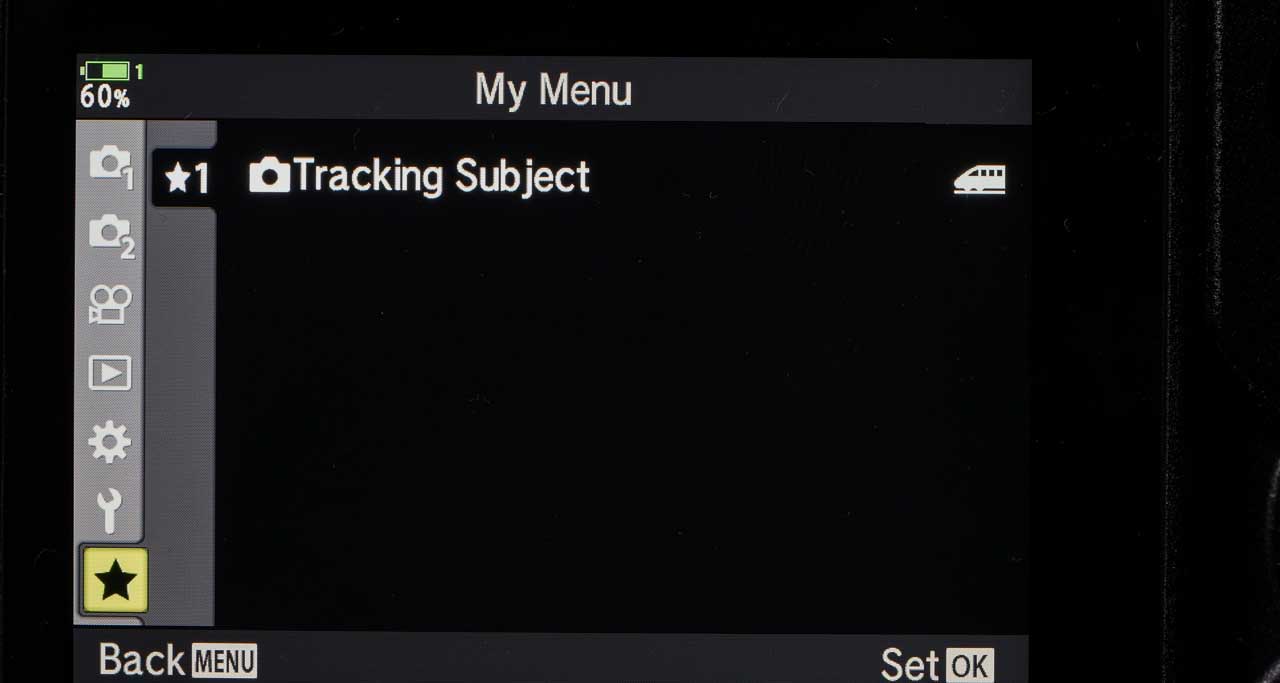
- Once you’ve assigned 7 items to one page, the camera will default to the next page for the next item.
- You can now access the options you’ve selected via the My Menu section of the main menu.
How to reorganise the My Menu
- Press the Menu button and find the My Menu page/item you want to edit.
- Press the movie record button to reveal the options; Rearrange Order, Remove this item, and Remove this P tab.
- Select the option you want to use, press OK then select Yes and use the navigation keys to move the feature before pressing OK again.