Spring is a time of renewal and a period where most photographers are eagerly bringing their cameras out of hibernation and capturing nature’s gift of colour before it fades. Spring photography, however, throws up some unique challenges, particularly when shooting flowers.
Below are four sure-fire ways to add instant impact to your flower images. And there’s nothing fancy or complex here; these are all quick in-camera fixes and different ways of thinking about an image that will cost you nothing!
Flower photography: 01 Get in focus
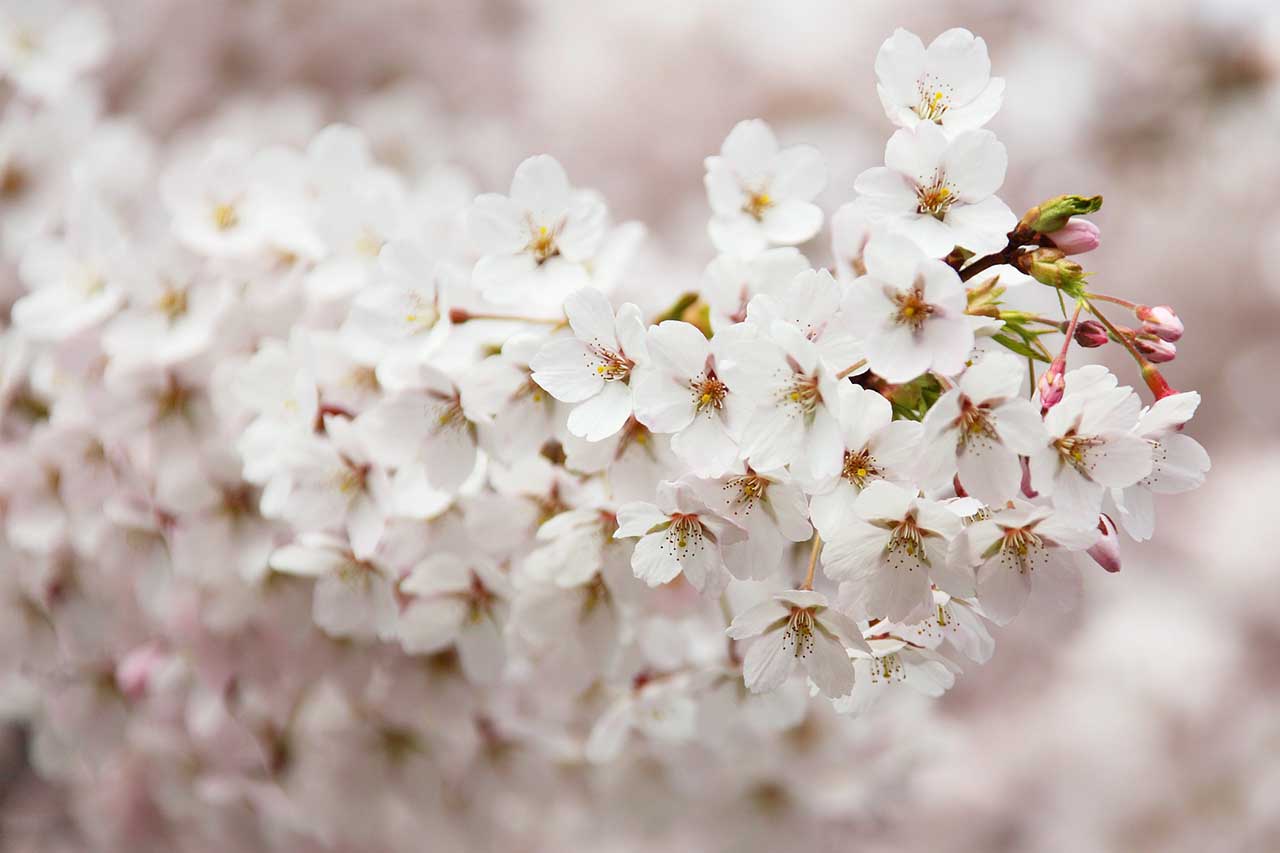
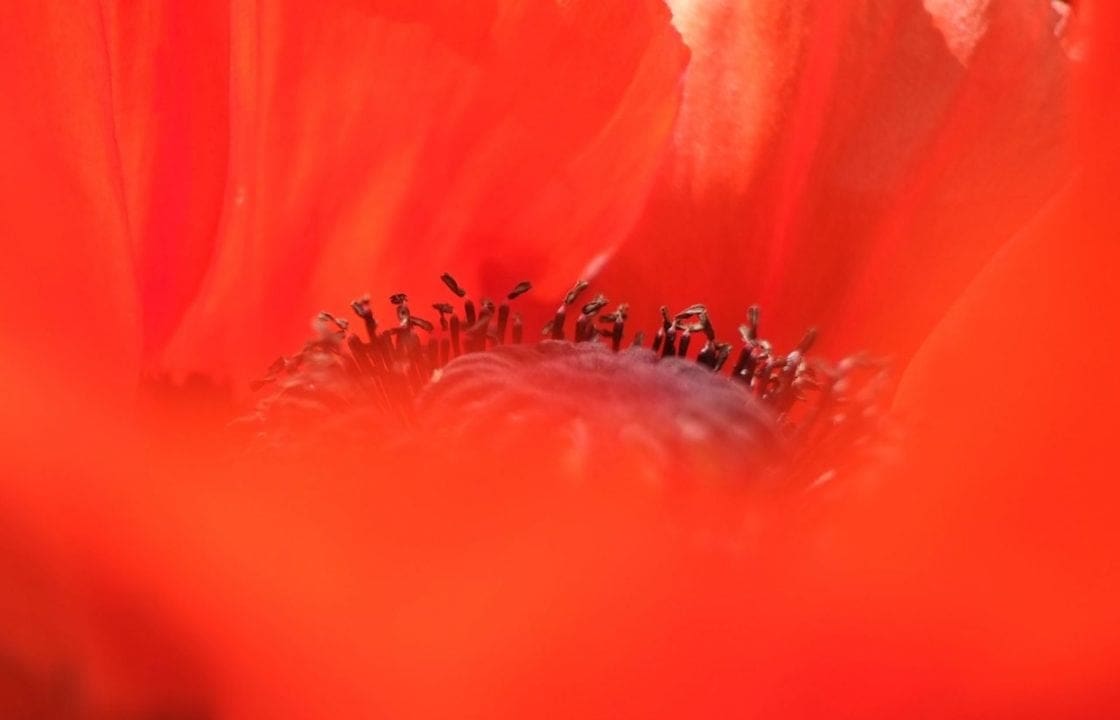
Spring flower photos are all about what’s depth of field – how much of your scene is sharp, both in front of and behind your main focal point. In particular, shallow depth of field is a common hallmark of spring photography, where one part of the flower is in crisp focus and everything else in the frame is blurred.
It’s a wonderful effect and really adds impact to an image, but to master this you need first need to understand the range of aperture settings in your camera’s Aperture Priority mode.
Choose a wide aperture (a low f number, such as f/2.8) to create a shallow depth of field in your frame and make everything behind your subject out of focus.
If you select a narrow aperture (a high f number, such as f/25), this will render everything behind your focal point in clear focus.
To see this in action, try finding a subject and, at the same focal length, adjusting your aperture from f/25 down to f/2.8 or your lowest f number. You’ll notice how the background gradually gets thrown out of focus and becomes less distracting, isolating your attention on the main subject.
This is a fun experiment try and will help you better understand how your camera works and what it is capable of achieving.

Flower photography: 02 Fill the whole frame with your subject
This is perhaps the simplest technique here but the one most photographers often overlook. Big is beautiful. The most impactful subjects are those that fill your frame.
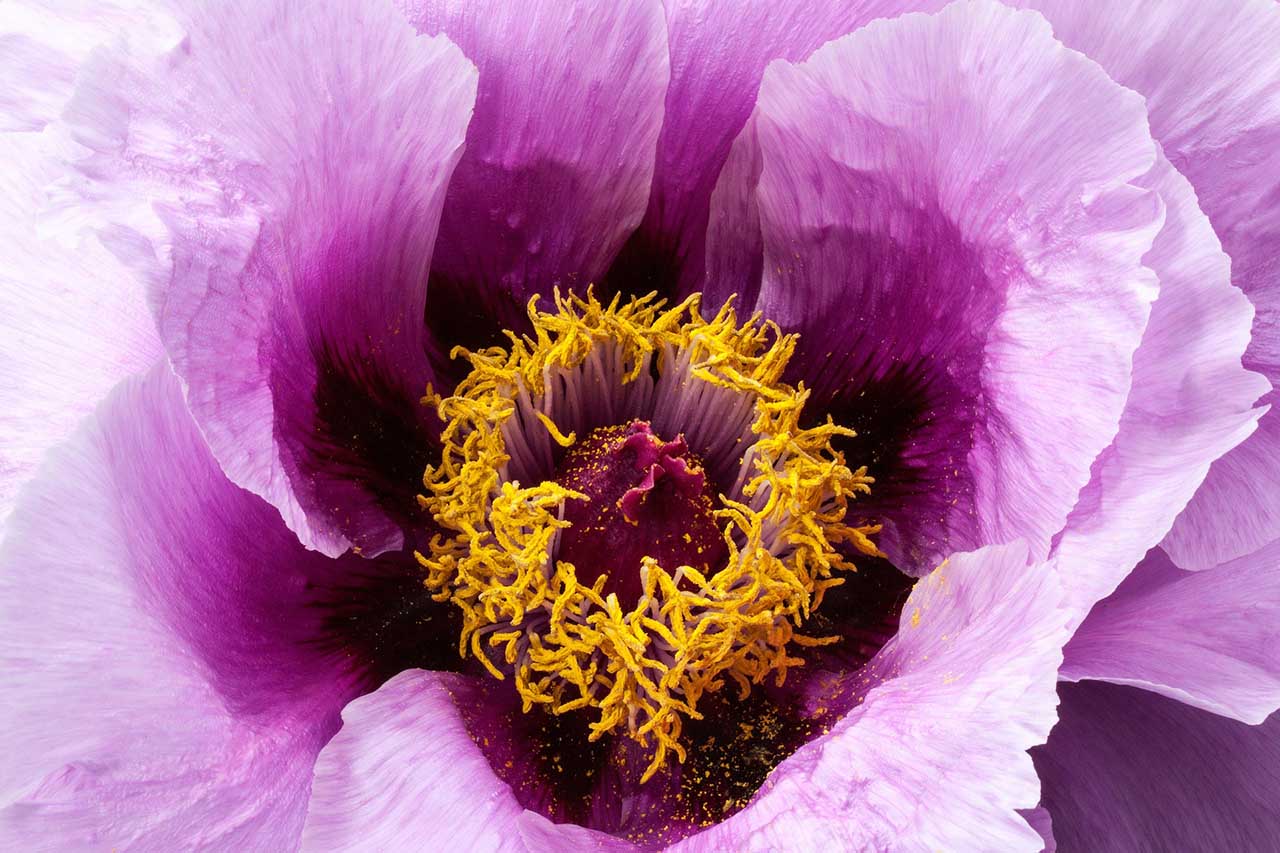
So when photographing spring flowers, a striking composition can be to stand directly over the top of your flower and zoom in to fill the frame. And we mean REALLY fill the frame.
This often provides an intimate portrait of a flower that reveals more detail, richer colours, textures, patterns and shapes. You can create abstract masterpieces without even realising it!
Note that for shots like this you’ll probably want a more mid-range aperture for a bit fuller depth of field – ideally about f/11. You might find, then, that your shutter speed is too slow to shoot handheld when you increase the aperture.
To get a fast-enough shutter speed you can increase your ISO if you want to shoot handheld or simply use a tripod.
Flower photography: 03 Zoom in for added impact
Now, this is a little bit different than filling the frame with your subject. When we talk about filling the frame above we’re talking about filling the frame with the whole of a subject. But often there are finer details you can isolate even further.
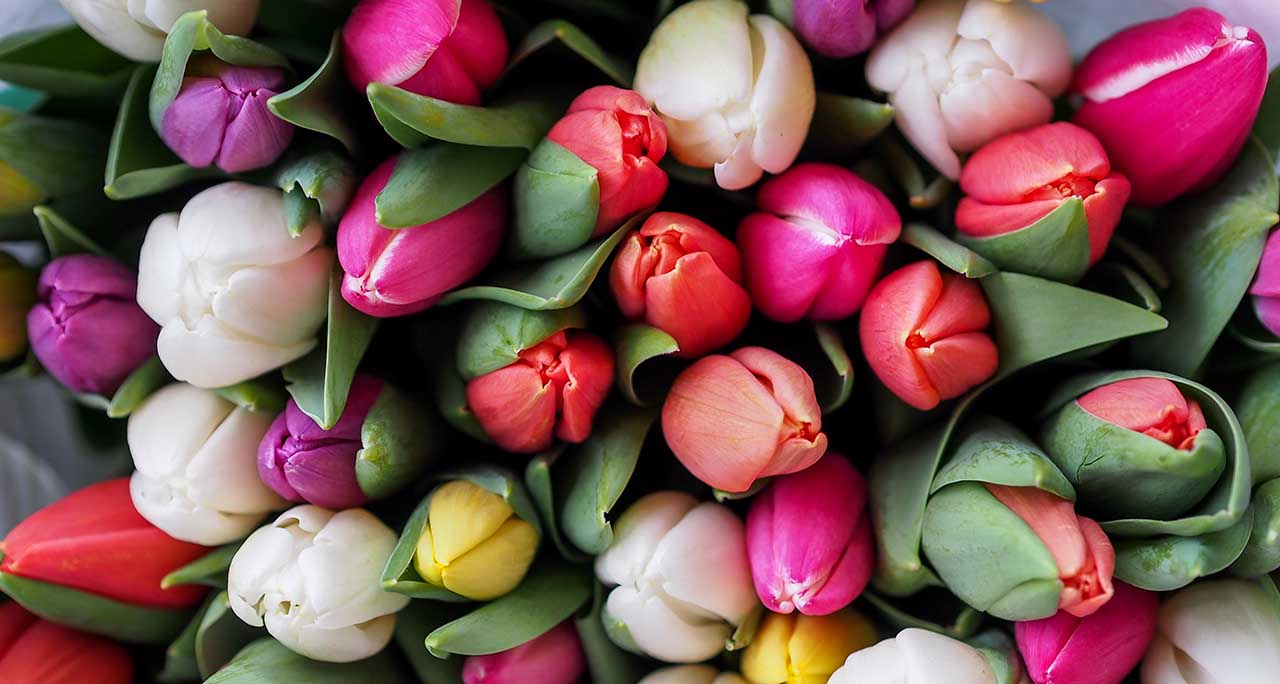
Another of the most common mistakes new photographers make is shooting a scene as you see it before you. Now, there’s nothing wrong with this per se, but when you’re photographing spring flowers in particular, a common foil is trying to include the whole floral display only for your image to ultimately lack impact because nothing stands out.
With spring photography is better to simplify the scene by showing just some or one of the blooms.
This is where a zoom lens comes in very handy. Using the full focal range a zoom lens offers will allow you to get closer in to focus on the colour and shapes of individual flowers, rather than whole flower beds.
What’s more, shooting at a longer focal length will also create an even shallower depth of field, blurring your background further to help your subjects stand out.

Flower photography: 04 Brighten up your exposures
One of the most common problems that occurs in your spring photography is shooting lightly coloured flowers. Like other subjects of this hue and tone, your camera will typically underexpose the shot because it reads the white and gets confused. Your camera thinks it is overexposing these bright subject, so compensates, which leaves them looking grey and flat.
You can combat this by employing your camera’s exposure compensation setting. When you set a positive exposure compensation value (eg +1) you are allowing more light into the camera. A negative value (eg -1) has the opposite effect and restricts the amount of light coming in.
You’ll typically see this tool on your camera either with a dedicated +/- button (mainly on Canon cameras) or compensation dial on the top plate (typical of Fuji cameras) or a wheel control. You can also always find it via your camera’s menu.
To make your whites appear naturally white, I often dial in at least +2/3 to sometimes +2 stops of positive exposure compensation.


