


Mastering colour can be a dark art. From the moment you capture an image through to the final print or upload, at every stage of the process, the colour and tone of the picture need consideration.
Thankfully there’s a wealth of techniques that you can employ to make sure that you always get colour right.
The key is to start thinking about colour before you leave for a shoot. From the camera settings, through to the lighting and the processing and output, proper colour management should be at the heart of your photography.
Five top tips for colour management
1/ Get colour right before you leave the house
Capture maximum image information with the Adobe RGB colour space and utilise the raw file format.
2/ Ensure the right environment for editing your images.
Minimise the influence of various light sources as these can affect the on-screen colour.
3/ Make sure your monitor’s colours are accurate
Use a spectrometer to measure and correct the accuracy of the light colour and brightness displayed by your monitor.
4/ Soft proof your images before printing or exporting
Use a soft proofing software to preview how your image will print or display on your intended paper or device.
5/ Create ICC Profiles
Make sure that your monitor and printer are singing from the same sheet by running printer calibration.
Get colour right before you leave the house
Colour management doesn’t all happen in the digital darkroom. Ensuring that you have the right camera settings before you leave the house will help set a firm foundation.
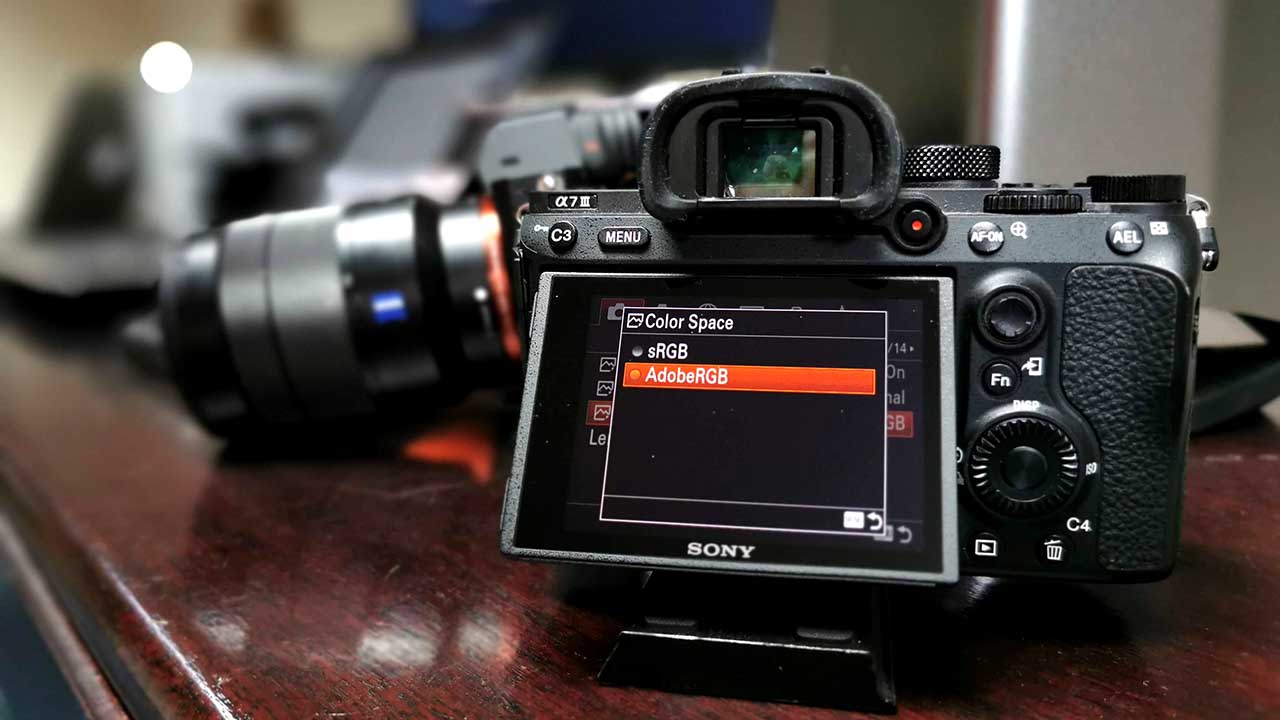
Most cameras are by default are set to the sRGB colour space but delve into the settings and you’ll find an Adobe RGB option.
The Adobe RGB colour space has a wider colour gamut than sRGB. Consequently, using Adobe RGB means that more of the colour spectrum is captured in the Jpegs, and therefore, you have more flexibility with their editing.
While the Adobe RGB space is good, not all monitors can display its full-colour range. As a photographer, it’s advisable to use an Adobe RGB monitor, so if yours isn’t, then, it might be time for an upgrade.
The next aspect to look for is the file format. Most cameras enable you to shoot raw as well as Jpeg files. A raw file contains far more image data than a Jpeg file and using it gives you more flexibility when it comes to editing.
When you arrive at your location, check the white balance of the camera. The Auto White Balance (AWB) systems in most cameras are good, but if you want to make sure you have the colours right, then set the white balance manually.
Even if you’re shooting raw files, it usually saves you time and effort if you get the white balance right in-camera.
If you want to be sure about colour and colour influences, then introduce a colour chart into a shot as a reference for when you’re editing. A colour chart such as the SpyderCheckr 24 is a compact and versatile solution.
Now you have the camera set you can take your pictures in the knowledge that you have done everything possible to capture good accurate colour.
Ensure the right environment for editing your images.
One of the most significant issues with colour management is the ambient lighting conditions of the location that the photos are edited.
Everything from daylight streaming through the window to artificial room light, desk lights and even wall colour influences the colour balance displayed by your monitor.
When you set up your computer, try to find a location out of direct light that avoids shadows or reflections on the screen.
Natural daylight is always best, and a north-facing room will usually ensure the best soft diffused light.
If you’re working under artificial light, make sure that the lightbulbs are daylight balanced as this reduces the influence of their colour temperature on your monitor.
Once you’ve found a colour-neutral environment to work in, you need to think about monitor calibration.
Make sure your monitor’s colours are accurate
Monitor calibration sorts out the display of your monitor to make sure that the image you’re adjusting on-screen will look the same once it’s printed or shown elsewhere.
Although it’s possible to adjust your monitor’s brightness, colour and contrast using the on-screen display, those adjustments are far from ideal.
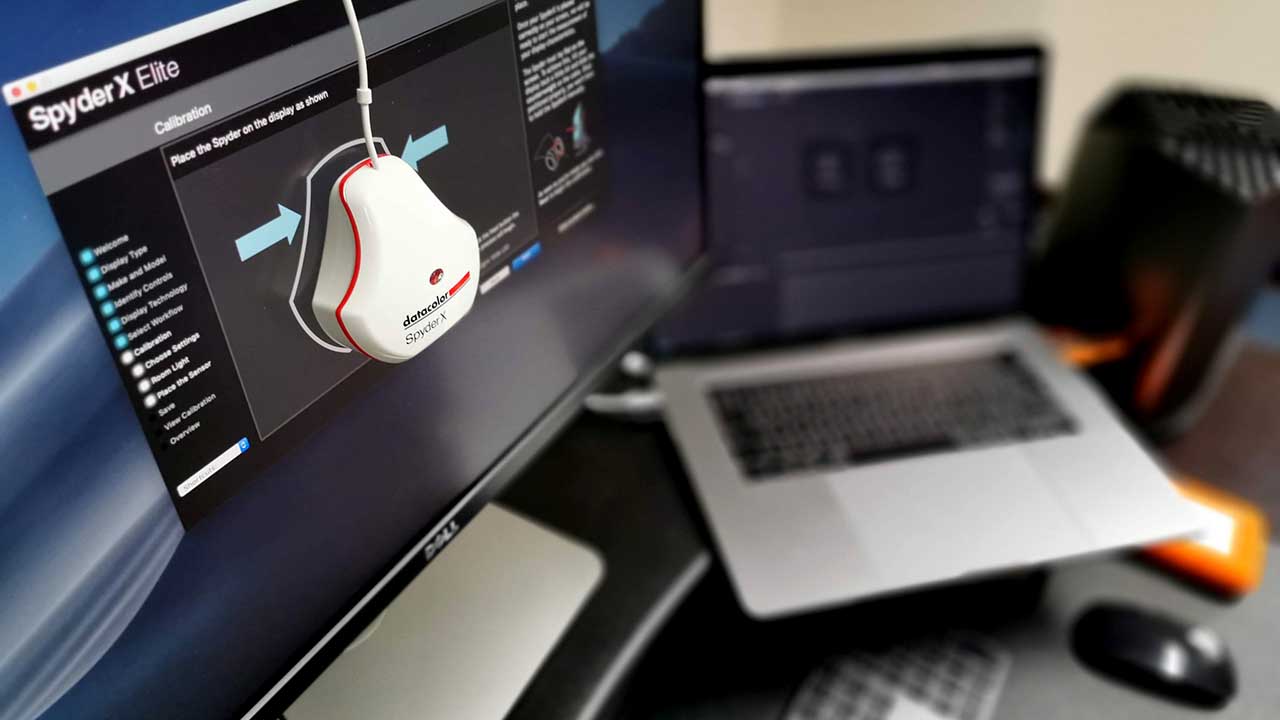
There’s only one way to ensure that colour is correct and that’s to use a spectrophotometer such as the DataColor SpyderX.
The SpyderX reads the light colour projected by your monitor and compares it against a set of standards. Once the calibration process has completed, software such as SpyderX Pro or Elite specifies the settings for the monitor.
It only takes a few moments to calibrate a monitor with the SpyderX but you need to repeat the exercise at set intervals to make sure that the colours you see stay accurate.
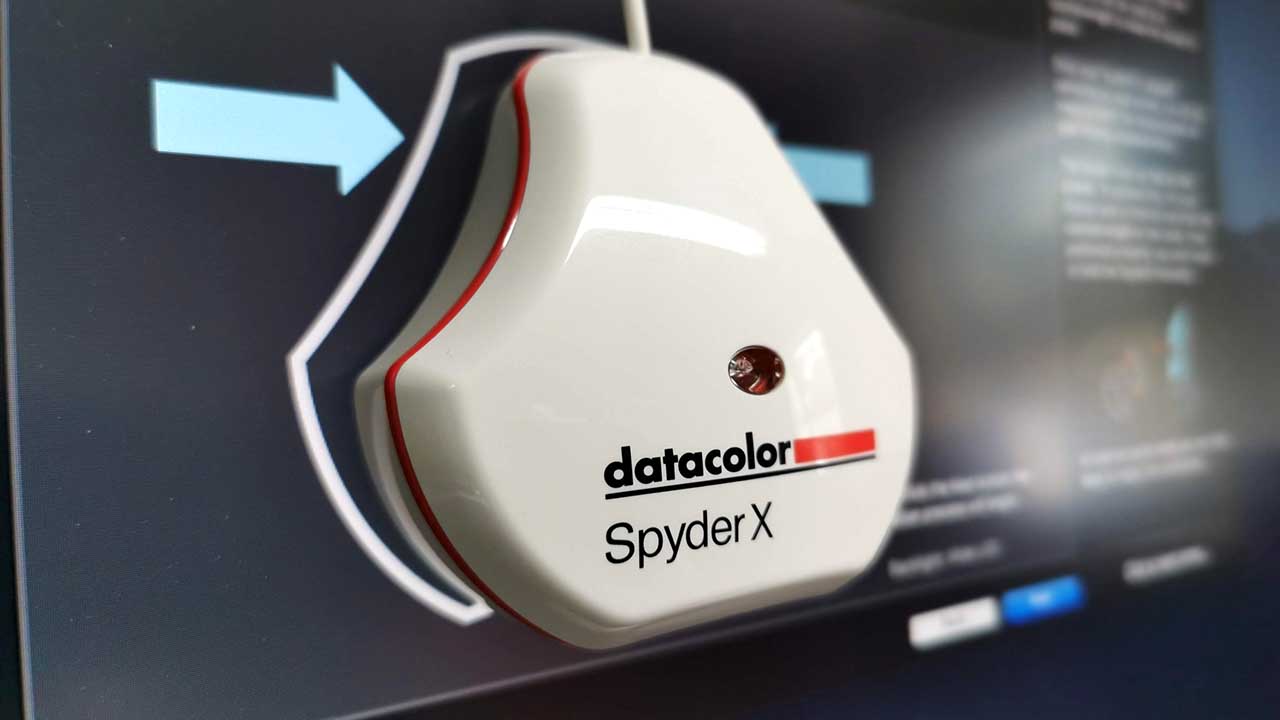
DataColor’s SpyderX is available as either the SpyderX Pro, which is designed for enthusiast photographers and SpyderX Elite which is better suited for professionals and studio use.
You can discover more about monitor calibration in this feature A properly calibrated monitor is an essential part of colour management https://camerajabber.com/a-properly-calibrated-monitor-is-an-essential-part-of-colour-management/
Once your monitor is calibrated, you’re ready to work on your images in your chosen imaging application.
Soft proof your images before printing or exporting
Soft proofing is a professional feature that enables you to preview the way your image will display on other mediums and devices.
The SpyderX Elite software has a comprehensive soft proofing feature that enables you to select the medium; display, printer or tablet and then preview how the image will appear on it. It can save you lots of time and money when you’re printing.
Soft proofing has many benefits, including highlighting where colour tone will be lost. This clipping or tone reduction isn’t always easy to spot by eye, but the SyperX Elite software has Gamut Warning option. Once this is selected, the affected areas are highlighted.
Soft proofing is essential to professionals, but it can be useful to all photographers. For a start, it can help you to better understand the relationship between the colour and tone of an image during enhancement and the final output.
Create ICC Profiles
Although more and more people are uploading images to online galleries, there’s nothing like printing your work.
Once again, colour management is critical for ensuring that both your monitor and printer are singing in tune, and it’s crucial that everything is calibrated.
Whether you have a printer at home or you use a lab, the DataColor SpyderPrint can ensure the quality of the output.
This device enables you to profile your chosen paper for top-notch results. All you have to do is print out a specially designed chart and scan it with the unit. The SpyderPrint reads the details and colour of the chart and creates a profile that you then load into the computer so it can be applied to future prints on that paper.
This profile, better known as an ICC profile (International Color Consortium profile), ensures that the colours printed by your printer are correct, the blues are blue, and the yellows are yellow etc.
If you’re printing at home, then print the chart using your printer as you would a normal image, then scan it with the DataColor SpyderPrint and software to create the profile. However, if you’re using an online lab service, upload the test chart as if it were an image and order a print. When it arrives back, scan the print to create an ICC profile for that paper and lab service. It will save you time and, often more importantly, money in the long run.
Upgrade to DataColor SpyderX Pro or SpyderX Elite
From 9th to 15th September 2019 @Datacolor will be carrying out an upgrade promotion!
To discover more on the offers available check out bit.ly/2lJBLec