


Whilst the challenge of planning and shooting a video may seem like a mountain that’s almost too difficult to climb by deploying a few simple tips and rules the whole process can be easily simplified. Steve Fairclough explains many of the key factors and rules to apply to plan and execute your video shoots with precision.
What you’ll learn
- The importance of knowing your camera’s video capabilities
- How to plan and tell a story
- Why you need to move the camera
- The importance of shooting at different angles
- The need to shoot B-roll footage
- How to keep your footage interesting
What you’ll need
- A camera with, preferably, two memory card slots
- A camera with at least a 1080p shooting capacity
- A fully checked kitbag for your location shoot
- A notebook with your shot list and story outline
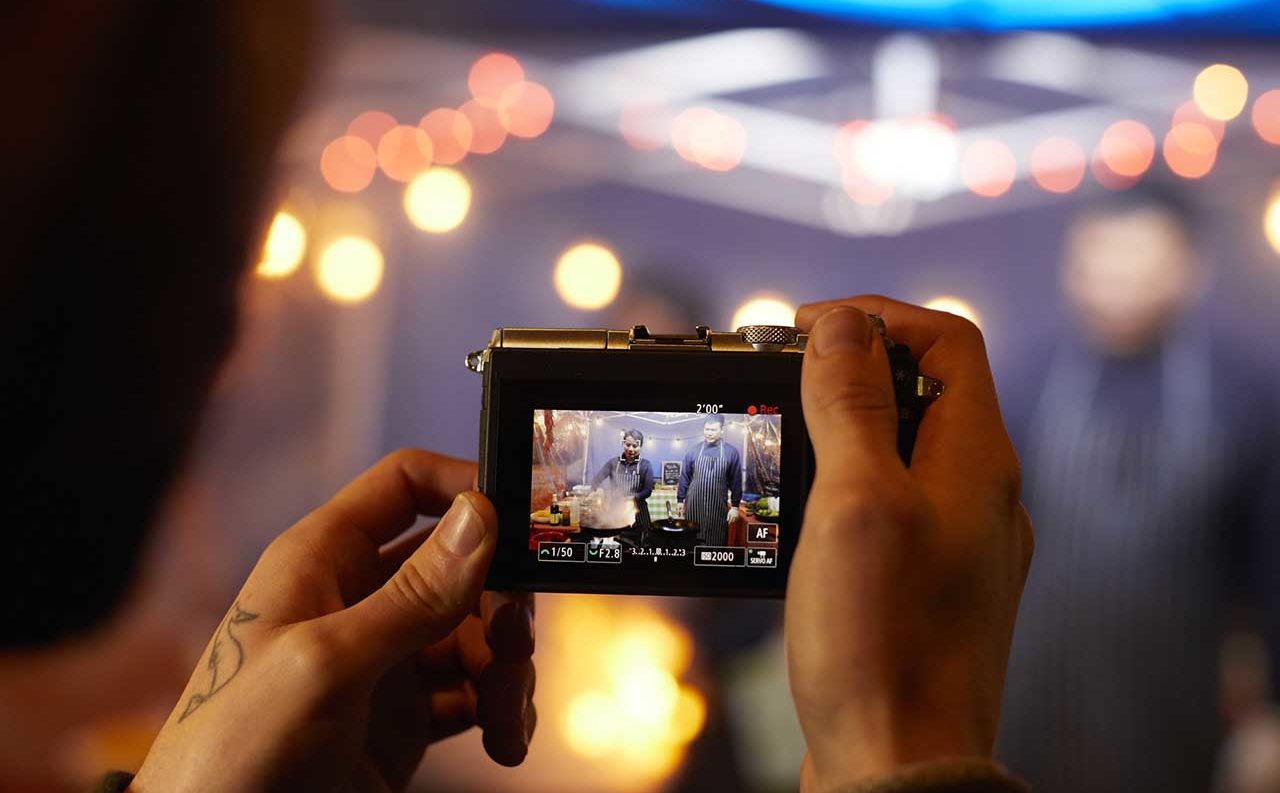
Making the leap from shooting stills to capturing and creating videos can be a daunting one, but with a few simple guidelines the process can become much easier. To help you out, here are some essential tips to keep in mind when you’re planning and creating your videos…
01 Know your camera’s capabilities
Make sure that you know the video settings of your camera inside out before you go out to shoot. Familiarise yourself with the camera’s video menu options – frame rates, video resolutions (for example, 720p, 1080p or 4K?) and movie formats.
This means you’ll know what type of video you will be shooting and can then maximise your time when out shooting. This will also help in the editing process when footage is consistent, thus making it more straightforward to edit.
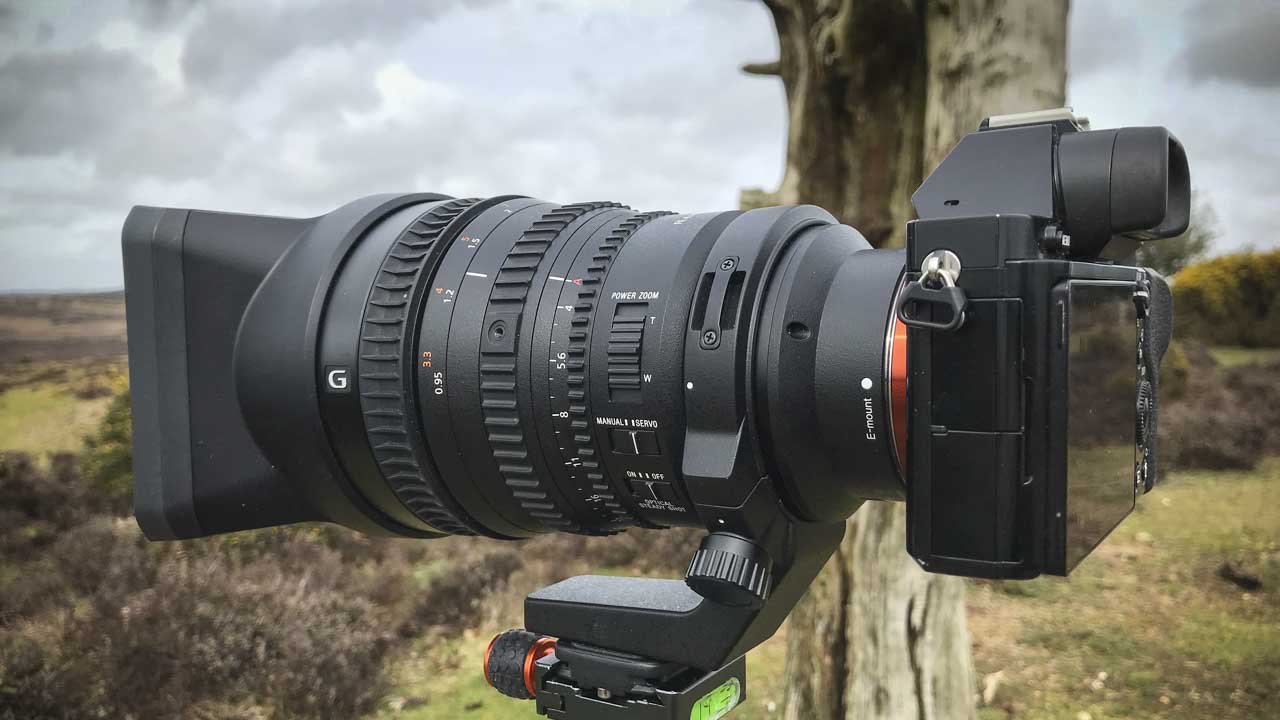
02 Consider your lens options
For planned scene compositions work out what additional lenses you might need to bring on a shoot. As a rule of thumb it’s good to have a wide-angle, a medium telephoto (say around 100mm) and a longer telephoto to give you at least three potential viewpoints. Shooting with different lenses will add variety to the look and feel of your footage.
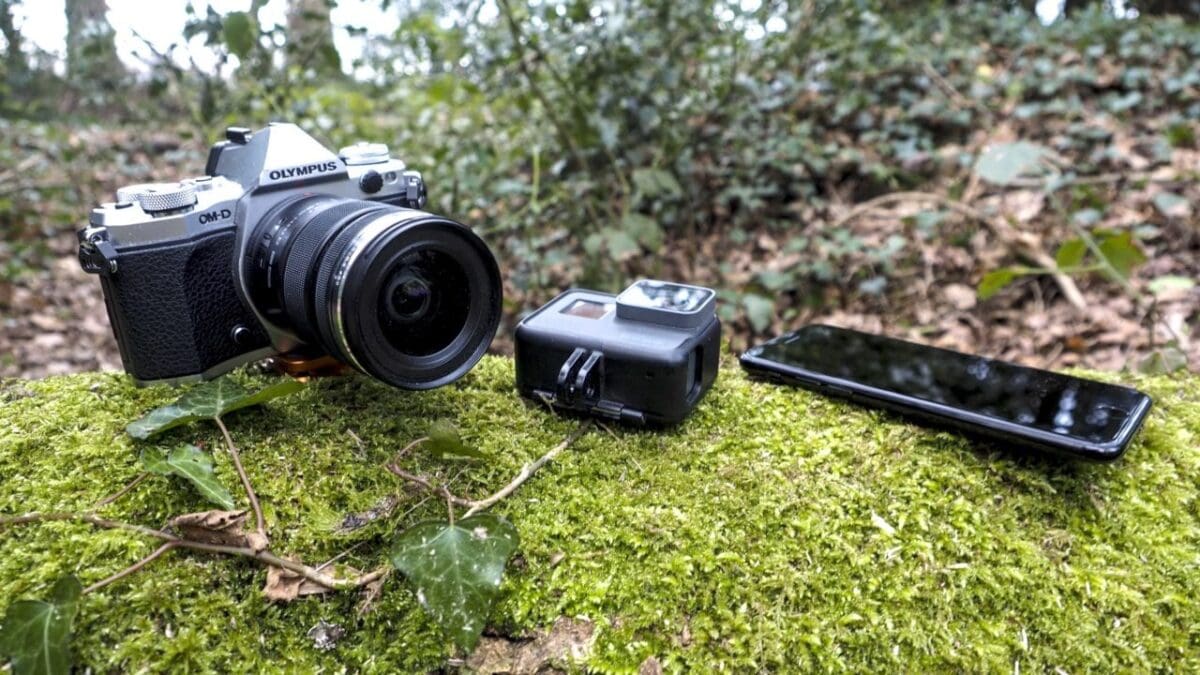
03 Do your gear checks
Before any shoot make sure you have enough batteries, camera supports (such as tripods or monopods), memory cards, a back-up camera, lenses, microphones, rigs, focus pullers, sliders or any external hard drives that you might need for saving and backing up footage as you go.
There’s nothing worse than being on location and being a single battery or memory card short of capturing all of the footage you wanted to.
04 Shoot familiar topics
If you’re starting out with video it’s best to begin with a topic you know well and enjoy. This could be your children or family pets.
For example, you could tell the story of family day out, from getting ready to the journey, travelling, at the location and returning home. If you are shooting something you have an interest in, your enthusiasm should come across in your footage.
05 Plan your storytelling
Think carefully about the story you want to tell – all stories should have a beginning, middle and end. Think about how you want to tell this story. The obvious way to do this is to plan out these three key story sections and work out what you need to shoot in order to keep the narrative flowing throughout the story.
For example, if you’re shooting a football match consider the pre-match build-up, the match action and the aftermath – for example, how are the winners celebrating?
06 Make a ‘shot list’
For shooting any film, making what’s known as a ‘shot list’ is essential. Consider your main shots but also the additional shots that will help you to tell the full story. Always write these down and cross them off after they have been shot.
They can be in scene order and include info on location, type of shot, camera movement, any subjects in the shot and a brief description of the shot. There’s nothing worse than getting home after a location shoot to realise you missed one crucial shot – a constantly updated ‘shot list’ will stop this from happening.
07 Set the scene
There are different types of shots such as establishing shots, medium shots and close-ups. An establishing shot is often a wide-angle view – say of guests congregating at a hotel for a wedding or a forest at sunrise that you will later film wildlife in.
This is scene setting! From that you’ll lead into medium shots, such as the inside of a church at a wedding, and close-ups, such as wedding rings on fingers.
08 Remember your B-roll
You’ve probably heard many filmmakers discussing shooting B-roll or shooting with a B-camera. This means shooting additional footage or using an additional camera (maybe with a close focusing lens) to shoot details.
For example, for a wedding you might film the groom dressing or a bride having her make-up and hair done. A wedding doesn’t start at the altar, so think of it in terms of documenting the whole day.
09 Keep moving!
Unlike stills photographers, who stand still and focus on one area, filmmakers always have to keep movement in mind. Think about if you need to pan across a scene, zoom in or out or move the camera from the bottom of a scene to the top or vice versa.
Also, consider if you need to move with your camera whilst shooting or if you need to use a rig, focus puller, slider, dolly or other accessory to help you to move your camera smoothly. Such approaches to movement can marry up with your shot list and will help you to map out the creative approach to the shoot.
10 Use different angles
Unlike some stills photographers, filmmakers will often choose more creative angles. When shooting video don’t always shoot at eye-level or shoulder height – go high or low to capture different perspectives.
For example, if you are filming children, shooting at their height will have more impact than filming them from above – try to tell the story from their point of view, not yours.
Also, these days, you might consider shooting with a drone to give yourself some aerial shots with punch. Always have in mind what angles you want to allow you to capture the shots with the most impact for your final edit.
11 Apply the ‘10-second rule’
The key to all films, even 90-second shorts, is to grab the attention of the audience and hold it throughout. This can be greatly helped by deploying the ’10-second rule’, which means any single clip shouldn’t be longer than 10 seconds.
It’s much better to shoot 10 interesting 10-second clips rather than one continuous 100-second clip when you may have to zoom in and out to alter your viewpoints.
When doing this think of yourself as the viewer of the film – what would hold your attention in a finished film/edit?
12 Check focusing
Always keep checking your focusing. Many modern cameras that shoot video do offer AF solutions for focusing but you shouldn’t just rely on this and, in fact, it often doesn’t work for shooting certain subjects.
A good rule of thumb is to start with manual focusing and lock focus at the start of recording. Changing the point of focus within the same scene is known as ‘focus pulling’ but this will take some time and effort to perfect.
13 Consider your composition
When you watch TV programmes, such as wildlife documentaries, you’ll often see that filmmakers compose images like stills. Maybe pause a TV programme, such as Blue Planet II, and see what the scene looks like?
The rules for stills composition hold true for shooting video… things like filling the frame, using leading lines or using the rule of thirds can also be applied to video.
14 Use light
Again, as you would with stills, work out how you are going to use light in your scenes. Are you shooting with available light or is some form of artificial light required? Don’t be afraid to use fill-in light and, when you get more confident, you can also get more creative with lighting.
15 Storyboard it with stills
If you are still finding it tricky to plan a video shoot, why not storyboard it with stills? Shoot a day out in stills and then pin them in sequence to a board to plan out what video shots you’ll need.
You can also make notes such as pan, zoom, or focus pull for individual shots so you’ll know exactly what you have to shoot and how you’re going to shoot it.
Key takeaways
Be prepared! Like a good scout, you need to be prepared for any video shoot. Imagine if a filmmaker like Steven Spielberg turned up on set for the first day of shooting his latest movie and there were no shot lists, no planned scenes and no equipment choices had been made… you can only imagine the chaos.
You have to think of yourself as a microcosm of this and plan shots, the equipment needed to do so and exactly how you are going to tell the story.
All of the tips above are just good habits to get into if you’re shooting videos. If you deploy them for all your shoots, you won’t go far wrong. You’ll get more proficient the more videos you make, but these are great building blocks to make sure your shoots go well.
Using these tips will help to ensure that you end up with better footage and with a better chance of producing something great in the edit suite.