


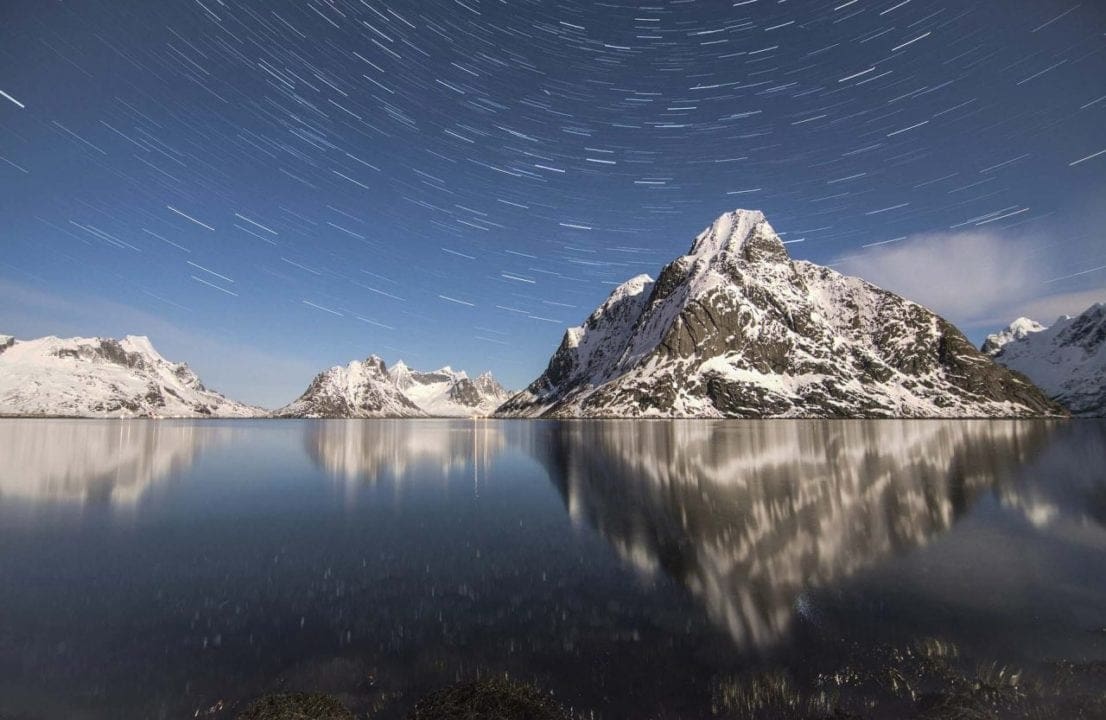
Knowing which f stop to use for landscape photography makes all the difference between images that are sharp from foreground to back and full of detail, and photos that have limited depth of field.
That’s not to say there’s a right or wrong f stop to use in landscape photography. There is no right or wrong way to photograph a landscape, after all. Different effects provoke different moods.
But typically, in most situations people want to shoot landscapes that are in focus from the foreground all the way to the background. So how do you do that?
Getting the best aperture for your landscape
Understanding which aperture to use and when is crucial for successful landscape photography.
The aperture is the name for the opening within your lens. The numbering system of an aperture’s f stops often trips up new photographers, but a wide aperture (typically f/2.8 up to f/5.6) are wider apertures that let in more light, but as a result less of a scene will appear sharp beyond your focal point.
Apertures in the range of f/16 to f/22 are narrow apertures that allow less light into your camera. Because they allow less light in, you have to use longer shutter speeds to use them. And this means that more of your scene will be recorded in focus.
So in landscape photography, you’ll typically want to use a higher f stop, or narrow aperture, to get more of your scene in focus. Generally, you’ll want to shoot in the f/8 to f/11 range, topping out at around f/16.
Where are you are within this range typically depends on how far away your subject is, and the best way to determine your f stop for landscape photography in these instances is to use the hyperfocal distance technique.
SEE MORE: Manual focus: 3 modern technologies that make sharp images easier
Find your f stop with hyperfocal focusing
Hyperfocal focusing is a tried and tested technique that landscape photographers use to give their images as much depth of field as possible. In practice, it means manually focusing your lens to focus a third of the way into the scene.
Why a third of the way into your frame? This is because the depth of field in a scene typically extends from about one-third of the distance towards the camera in front of your focal point, and two-thirds of the distance behind it.
Hyperfocal distance focusing enables you to focus at a specific point which makes both the foreground and the background look sharp.
If your focal point is in the very near foreground, then your depth of field in front of your subject is basically being wasted, and your background will likely be out of focus.
So if your scene depends on the sharpness of something in the immediate foreground and the distant horizon, it’s probably not going to look how you want it to appear. But at normal shooting distances hyperfocal distance is a surefire method of increasing your depth of field.
A word of warning: your image may look blurred in your viewfinder when you employ this technique, but do not fret.
It looks out of focus because the image is always displayed at your lens’s largest or maximum aperture. If you press your camera’s depth of field preview button you’ll see a more accurate rendition of your image.
It’s also worth noting that hyperfocal distance varies according to the combination of camera, lens focal length and aperture being used. Once these are set, you can work out where to focus using one of the many hyperfocal distance apps available for your smartphone.
To set the hyperfocal distance you’ll need a lens with a built-in distance scale. If yours doesn’t offer this you can also measure the distance using a tape measure or laser measuring tool.
You can also estimate hyperfocal distance using Live View and depth of field preview to ensure details are in focus.
SEE MORE: Best camera settings for shooting landscapes without a tripod
Don’t use the smallest aperture
From what we’ve said above it probably sounds like the smallest aperture / biggest f stop is best for landscape photography, but alas, no.
The reason is because a form of distortion known as diffraction is very common at smaller apertures.
Diffraction occurs when light hits the edges of your lens’s aperture blades as it passes through.
As the light rays are bent and dispersed, your photograph will look softer and out of focus. It’s worth noting that diffraction occurs at all f stops, but it’s more noticeable at the smaller apertures.
How to control the f stop / aperture in landscapes
You can control your aperture and improve your landscapes by setting your camera to its Aperture Priority (Av) mode. Here’s how to do it…
01 Select Aperture Priority mode
Select the Av shooting mode on your camera (usually listed as Aperture value or Aperture Priority). This exposure mode allows you complete control over the camera’s aperture so you can set an f stop that best suits the subject you’re shooting
02 Set your aperture
Use the dial or thumbwheel to set your aperture. As we said above, you want to use your narrower aperture settings (higher f stops) so try taking some shots at f/8 through f/16 and see how each image looks.
03 Check the shutter speed
In Aperture Priority mode your camera will automatically set the shutter speed to correctly expose your shot according to the f stop you’ve dialled in for your landscape. However, be beware that it’s likely this shutter speed will be too slow to shoot handheld without risking camera shake.
SEE MORE: 5 ways to pull yourself out of a landscape photography rut
How tripods add depth of field
Depth of field, simply put, is a measure of how much of an image is in focus. This is measured from the nearest point in a scene to your camera that looks sharp, out to the furthest point that is in focus.
In an ideal world, you would have the full range of apertures to choose from every time you take a photograph. Having complete control over the amount of depth of field you include in a scene would make every landscape photographer’s job so much simpler!
However, anyone who’s tried to take a picture in less-than-ideal light will know that the range of apertures you have access to is all too often restricted by the fact you can’t use a shutter speed fast enough to avoid camera shake.
Tripods can be cumbersome beasts to carry and lug around, but it’s for this reason alone that they are so vital to landscape photography: they add depth of field.
When you mount your camera to a tripod you can shoot at the smallest apertures regardless of what the light is like.
With your camera on a tripod, switch your exposure mode to Aperture Priority, as we described above, and use the dial or thumbwheel (or whatever mechanism your camera offers for setting the aperture) and set the f stop you want for your landscape.
Typically you will see the f stop number on your LCD or in the viewfinder as you scroll through the options.
If you don’t have a tripod and still want to capture that depth of field? All is not lost. You may sacrifice some image quality, but simply increasing your ISO to one of its higher settings will also allow you to shoot at a shutter speed fast enough to handheld at your desired f stop.
READ MORE
How to develop your own style in landscape photography
7 camera focusing errors and how to avoid them