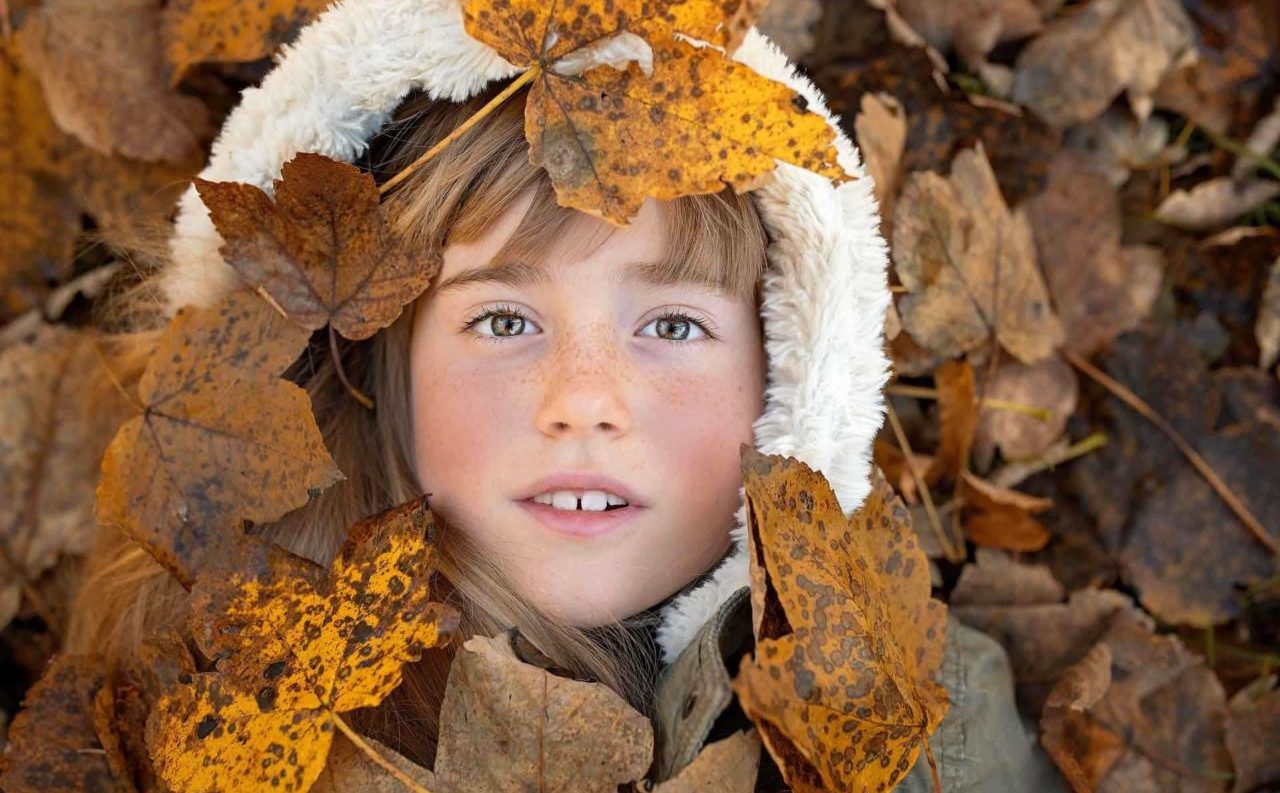


Autumn photography makes us think of holly leaves, red berries and golden canopies of trees, but it is also a wonderful time to shoot outdoor portraits. The low angle of the sun this time of year will add dramatic lighting to your subject and make your autumn portraits all the more romantic looking.
What’s more, the many reds and oranges of the season perfectly complement the rich golden light of autumn, adding an extra layer of detail that creates a dream-like feeling in your autumn portraiture.
In this photo editing tutorial we’ll show you a quick technique to warm up your autumn portraits using adjustment layers. We’ll show you how to boost the autumnal colour palette, while at the same time reduce clipping and restore some of detail in these areas.
How to boost the colour in your autumn portraiture
01 Adjust the temperature
Open your raw file in Adobe’s CameraRaw editor. Next, try dragging your temperature up to about 6050 to give your autumn portrait a warmer feel. If you press O as you drag this slider you’ll notice any clipped highlights in the image, which will appear as red blotches.
If you then drag the Recovery slider to about 39 you can restore some of this lost detail. When you’re happy, click on Open Image and you will now move into Photoshop’s standard image editor.
02 Adjust the hues
You’ll want to work non-destructively here, so it’s a good idea to click the Create New Adjustment Layer icon. Then choose the Hue/Saturation option. Chances are you’ll want to enhance the autumnal look of the leaves in your portrait, so set the adjustment layer Edit field to Yellows. Try changing your Hue to about -20, and when you’re happy click OK.
Next, click the adjustment layer’s mask to a target it – this will be a little box icon inside the layer. If you then set a soft black brush with around 30% Opacity and drag it over your subject, this will make him or her look less orange.
03 Brighten the midtones
Create another adjustment layer, selecting Levels this time. Drag the grey midtone input level slider left to about 1.30 and you will notice some of the finer details brighten on your subject’s face.
However, you’ll want to prevent the autumn leaves you just adjusted from being lightened, so again click on the layer mask and use a black brush 100% Opacity and drag it over the leaves.
04 Boost the contrast
Next we’re going to click on the More button and select Flatten Image. If you then drag the background layer thumbnail onto the Create New Layer icon, and new layer dialog box will appear.
Select Filter>Blur>Gaussian Blur, and set the Radius to around 15. After you click OK, then set your new layer’s blending mode to Soft Light. You can then press Control+E to merge the layers.
05 Add more leaves?
Whether you stop here depends on how much of a purist you are. The steps up to this point will have fine-tuned your colours and created a more pleasing image. But if you want to take your creativity further we can continue and add some more traditional autumnal elements to your scene!
If you open up an image of some autumn leaves, then use the Magic Wand [W] to select the white background. Choose Select>Inverse>Edit>Copy. Edit>Paste the leaf onto the portrait. Use Control-T to scale and rotate the leaf. Shift-click on the leaf layers and choose Merge Layers. Go to Filter>Blur>Motion Blur.
Step 6 – Make a mask
Temporarily turn off the top leaf layer. Shift-click the Magic Wand to select the orange leaves on the background layer. Turn the falling leaf layer back on and add a layer mask to it. Target the layer’s mask and press Control-I. The leaves now fall ‘behind’ the foreground leaves.
READ MORE
20 autumn photography tips for awesome pictures of Fall
The differences between Lightroom and Photoshop