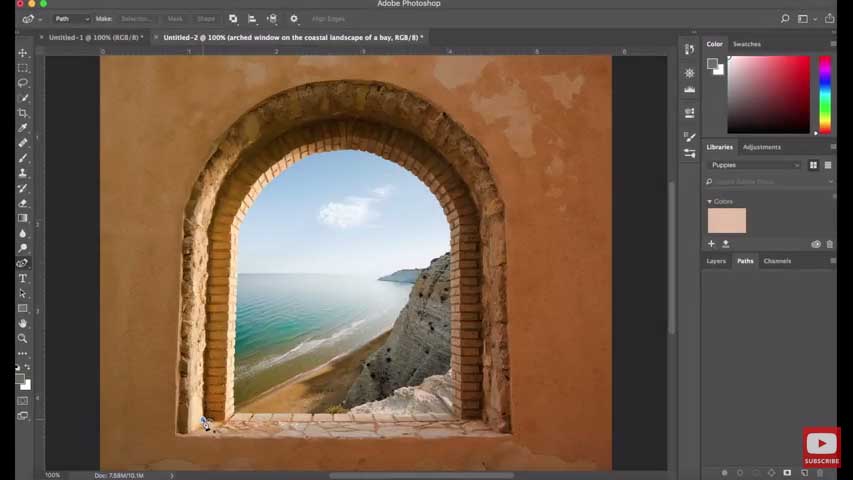
Adobe introduced the Curvature Pen Tool in Photoshop CC 2018, enhancing the process of creating vector paths and shapes. This tool simplifies the drawing of smooth curves and straight lines, making it more intuitive than the traditional Pen Tool. Users can create paths by simply clicking to add points, with Photoshop automatically generating curves between them. This approach eliminates the need to manually adjust Bézier handles, streamlining the design workflow.
The Curvature Pen Tool is located in the Pen tools group within the Tools panel. To access it, click and hold the Pen Tool icon to reveal the fly-out menu, then select the Curvature Pen Tool. If it’s not visible, especially when using custom workspaces from earlier Photoshop versions, you may need to customize your toolbar to include it.
This tool allows for seamless switching between curved and straight segments. Clicking adds a curved point, while double-clicking adds a corner point for straight lines. Existing points can be adjusted by clicking and dragging, providing precise control over the path’s shape.
For a visual demonstration of the Curvature Pen Tool’s capabilities, you can watch the following
1. Locate the Curvature Pen Tool
- Open Photoshop CC and load a project or create a new document.
- Access the Tools Panel (usually on the left-hand side of the interface).
- Locate the Pen Tool icon. It looks like the tip of a fountain pen.
- Right-click (or click and hold) on the Pen Tool icon to open the fly-out menu.
- Select the Curvature Pen Tool from the list. It looks like a stylized curve.
2. Adjust the Tool Settings
- Check the Options Bar at the top of the workspace once the tool is selected.
- Path vs. Shape: Choose between creating a Path (editable outline) or a Shape (filled vector).
- Stroke & Fill Options: For Shapes, adjust stroke color, weight, and fill color.
- Customize Preferences:
- To fine-tune the tool, go to Edit > Preferences > Tools (Windows) or Photoshop > Preferences > Tools (Mac).
- Enable “Enable Content-Aware Tracing Tool” for enhanced functionality if available in newer versions.
3. Use the Curvature Pen Tool
A. Create Curves
- Click to Add Anchor Points:
- Click anywhere on the canvas to place an anchor point.
- Continue clicking to add more points. Photoshop automatically creates a smooth curve between them.
- Adjust Curve Segments:
- Click and Drag: Move anchor points to reshape the curve.
- Hover over the path to reveal adjustment handles.
B. Create Straight Lines
- Double-Click an anchor point to convert it to a corner point.
- This creates a straight segment instead of a curve.
- Toggle Between Curves and Lines:
- Double-click on any existing anchor point to switch between curved and straight.
C. Modify Existing Paths
- Select the Curvature Pen Tool and click on an existing path.
- Add new points by clicking directly on the path.
- Adjust the position of points by dragging them.
Tips for Mastery
- Shortcut Key: Press Shift + P to cycle through the Pen Tools.
- Refine Work: Use the Path Selection Tool (black arrow) or the Direct Selection Tool (white arrow) to adjust paths after creating them.
- Precision Control: Zoom in for detailed adjustments by pressing Ctrl + “+” (Windows) or Cmd + “+” (Mac).
Looking to further enhance your use of Photoshop then why not take a look at a control console such as the Logitech MX Creative Console you can read our full review to see how it will help with your creative workflow.