With photography it’s very easy to get lost down the rabbit hole of your favourite subject or genre. But there are some rules, methods and ways of working that stand out because they can help you improve your images whether you like to shoot landscapes, portraits or even macro photography.
Put these nine photography tips to use and you’ll start seeing instant benefits in your images.
01 Keep it simple
Simplicity is often best. It’s easier for all to understand, and easier to achieve the result you want.
For the portrait photographer, this might mean using a single light in the studio, or fewer props. For the landscape or still life photographer it might mean taking a simpler approach to composing images.
You might avoid complex or confusing scenes and look for subjects or scenes that offer clean lines and nicely spaced elements.
This is actually something that photographers from the days of large format cameras found very beneficial. Because large format cameras displayed a scene upside down and laterally reversed, photographers said this helped them see their composition out of its original context.
Seeing an image as a graphical collection of shapes helped them re-compose to produce the most attractive arrangement.
Of course, our modern digital cameras display a scene in its proper orientation, which makes it harder to distance our brain from the reality of what we’re seeing.
02 Check the details
Be thorough. Before you press the shutter button, stop and take a moment to check all the details in your scene. And this is true of photography in any genre.
For instance, if portraits are what you like to shoot, make sure there isn’t a stray strand of hair cutting across your subject’s eye. Make sure any jewellery is correctly positioned and that the clasps are well-hidden. Look for stray tags sticking out of clothing.
There is so much in photography that we cannot control, but these are all things you can take ownership of and make a composition look less sloppy.
Again, if you’re shooting a landscape, bring your composition up in Live View. Take a look around your scene. Is there any litter or other distracting elements? If so, move it out of the shot.
Don’t be afraid to rearrange a things – even foliage. A colourful leaf in the foreground will look much better if it’s the right way up.
03 Check the edges of the frame
Photographers often run into problems at the edges of their images because it’s typically been difficult to see these areas of the frame.
If you have a camera with a viewfinder that covers less than 100% of the field of view, then you might not notice a stray branch or a telephone pole – or someone being sliced in half – at the edge of your frame.
If your camera boasts a viewfinder that displays 100% of the field of view, all the better. You’ll be able to see the very edge of the imaging frame, and it’s just a case of being extra vigilant.
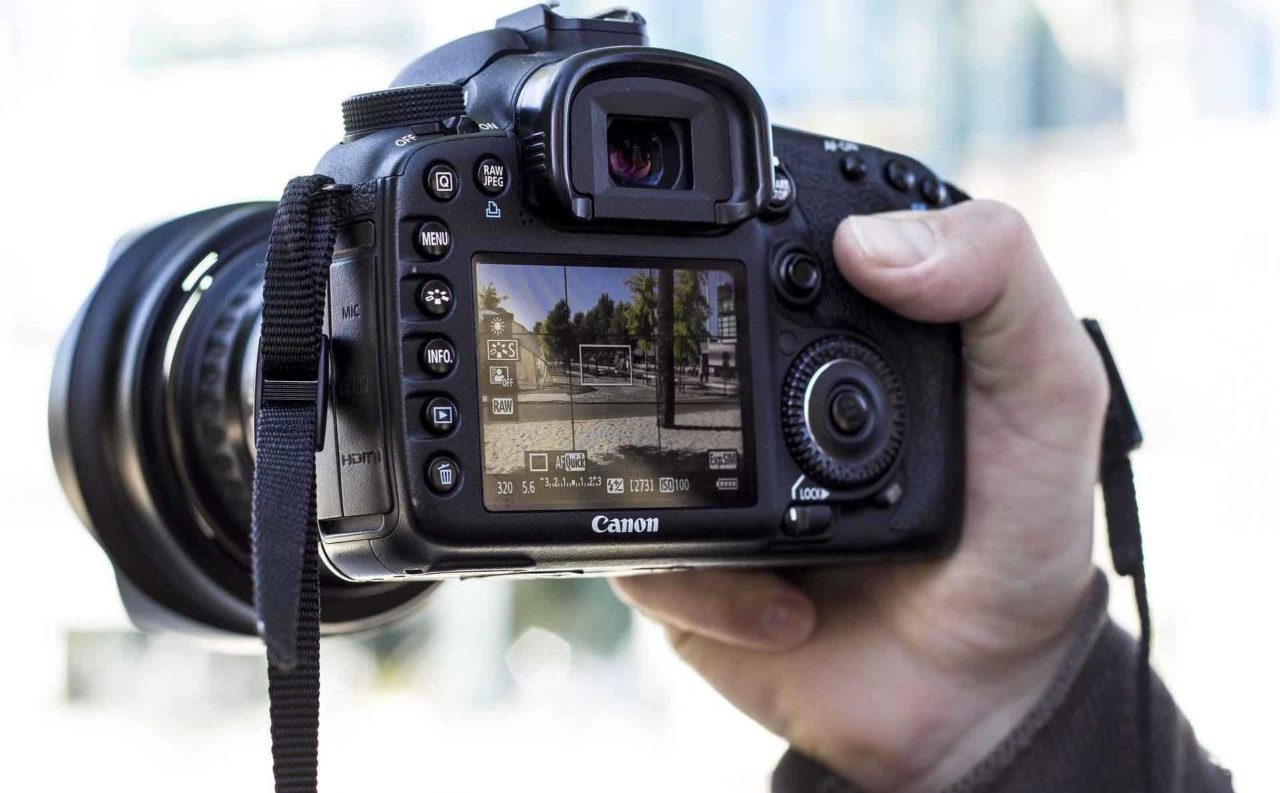
Framing your image in Live View is probably your best option regardless of what kind of viewfinder you have. Your Live View screen typically shows 100% of the scene, and it will be larger than your viewfinder where, even if you can see the edges, you might miss some smaller, unwanted elements.
04 Shoot raw
This one comes up a lot in lists like these, but it’s so important. On the other hand, we know that shooting raw files can be daunting for new photographers because it means you have to edit them before they can be shared.
However, we’re here to reassure you that ‘processing’ your images doesn’t have to be complex, and of the software supplied with your camera will do everything you need.
The advantage of shooting raw files is that they record the maximum amount of data possible in a scene, so if you are at home later and realise your exposure is slightly off you can quickly and easily correct the brightness.
Another benefit of shooting raw files – in any subject – is that they capture a wider range of tones, or what is called dynamic range. In other words, raw files are less likely to be spoilt by overblown skies and dark foreground shadows.
Raw files also allow for greater control over noise reduction. This means you can decide how much detail you want to sacrifice to hide any noise.
05 Wait for the light to be right
We all know that light is essential to any great image. And often photographers talk about waiting for the right light. But how do you know when the light is ‘right’?
Well, the answer really depends on personal tastes and what it is you’re trying to photograph.
For instance, the diffused, soft light on overcast days produces fewer shadows, and this type of light is great for outdoor portrait photography, as well as macro and still life.
Landscapes, on the other hand, look best when the sun is lower in the sky in what they call the Golden Hours of dusk and dawn.
What’s more, it’s also worth pointing out that more often you’ll find the light dictates what you will shoot, rather than waiting around for the light to be right. If the day is overcast, you might put your landscape plans on hold and spend that day shooting close-ups in nature.
06 Get closer
One of the most important lessons that beginner photographers should learn early on in their development is to get closer to a subject, whatever it is.
Many new photographers tend to shoot from too far away, and this leaves too much empty space above and below their subject.
As a general rule, whether it’s a portrait or a macro image, try to fill your frame with your subject. Your images will have more impact. Make every corner of your frame count.
Also think about using photo composition techniques like foreground interest, where another element of interest can give an image a sense of depth and scale, and lead the viewer’s eye into the frame.
07 Think before you shoot
It’s not always possible in subjects like street photography, but wherever possible, stop and give your images some thought.
Think about the most important elements of your scene and make sure you are clear on what it is you want to say about them with your image.
You also want to think about your exposure. Is there movement in your scene? Would you be better off freezing or blurring that motion? And do you want shallow depth of field or everything sharp from front to back?
If possible, it’s also worth walking around your subject to find the best angle. Make note of how the light hits your subject at these different angles and how it interacts with its background.
Thinking about these things in advance of taking a shot will result in a more polished, professional-looking image.
08 Underexpose rather than overexpose
The simple reason for this is that blown highlights can’t be recovered, whereas with underexposed images you can often retrieve some detail from the shadow areas.
Of course, this will increase any noise in your image. But it’s better than not getting the shot.
So if you are ever in doubt about the correct exposure for a scene, it’s best to err on the side of caution and underexpose.
09 Don’t be afraid to increase your ISO
Like our call to underexpose in No. 8, an image with a little noise is better than not getting an image at all. So in most cases it’s better to have a sharp image with a bit of noise than a blurred subject with no noise.
If you are shooting subject in low light that requires a fast shutter speed to get it sharp, your best option is to increase your ISO.
What’s more, if you take our advice from No. 4 and shoot raw files you’ll be able to dial down that level of noise while still retaining important details.


