


Have you turned a room in your house into a simple home photo studio? Oh, the fun you will have… Home photo studio photography is unlike any other genre, as it gives you total control over the environment, from the lighting and background down to the music you keep playing in the background.
In this tutorial we’ll share some of our best tips on how you can use your home photo studio more efficiently to shoot striking portraits and still lifes.
01 Use studio lights
Mention studio lighting and immediately many photographers will freeze up. But using studio lights isn’t as complex as many may think, and needn’t be frightening.
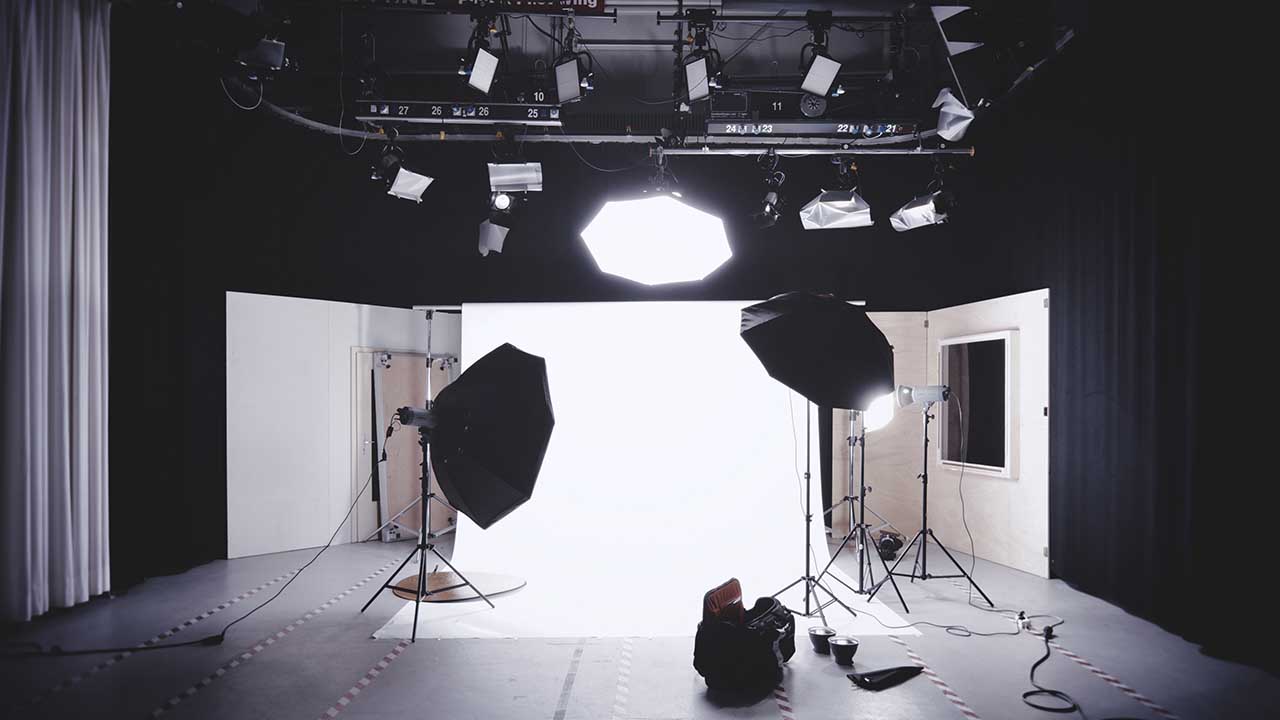
A simple home photo studio kit costs around £400 and typically contains two flash heads with stands and umbrellas.
If you’re using this type of kit, or something similar, a good all-purpose setup is to place each light at a 45-degree angle to the background from about 6 feed away.
You’ll get nice lighting with this arrangement and then can fine tune, if needed.
02 Bring an umbrella
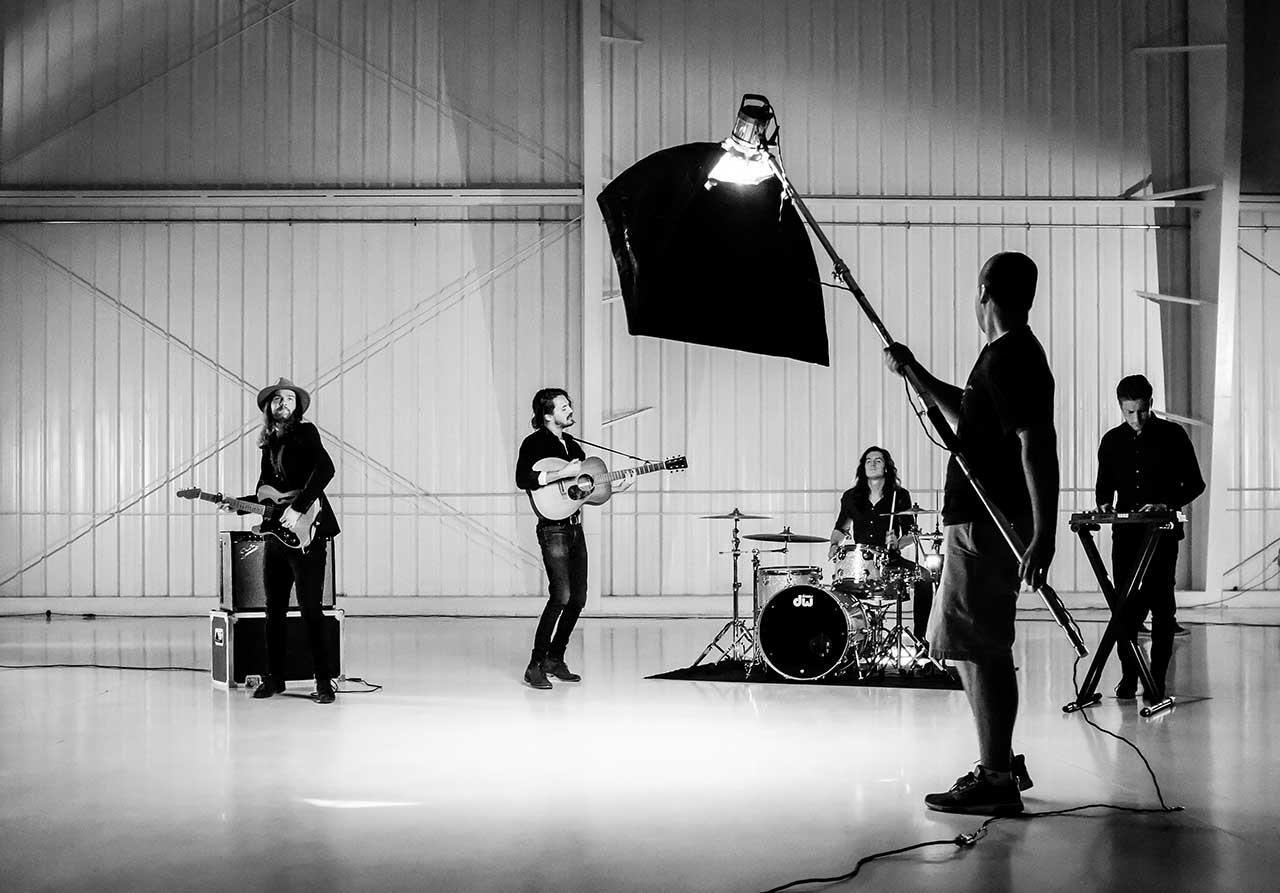
Umbrellas are also another useful staple in your home studio photography kit. Their reflective silver lining is great for bouncing light from your flash into your scene.
The light from a studio umbrella is scattered, giving images a softer look, which is ideal for portrait photography. This is great for family portraits, for instance photographing portraits or family shots because the light is softer and more flattering.
You can also get umbrellas with a gold lining, which is also useful for portraits, as it warms up skin tones. Likewise, a softbox will produce a similar result.
03 Just relax
The key to any great portrait is getting your subject to relax and engage with the camera. When someone is asked to stand amid all your flash stands and home studio gear, it might seem a little intimidating.
So to get the best reactions from them, try to lighten the mood. First off, tell them what you’re doing at each step of the way.
You can also help create a nice atmosphere with some background music and by keeping the conversation going with light-hearted jokes.
04 Fine tune your exposure
It used to be that when setting up studio lights you would need to use light meters and some complex calculations to figure out where to position them. However, the digital era has simplified this greatly.
Using your camera’s histogram and reviewing images in playback mode can give you a good idea of your exposure (as long as your subject is stationary).
We find that a simple trick for speeding up your workflow is to mark on the floor with tape the positions where your subjects should stand after you’ve worked out the best exposure and light combinations.
SEE MORE: 9 pro tips that work in any genre of photography
05 Be prepared
It’s always a good idea to set up your lights and camera settings in advance, but particularly with home studio photography, the more prepared you are the more confidence you’ll inspire in your subjects
This is particularly true with children. They have notoriously short attention spans, and if you are fiddling with your background and exposure for too long you won’t get a very good session from them, as they’ll grow bored.
A good practice is to get everything set up how you want it before you bring a family into your home photo studio. Take a few test shots and perfect your exposure. Fine tune your background.
Then bring your subjects into the studio and ask them to sit or stand at those locations you’ve marked on the floor per our tip in No. 4.
It’s also important that you keep shooting at this point and don’t waste time reviewing images on the back of your camera.
06 Shoot in Manual mode
When you have total control over the environment like you do in a home photo studio there’s no need to use your camera’s automatic, or even semi-automatic modes.
Manual mode gives you even more control over your image and will let you fine tune accordingly. We like to dial in a shutter speed of about 1/160sec and set our aperture to f/8 as a starting point.
It’s also worth noting your studio lights will likely have dials allowing you to control their level of intensity. So it’s worth turning these and experimenting with different combinations of settings until you find an exposure you’re happy with.
SEE MORE: 4 subjects where manual mode is a must
07 Dress for success
The last thing you want is for your subjects to blend into the background or, worse, wear something that places the image in a clear point in time. Novelty T-shirts, logos, anything that can date your image should be avoided.
Likewise, avoid white clothing to keep your subjects from blending into the background.
Keep it casual, yet contemporary. As your subjects to wear clothes they are comfortable in, but those which are simple colours, timeless and maybe bring a few colourful accessories for extra pops of colour in the image.
READ MORE
25 portrait photography tips for stunning pictures of people
11 toddler photography tips for gorgeous portraits of your child