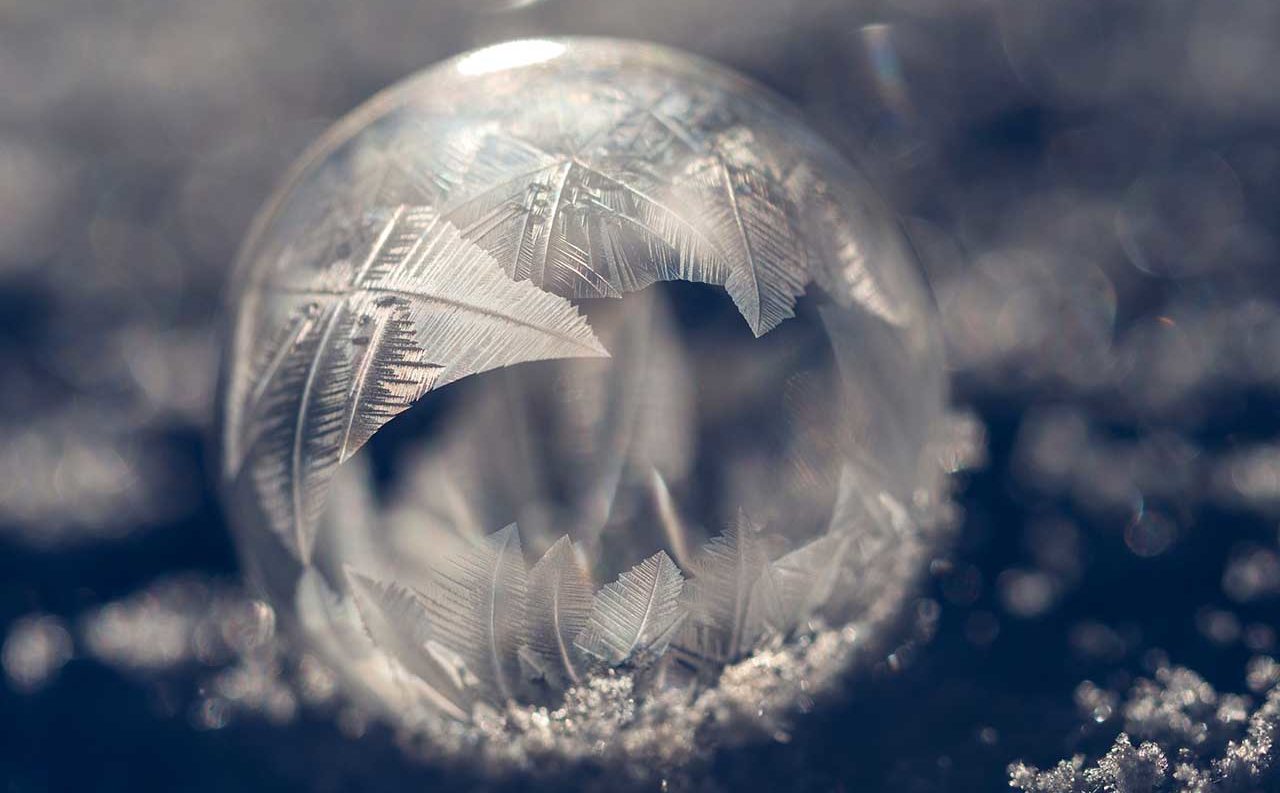


Silhouettes and graphical images can be very striking when done well, but for most of us, most of the time, it’s the finer detail that draws a viewer into a photograph. In this tutorial we show you several simple ways to add detail to photos.
As a photographer, these details are what will keep someone lingering on your image, studying it, so it’s important to make the most of what’s available.
However, sometimes obstacles get in your way. Luckily there are some easy tried and tested methods of reclaiming detail in your images.
How to add detail to photos: 01 Sharpen your images
Sharpening your images is the most widely used method of bringing out detail I your images. And while most people assume sharpening is something you do in post-processing, many cameras these days offer an in-camera sharpening option to save you that hassle!
We explain in-camera sharpening vs post-processing in depth in this tutorial, but the abridged version is this:
In-camera sharpening is easier than using Photoshop or other software. You dial in the level of sharpening you want, and your camera does all the work.
Typically, cameras will offer sharpening settings at high, medium and low levels. Trial and error will help you determine the level that looks best for your subject. The medium setting is typically the default for most everyday photography.
Post-capture sharpening, on the other hand, while more work for you, offers the photographer more control. This allows you to adjust the sharpening to better suit each subject, rather than relying on the effects of a High, Medium or Low mode.
Once you’ve got more confident in your photo editing skills, selective sharpening – where you make sharpening adjustments to specific areas of an image only – offers even more control.
Selective sharpening, for instance, lets you bring out detail in a mossy rock in the foreground without applying that same level of sharpening to a blue sky where it will just introduce distortion.
How to add detail to photos: 02 Side lighting
Image detail is essentially micro-contrast, the variation in tone at pixel level.
If a subject is illuminated front-on with a soft light it will be evenly lit with little tonal variation and any contours will be concealed.
However, if the light comes from a hard source to one side, any lumps and bumps will cast a shadow and contrast will be boosted.
This light can come from an artificial source such as a lamp, flashgun or studio light or a natural source such as a window or even the sun directly.
If the sun is behind cloud the light outdoors will be soft and even, but if the sun is shining, the light is harder and more directional so shadows and highlights appear.
When using window light indoors, it can only come from one direction even if the sun is behind cloud, so there will be shadow on the opposite (unlit) side of the subject.
Many landscape photographers prefer to shoot early in the morning, late in the afternoon or at early evening because the sun is low in the sky and it reveals the shape of the land.
It brings details in the landscape to life.
How to add detail to photos: 03 Adjust curves
Another great way to bring out detail in an image is by increasing its contrast with the Curves tool in your photo editing software.
Essentially this involves giving the curve a shallow S shape by dragging up the top section, which controls the highlights, and pulling down the bottom section, which controls the shadows.
This brightens the highlights and darken the shadows.
In some cases you may want to just increase the contrast of the midtones by steepening the middle section of curve.
This will require a couple of points along the top and bottom sections of the curve to lock them in position and prevent and tonal adjustment.
How to add detail to photos: 04 Dodge and burn
Photoshop’s Dodge and Burn tools provide one of the best means of enhancing detail because they allow you to paint in increased micro-contrast wherever it’s required.
Use the Dodge tool set to Highlights (or Midtones if necessary) to lighten brighter pixels in an important area of the image.
Then switch to the Dodge tool set to Shadows (or Midtones) and gradually darken the darker pixels.
You need to use both brushes over the same area (if one is set to Midtones the other should not be) to increase the contrast in the area that needs to appear to have greater detail.
The key is to work with very low opacity brushes (say 5%) and build up the effect gradually.