


In this quick tutorial we’ll show you how to think, see, compose and expose the world in monochrome with our 10 best black and white photography tips.
If you’ve never shot black and white photography before, then you are in for a treat. By removing the extra dimension of colour from a scene you are free to focus on its graphical nature. You can explore the many shapes, lighting and textures of a scene that we often take for granted.
Black and white photography tips: 01 Think in black and white
Of course, we can always just take an image we shot in colour and convert it to black and white in our photo editing software and hope for the best, but effective, powerful monochrome requires much more than an afterthought. Think about your favourite black and white images.
Most were probably shot by famous photographers from the past, and others might be more modern classics. We guarantee you that each one of the black and white images was pre-visualised with monochrome in mind.
What do we mean by this? The photographer studied that scene and mentally desaturated it in his or her mind, thinking about things like contrast and patterns. Even if you’re capturing your original images in colour, try to think about your scenes in this way and we are certain you’ll get punchier results.
For instance, shooting a bright green lone tree against a rich, blue sky will look great in colour, but in black and white the tones are so similar that they’ll become almost identical shades of grey. And you want a strong level of contrast in your tones that wows the viewer straightaway.
SEE MORE: How to shoot a daytime long exposure
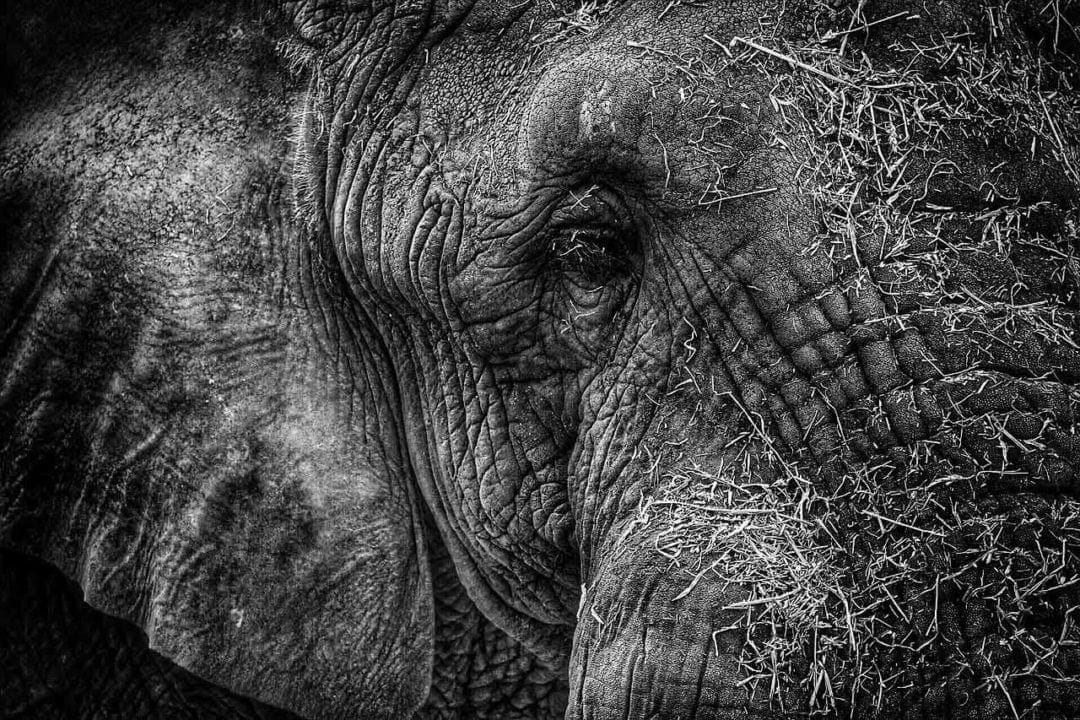
Black and white photography tips: 02 Textures and shapes
When you remove the colour from a scene, your composition then becomes reliant on texture, form and shape to provide impact. So further to what we said above in Tip 1, as you train your brain and eye to disregard the colour information in a scene, as well as contrast make sure you identify interesting textures and shapes that you can include in your compositions.
Black and white photography tips: 03 Shoot raw
It often goes without saying that you should shoot raw, but it’s especially important for black and white photographers. Shooting raw files and processing your images in a raw converter such as Adobe’s Camera Raw allows you to produce monochrome images in a non-destructive way.
You also have the flexibility to change the tones and contrast within a scene, even add a subtle colour cast. If you wish, you can even add effects like vignetting or replicate the old film technique of split-toning to enhance that nostalgic feel.
Black and white photography tips: 04 Split-toning
Split-toning was a technique favourite technique of black and white photographers back in the days of film. Mixing some of the usual chemicals in the darkroom, these photographers would – quite literally – split the tones in their resulting prints.
The effect would be one of a subtle shift from one tone in the highlights to another tint among the shadows and darker tones. It really is quite a pleasing effect, and like a lot of these old film techniques, you can recreate them in the post-processing stage with raw files.
SEE MORE: 6 beginner photography techniques you can use forever
Black and white photography tips: 05 Duotone
You can also employ a duotone effect to make your black and white photos more striking. This is another old film technique that you can replicate in the post-processing stage, even using a budget option like Photoshop Elements.
But before you start adding coloured tints to your images it’s worth thinking about how it will affect the mood. What is the colour temperature you’re adding, and will this contradict the feeling you’re trying to achieve?
A blue tone evokes a sense of coolness that might not be appropriate for some subjects, while a yellow or sepia tone might give a more nostalgic feeling to your images.
Black and white photography tips: 06 Filter effects
As well as creative darkroom techniques, black and white photographers on film used different coloured filters to control the type of monochrome images they produced. For instance, mounting a red filter would increase the contrast in a scene and give it more punch.
You can still do this on a DSLR or mirrorless camera and get similar results, but it’s worth noting that your raw file will be tinted as well before you convert to black and white.
To get this effect, we like to shoot without the filter but replicate the effect at the post-processing stage. In fact, most photo editing software provides menu of filter presets like these nowadays.
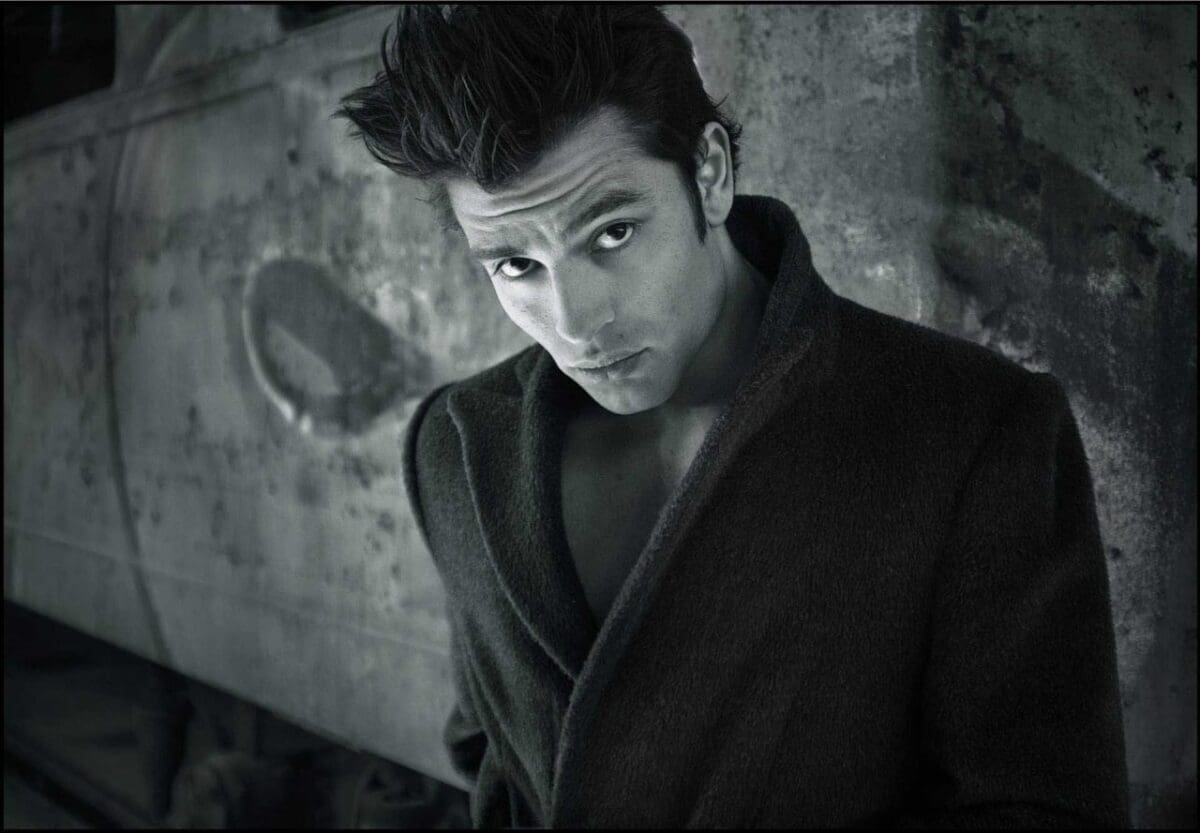
Black and white photography tips: 07 Monochrome portraits
When we think of black and white photos we often picture Ansel Adams’ striking landscapes, moody seascapes or graphical urban architecture. But you can make your portraiture incredibly striking by giving it a tasteful black and white conversion.
When should you do this? Some of the best black and white portraits are when, in colour, your subject’s clothes and hair colours distract from their face.
In these instances, converting your portrait to monochrome can eliminate these distractions and draw the viewer’s eye to your subject’s eyes and facial features.
Converting a portrait to black and white is also an effective method of smoothing out skin tones in your subject’s face. A striking black and white portrait requires more than just desaturating it in your editing software, though.
Doing this alone will only give you a flat, grey image with no contrast or punch. A better option is to desaturate but use your dodge and burn tools to boost contrast in specific areas.
SEE MORE: 25 portrait photography tips for stunning pictures of people
Black and white photography tips: 08 HDR in black and white
And speaking of Ansel Adams, the master landscape photographer, of course, developed the Zone System of metering so that he could capture detail in both the highlight and shadows of a scene.
Nowadays we have High Dynamic Range techniques that make this a little bit easier to achieve. HDR techniques involve taking several images of a scene at different exposures and combining them using either in your image editing software of choice or using dedicated HDR software.
What’s more, a lot of cameras now offer dedicated HDR modes that make this even simpler. Even just five years ago HDR was seen as quite garish, but nowadays these modes are getting more nuanced and the results can often produce a fuller tonal range while still looking realistic.

Black and white photography tips: 09 High and low key images
Black and white lends itself very well to both high and low key images. Both can produce striking effects, and are simple to achieve using a combination of lighting and digital darkroom techniques.
What are high-key and low-key images? Simply put, they are images that are either very light or dark in their tonal quality. Think of most stock photography images, for instance.
Often you’ll see a person against a bright white background, wearing bright colours. This is a high-key image, and it’s effective because it pops out of the printed page. But it works well in black and white, too!
Images that are very bright – or very dark – can be provoke strong moods in the viewer, which is a powerful tool for a photographer. But effective high and low key images isn’t just a case of over- or under-exposing your images (or pushing your Levels slider hard in one direction).
Like we mentioned above, the best high and low key images are those you have thought about in advance and identified scenes or conditions that lend themselves to what you want to achieve.
High and low key images still need detail in the highlights or shadows to be effective, and again, this is where your camera’s histogram will come in very handy.
Black and white photography tips: 10 Stop worrying about tips and practice!
We know, this sounds counter-intuitive when we clearly want you to read our black and white photography tips tutorial. But our overarching aim at Camera Jabber is to help you take better photos.
And the more you get off the internet and get out there with your camera, the sooner you will be able to train your eye to see which scenes will be most effective in monochrome. There’s no substitute for hard work, so get out there, take pictures and don’t worry about getting it wrong!
READ MORE
How to develop your own style in landscape photography
22 newborn photography tips every parent should live by