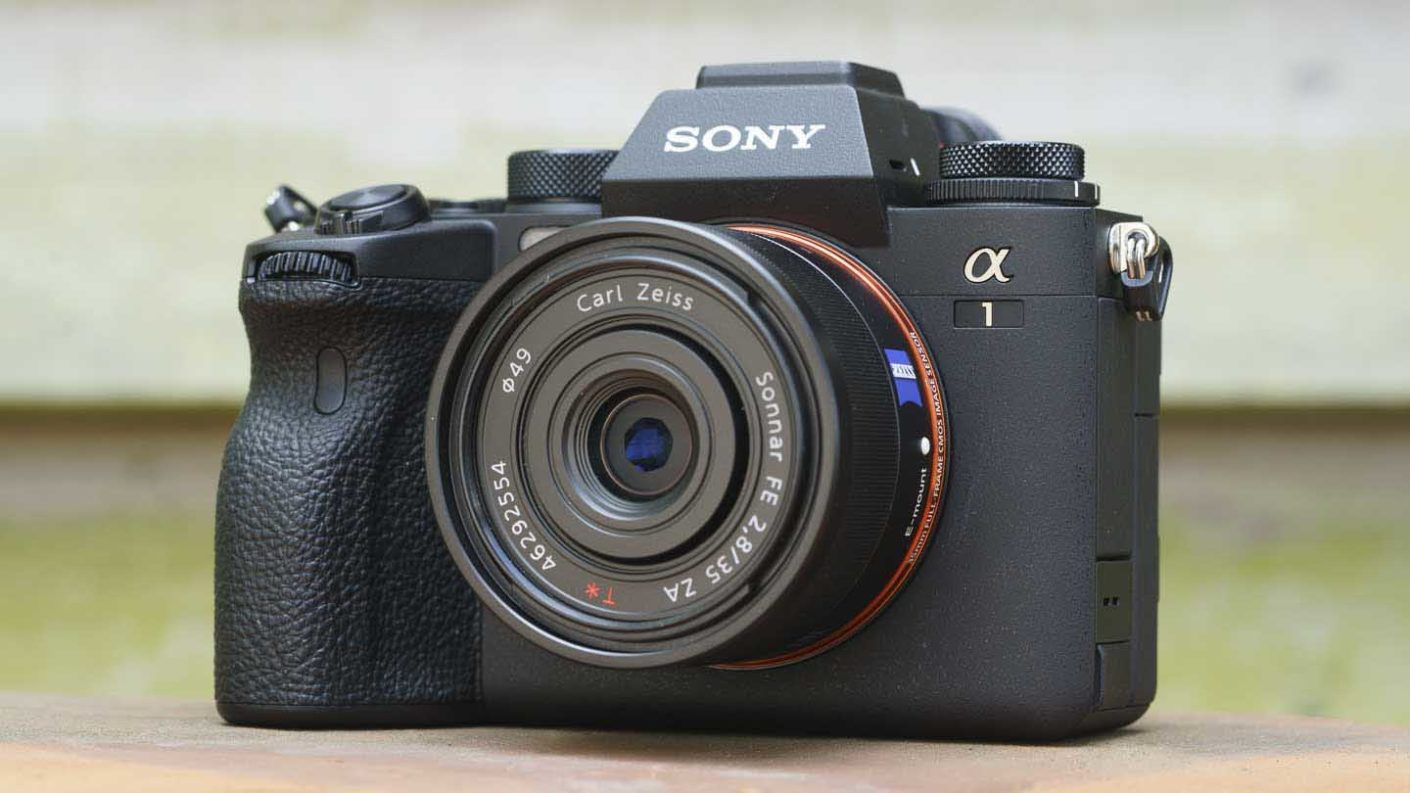
The Sony A1 isn’t the first 50Mp camera around and there are higher resolution models available, including the 61Mp Sony A7R IV, but the quality of the images that it produces at low ISO settings is absolutely superb.
Like the Sony A7S III, the A1 has an IR sensor on its front, between the top of the finger grip and the bottom of the viewfinder housing. This is designed to improve the performance of the auto white balance system, and it appears to have the desired results and the A1 produces some of the most pleasing colours of any Sony camera when it’s left to its own devices. Nevertheless, if you want consistent results, it’s best to set a custom white balance value or at least shoot raw images so you have the full-colour information for making any adjustments.
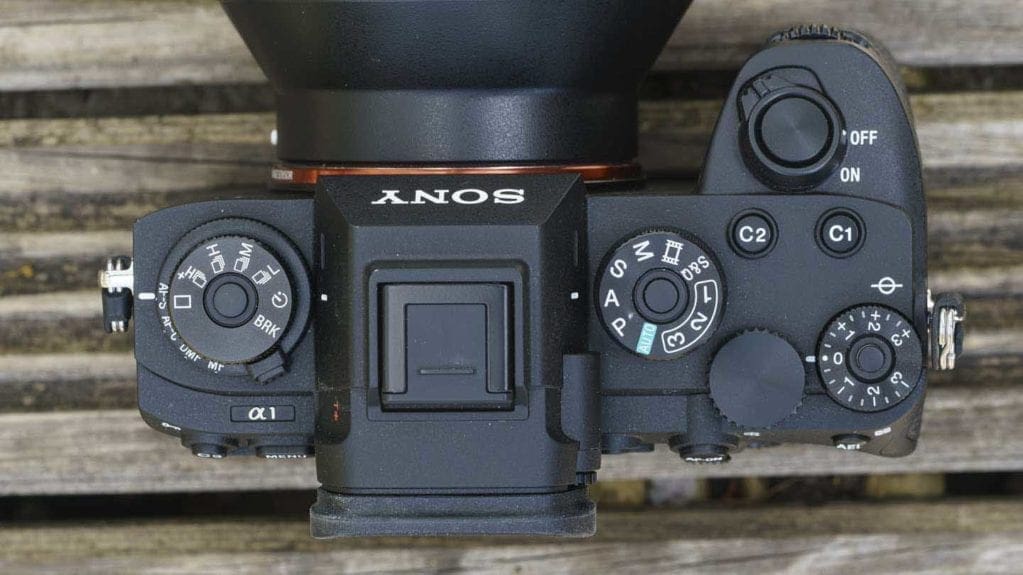
With a maximum continuous shooting rate of 30fps, and autofocus performance to match, the Sony A1 is a great choice of camera for photographing sport and action. Of course, shooting 50Mp images at 30fps gobbles through the storage capacity of the installed memory card(s), but there are times when that could make a huge difference to a professional photographer. For other occasions, the rate can be knocked back to 20, 15, 10 or 5fps.
Sony A1 image quality
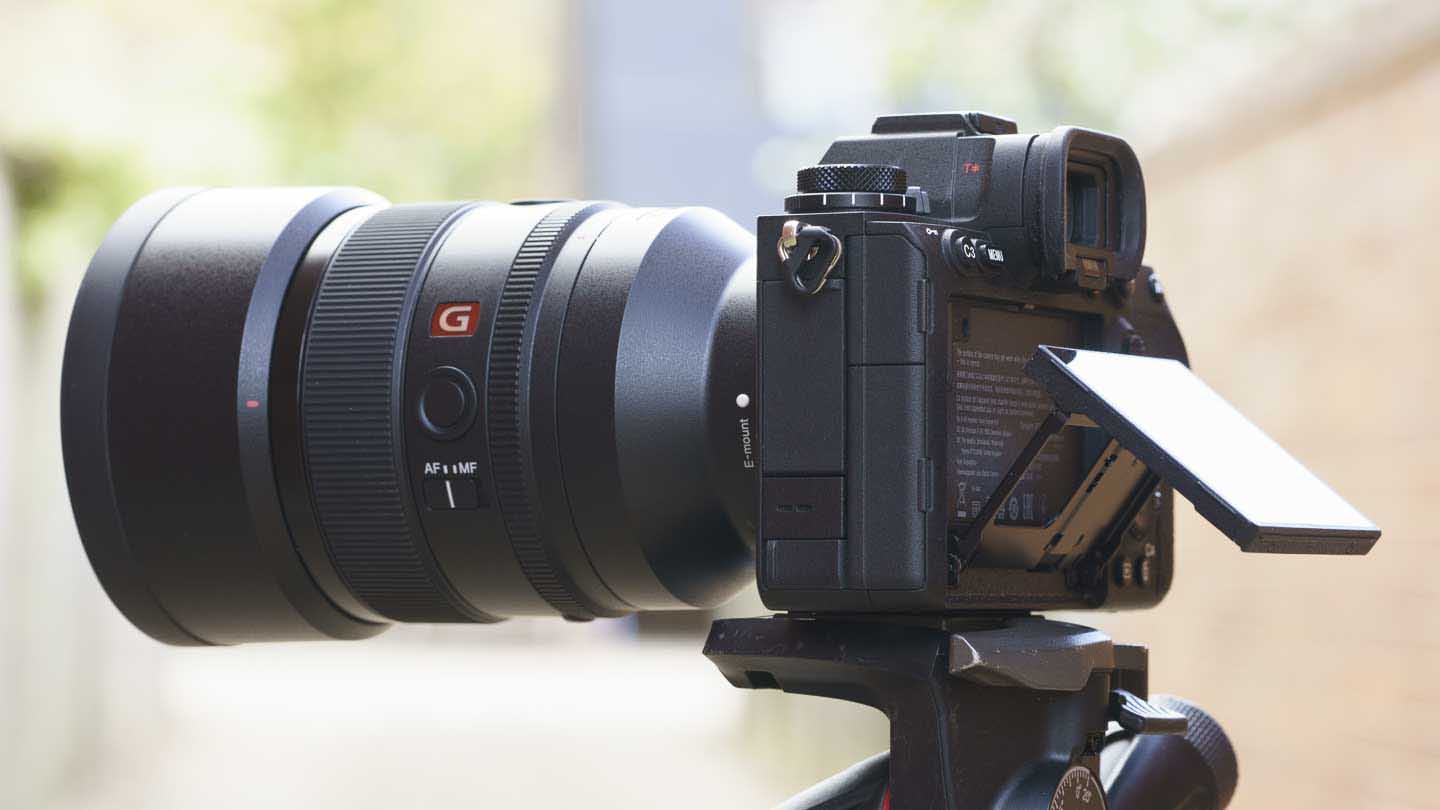
As I’ve just said, the Sony A1 is capable of delivering excellent results, especially at the lowest sensitivity settings. When it’s paired with a top-quality lens like the Sony FE 50mm f/1.2 GM, the level of detail is breathtaking.
With such a high resolution, it’s not really a surprise to see a hint of luminance noise in ISO 400 raw files when they’re examined at 100% on a computer. At more normal viewing sizes, for example, when the image is scaled to fit a 27-inch monitor, that noise is invisible and the shot looks detail-rich.
By ISO 12,800, luminance noise because apparent in even-toned areas of images sized to fill a 27-inch screen, but the results still look good. Nevertheless, zooming in to 100% reveals a significant drop in detail and sharpness.
At the maximum native sensitivity setting, chroma noise is visible when raw files are examined at 100% on-screen, but again, the results at standard viewing sizes are perfectly acceptable.
The A1 is aimed at professional photographers, including photojournalists who may need to capture images in sub-optimal conditions. While the maximum sensitivity setting of ISO 102,400 doesn’t produce especially attractive images, it could prove useful for news-gathering purposes.
Sony A1 Autofocus performance
Over the last few years, Sony has been responsible for raising our expectations of autofocus systems and changing the way that we use them – or at least Sony’s.
Although it’s not absolutely flawless, the Sony A1 seems to have an uncanny understanding of what the subject is when it’s set to its Wide Focus Area setting. When this mode is selected, the camera uses any of the AF points across the whole sensor and when the shutter button is pressed halfway, green squares appear in the viewfinder or on the screen (in stills mode) to show where the camera is targeting. In most situations, it gets it right and nails the focus.
If the camera should struggle in Wide Focus Area mode, and it does occasionally, there are other settings that enable you to narrow down the area that it uses for focusing. These include Zone, Center Fix, Spot (small, medium and large) and Expand spot. If the focus mode is set to continuous, there’s an additional Focus Are option of Tracking which can be set to Wide, Zone, Center Fix, Spot (small, medium and large) and Expand Spot.
Again, Tracking: Wide works very well in many situations, but it’s sometimes helpful to narrow down the area that’s being targeted. This is especially helpful when your subject is off-centre and other potential subjects come into the frame and are near to the camera or more central within the frame.
It’s also useful when you want to focus on a very small subject, such as a single bluebell flower. The A1 copes remarkably well with things like this, where other cameras are prone to hunting when presented with a small subject and a busy background, the A1 does a great job of getting the focus where you want it. That’s particularly important when you’re using an aperture of f1.2!
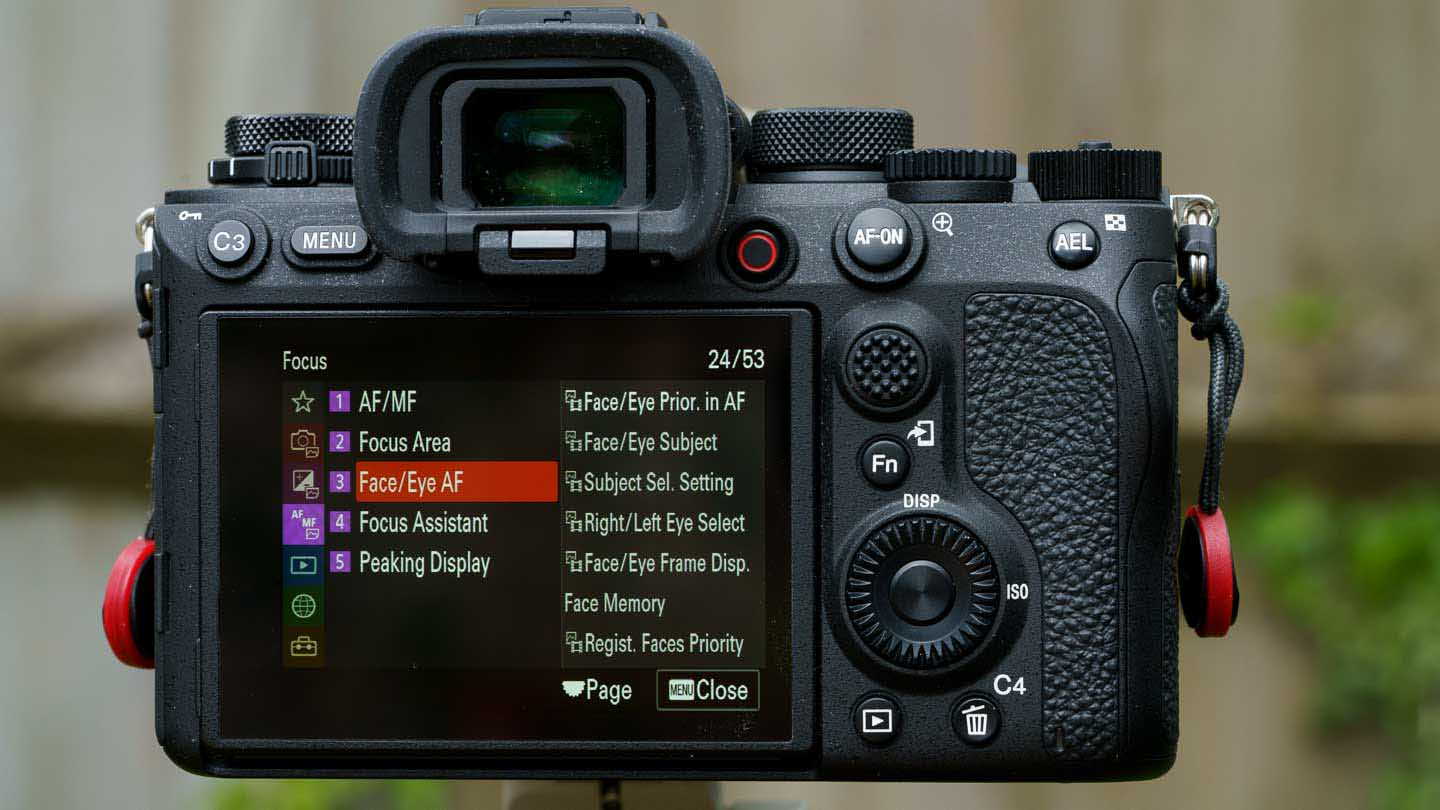
The Sony A1 offers Eye AF for birds as well as humans and animals (for stills shooting), and it’s very useful for wildlife photography. Nevertheless, human Eye AF is the most reliable and it does a great job of spotting eyes in the frame even when the subject is side-on for the camera.
Human Eye AF also works very in video mode, which makes life a lot easier for anyone shooting footage of people or in social situations.
While the A1’s Eye AF for animals is very good, it’s not quite as enthusiastic for its task as the Eye detection AF system in the Canon EOS R6 and Canon EOS R5. Canon’s system picks up eyes when they’re smaller in the frame and at a wider range of angles, but it’s close and, as I said, the Sony A1 is very good at spotting eyes.
Canon’s Eye detection AF system also has the advantage of having a ‘No priority’ setting which means it can just look for any eyes in the frame if you want. It would be nice if Sony could add this option via a firmware upgrade. In lieu of this, I used the A1’s customisation options to enable me to switch between human, animal and bird detection by pressing the focus hold buttons on some of Sony’s lenses – including the Sony FE 70-200mm f/2.8 GM OSS and FE 70-200mm f/4 G OSS.
Shooting sport with the Sony A1
Photographing and filming a rugby training session gave me a great opportunity to investigate the Human Eye AF and Tracking system when there are lots of people moving in different directions within the scene.
Firstly, it quickly becomes apparent that the Eye AF works well for sports photography. The camera was quick to spot eyes in the frame and automatically selected the one nearest the centre of the frame and/or closest to the camera for focusing, but it’s easy to switch it to another detected eye, or you can tap on the point on the screen that you want to target for focusing.
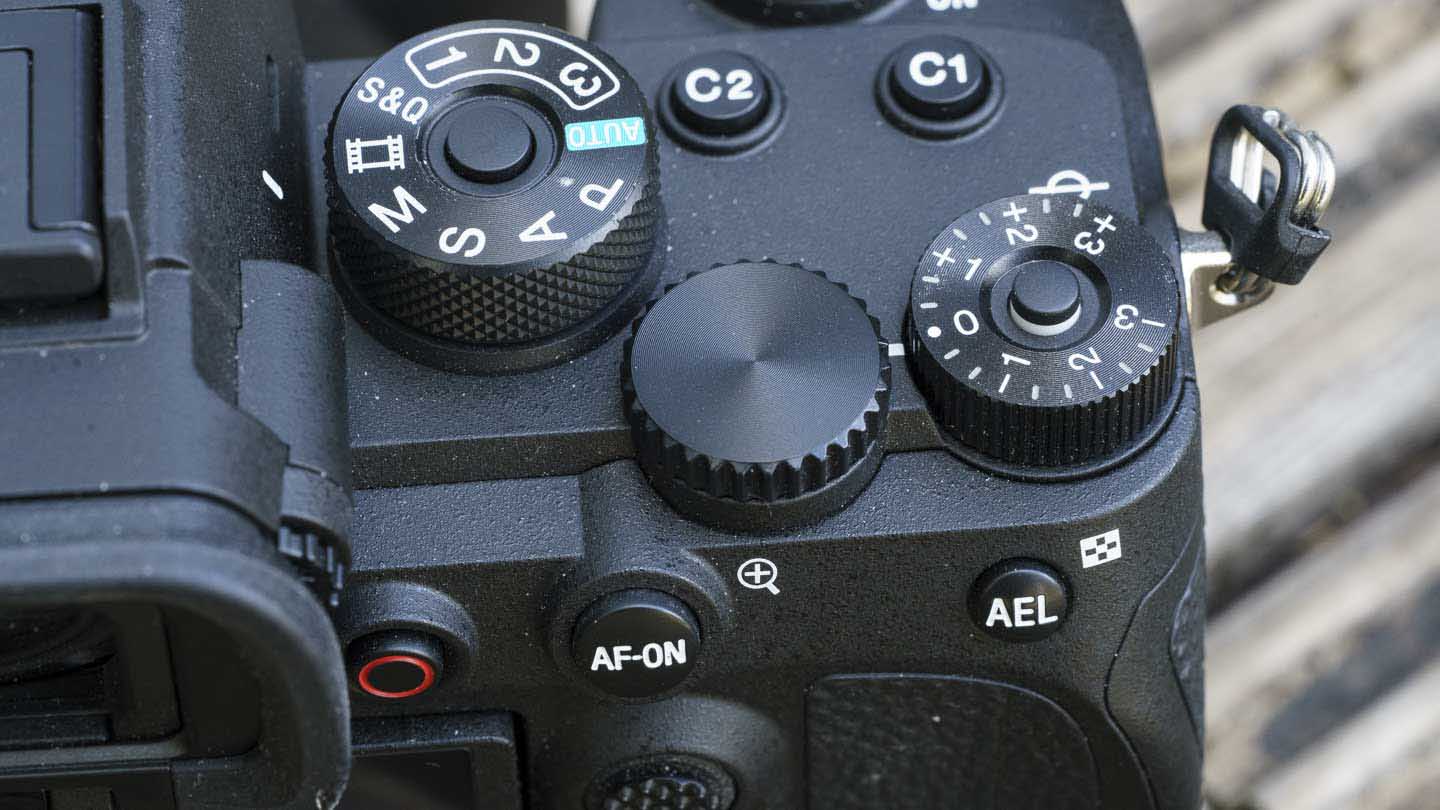
Pushing the AF Tracking Sensitivity from its ‘3 Standard’ setting to ‘1 (Locked on)’ for stills also does a great job of keeping the focus on the selected subject when something comes briefly between the camera and the subject.

Similarly, moving the AF Subject Shift Sensitivity for video from its default setting of ‘5 (Responsive)’ to ‘Locked on’, ensured the focus stayed with the selected subject while shooting video. Even when the subject was the furthest person from the camera and other people moved to the centre of the frame, the A1 stayed with the intended subject.
As the players ran around the training ground, the A1’s focusing priority order of eyes, face then subject became very clear. As the players ran towards me, their faces would be picked up quickly and as they got closer, the focusing switched to their eyes. Then, if the player turned away, the A1 could still detect the side of their eyes, but if the eyes became invisible it would switch to face detection and then as they moved further away, their body or head would become the point of focus.
Exposure and colour
With an accurate preview in the viewfinder and on the screen on the back of the A1, I had no need during my testing the switch away from the default Multi metering mode. This mode usually delivers good exposures and aside from a few situations when you might expect it to be required, I only used the exposure compensation for creative reasons.
As I mentioned earlier, the Sony A1’s auto white balance (AWB) setting is good, but in some situations, you get better results when you take control over the white balance value. On a heavily overcast day, for example, the results are a bit too realistic and a little warming produces a more attractive result. Switching to the Daylight white balance warms things nicely, but it can seem a bit too much on some occasions, and I’d probably reserve the Shade and Cloud settings for sunrise and sunset photography when I want to give images a golden hue.
Inevitably, it’s best to shoot raw files or set a custom white balance value when you’re not getting exactly what you want in-camera using the AWB setting.
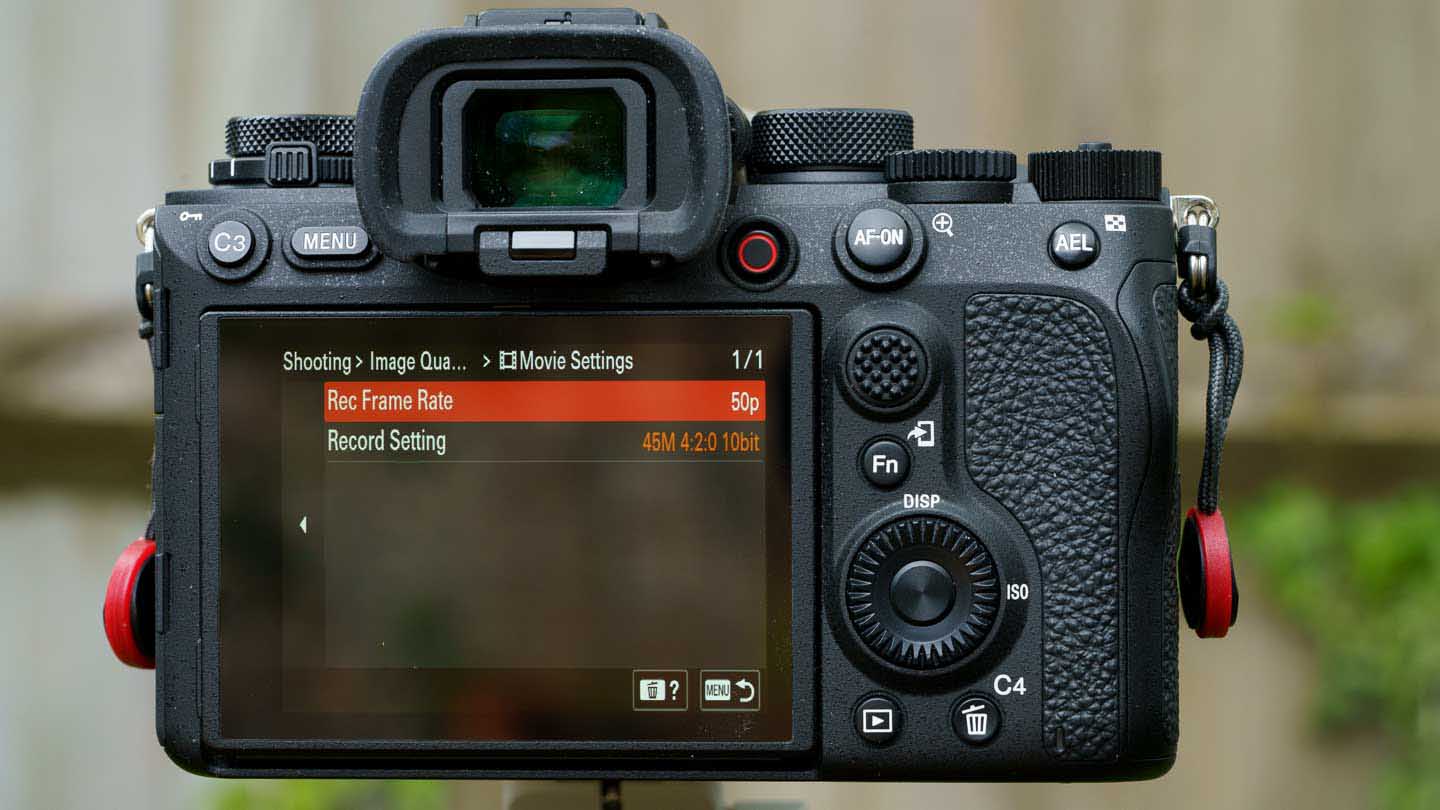
Sony A1 video performance
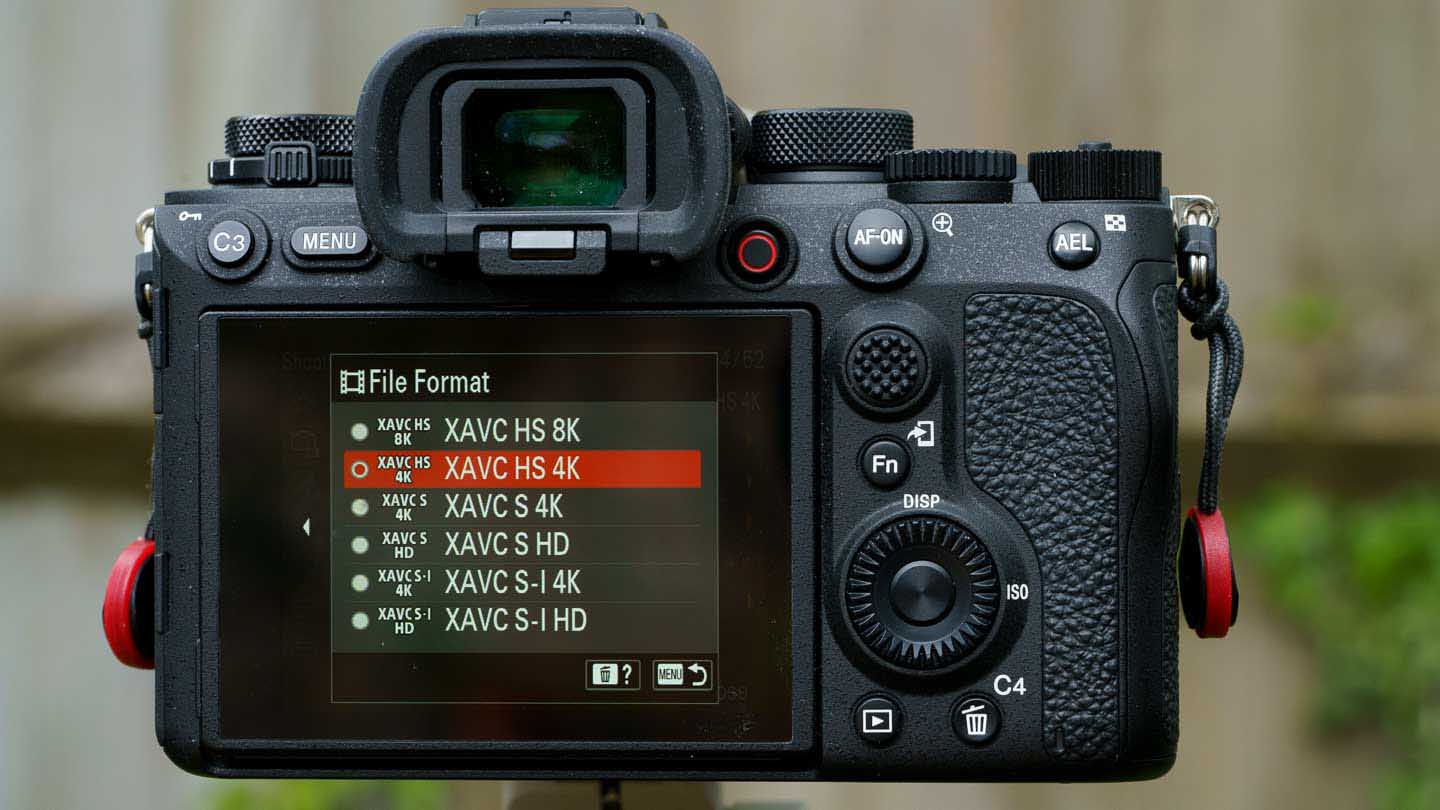
Sony has given the A1 a plethora of video options, so there’s something to suit most shooting scenarios. Whether you need the flexibility of externally recorded raw video or internally recorded 8K footage, or the convenience of Full HD or 4K video recorded with a Creative Look or a Picture Profile applied, it’s all possible.
When you’re selecting the settings that you want to use, it’s worth bearing in mind that the SteadyShot stabilisation system can’t be set to its ‘Active’ mode when the highest resolutions or frame rates are selected. If you’re shooting with the camera on a tripod or a gimbal, that won’t be a concern, but if you’re thinking of just hand-holding the camera you might want to drop the resolution to get the benefit of the digital system – bearing in mind the slight crop it applies.
It can be a frustrating business working out which combination of settings work together, but after a while, most people probably settle to just using a couple of options on a regular basis.
The quality of the results is excellent, if you want the next 4K footage it’s worth activating the Super 35 crop (1.5x) to oversample from a 5.8K area of the sensor rather than using the full sensor.
Sony’s claims for the A1’s heat dissipation hold out as I was able to shoot 38minutes of 8K footage to a UHS-II SDXC card before it gave an overheating warning and stopped recording. After a few minutes of cooling, it was ready to go again. It recorded for another 21 minutes until it needed to cool again.
The grip and the front of the camera were warm to the touch during the recording, but the camera body didn’t feel uncomfortably or dangerously hot.
In-body image stabilisation
Sony claims a maximum shutter speed compensation of 5.5EV for the A1’s SteadyShot image stabilisation. I found this a bit of a stretch with the Sony FE 70-200mm f/2.8 GM OSS at the 200mm end, with 4EV being closer to the mark. I got the odd image sharp at 1/3sec, which is around 6EV slower than you’d expect to use, but increasing the speed to 1/13sec (4 stops slower than you’d normally expect to use), I got around 50-60% of my images acceptably sharp.
In video mode, however, the A1 coped remarkably well with SteadyShot set to its ‘Standard’ mode when the same lens was mounted. I was using the lens hand-held, while I stood still or occasionally rested my hands on a post or rail as they supported the camera, and while there’s some movement, the results are better than I expected and better than I’ve seen from some other cameras at such long focal lengths. Switching on the ‘Active’ mode smooths things out a bit more albeit at the expense of a slight crop to the framing.
Dynamic Range
After shooting with the Sony A1 for a while, it becomes apparent that it doesn’t burn out highlights or block up shadows too readily. At the low sensitivity settings, its dynamic range is very good, in fact, even its Jpegs can withstand heft brightening if you should need to protect the brightest highlights. Naturally, raw files make a better choice if you want to make and post-capture adjustment.
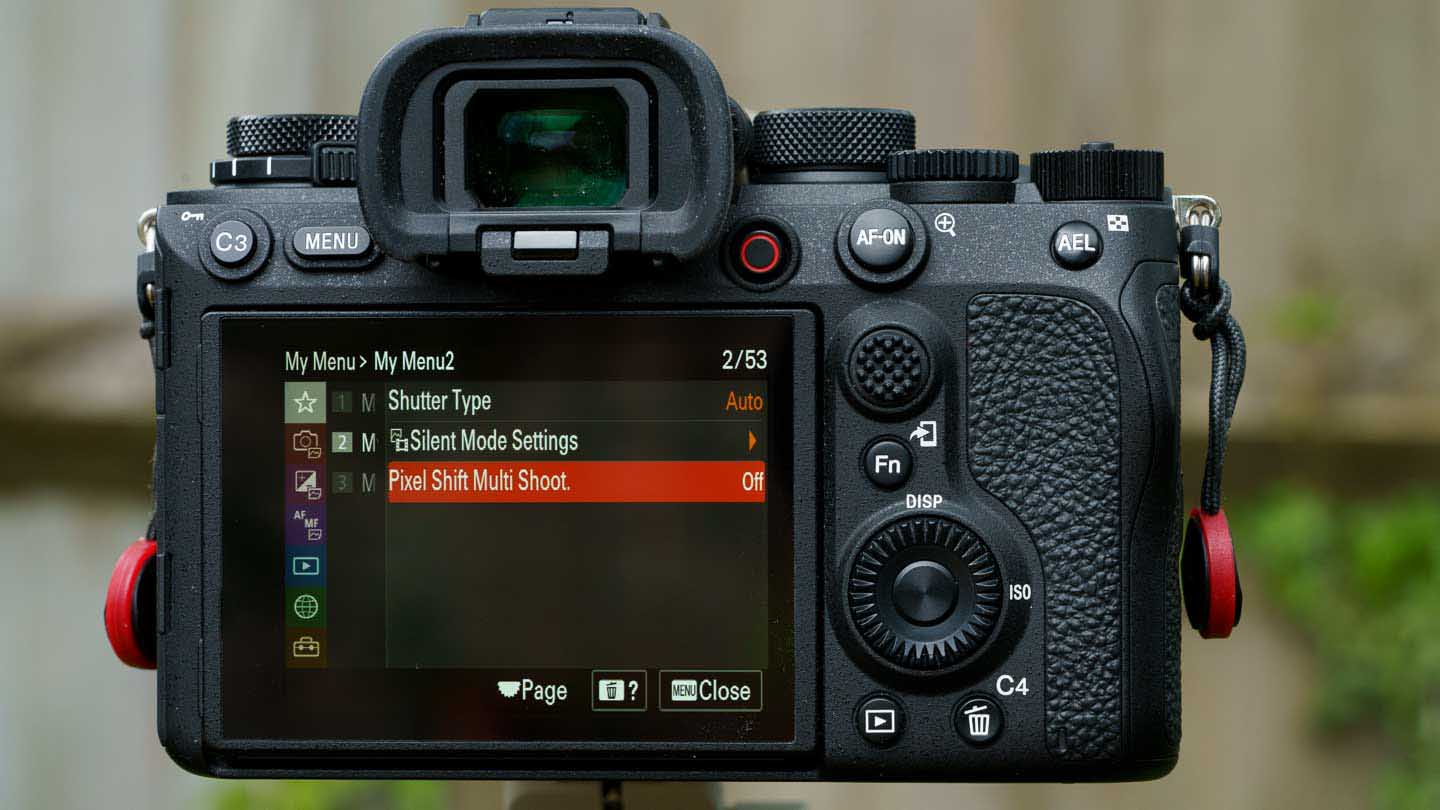
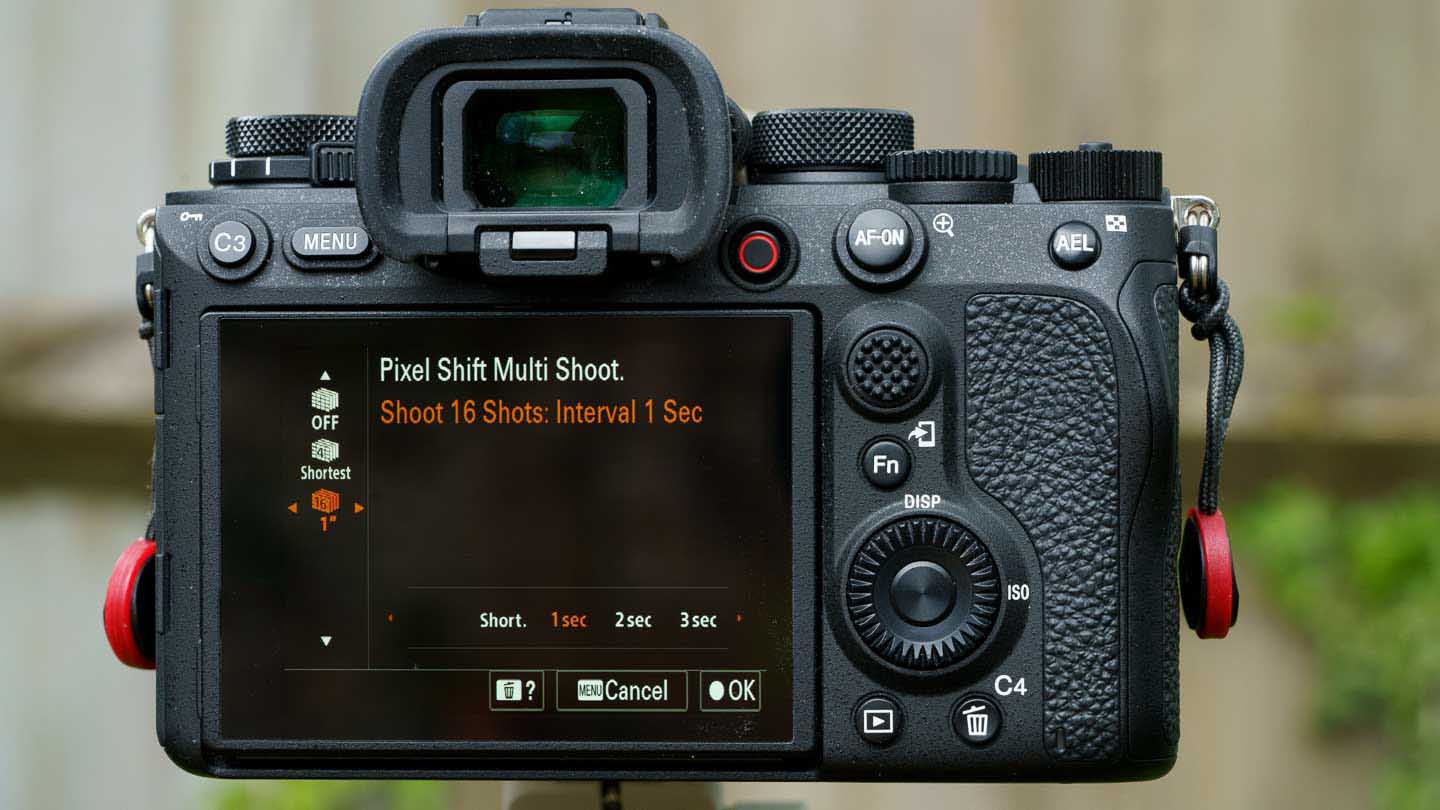
Pixel Shift Multi Shoot mode performance
There are two options under ‘Pixel Shift Multi Shoot’ in the Sony A1’s menu. The first sets the camera to capture a sequence of 4 images while the second sets it to capture 16 images. If you’re shooting raw and Jpeg or Jpeg images, the camera also switches to shooting just raw files.
The A1 doesn’t composite the image files in-camera, it just tags them appropriately so that Sony’s Viewer software recognises the mode that was used.
After the image files have been transferred to a computer or a connected drive, it’s easy to create the composite. Simply open the Viewer software, select one of the Pixel Shift Multi Shoot images and then click on File followed by ‘Create Px. Shift Multi Shoot. Composite Images (create 1 image)’ or ‘Create Px. Shift Multi Shoot. Composite Images (create 4 images from 16 images)’. You get the same choice regardless of whether you shot 4 or 16 images.
You’re then able to set the file format and storage location for the final image(s) before setting the software running.
As promised, creating a composite from 16 images results in a 199 million pixel (17,280 x 11,520 pixels) image. That means that at 300ppi, prints measure 146.3 x 97.54cm or 57.6 x 38.4 inches. However, at 100% on screen, the images have slightly more luminance noise than the individual images.
Creating a 4-image composite doesn’t change the dimensions from the camera’s native 8640×5760-pixel and at 300ppi, prints still measure 73.15 x 48.77cm or 28.8 x 19.2 inches. What you do get, however, is more detail in the images.
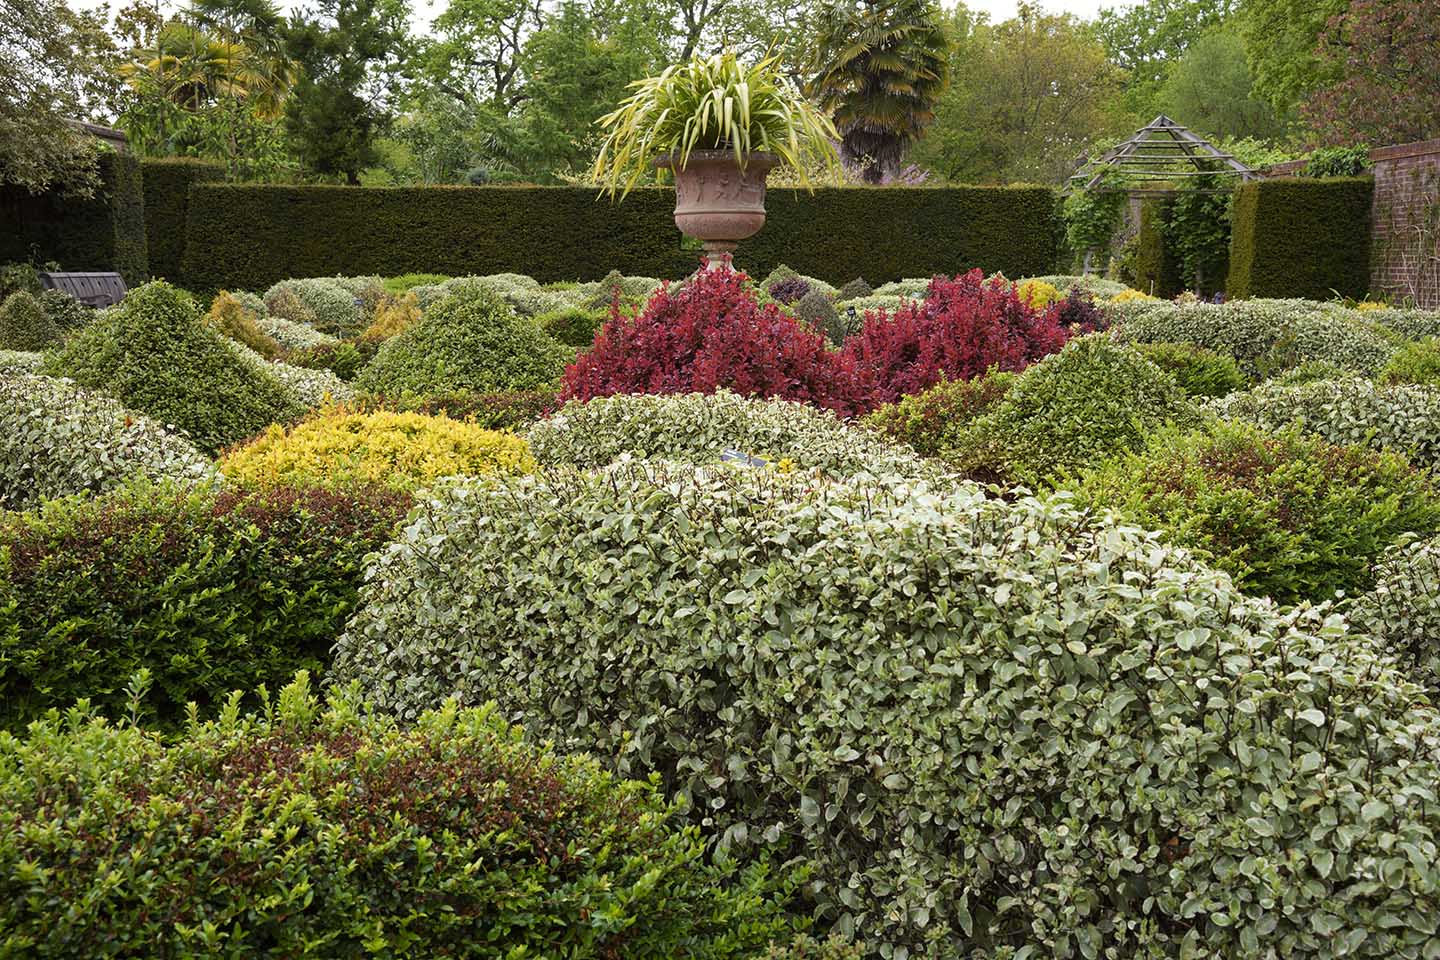
Checking images created using Pixel Shift Multi Shoot mode soon reveals that it has zero tolerance for subject movement. Any areas that move within the scene have a cross-hatch pattern. This rules out using Pixel Shift Multi Shoot mode for most landscape photography.

The image above is a tight crop of the image below which was created using the Sony A1’s Pixel Shift Multi Shoot mode set to capture 16 images which were then composited using Sony’s Viewer software. You can see the crosshatch pattern where the foliage moved in the very light breeze. There’s also a little more noise visible than in one of the individual images, which were captured at ISO 500.