After taking delivery of the BenQ PhotoVue SW271C, the first step in using it is to attach it to its stand. Thankfully, this is a pain-free experience as everything slots together quickly and easily.
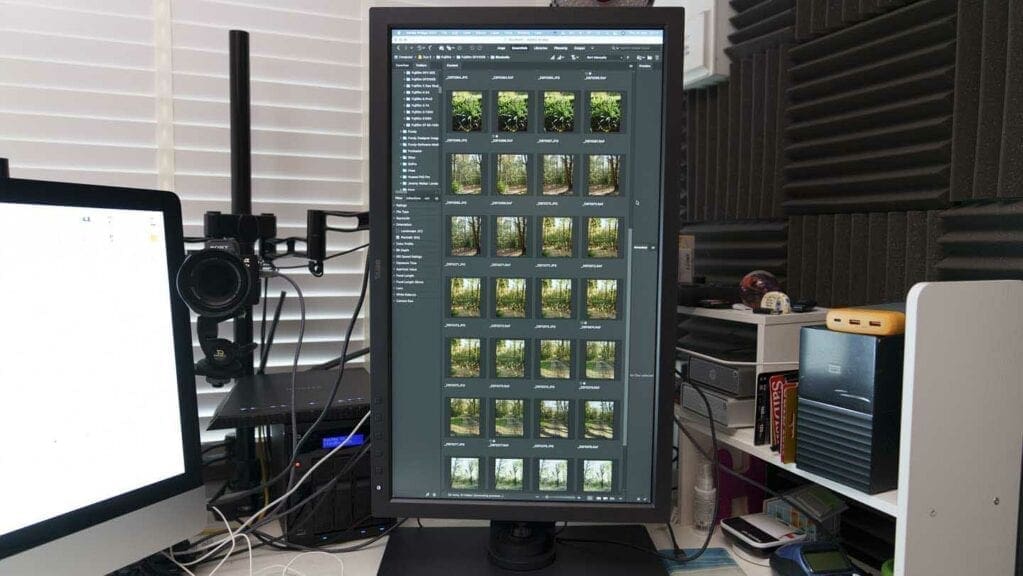
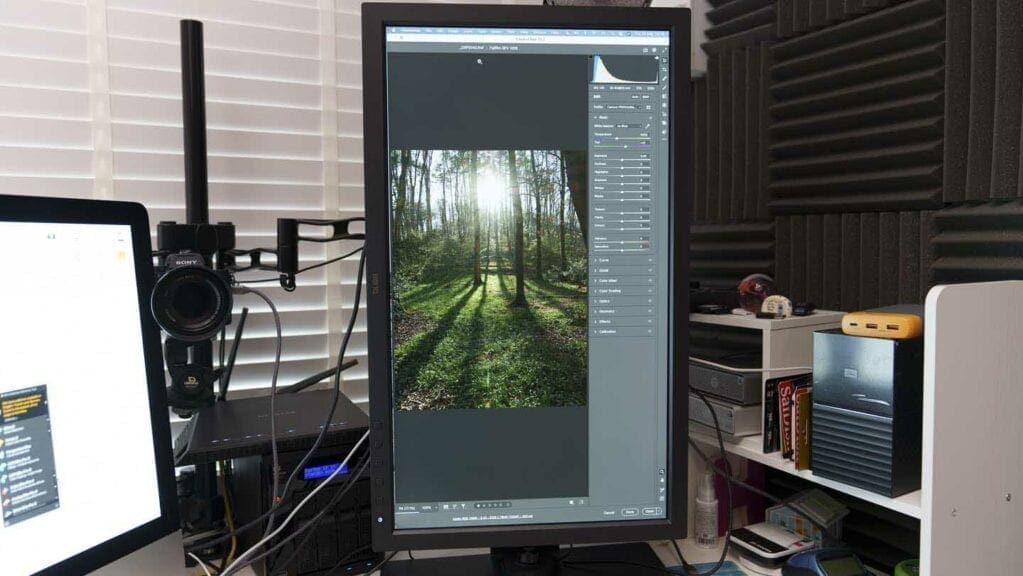
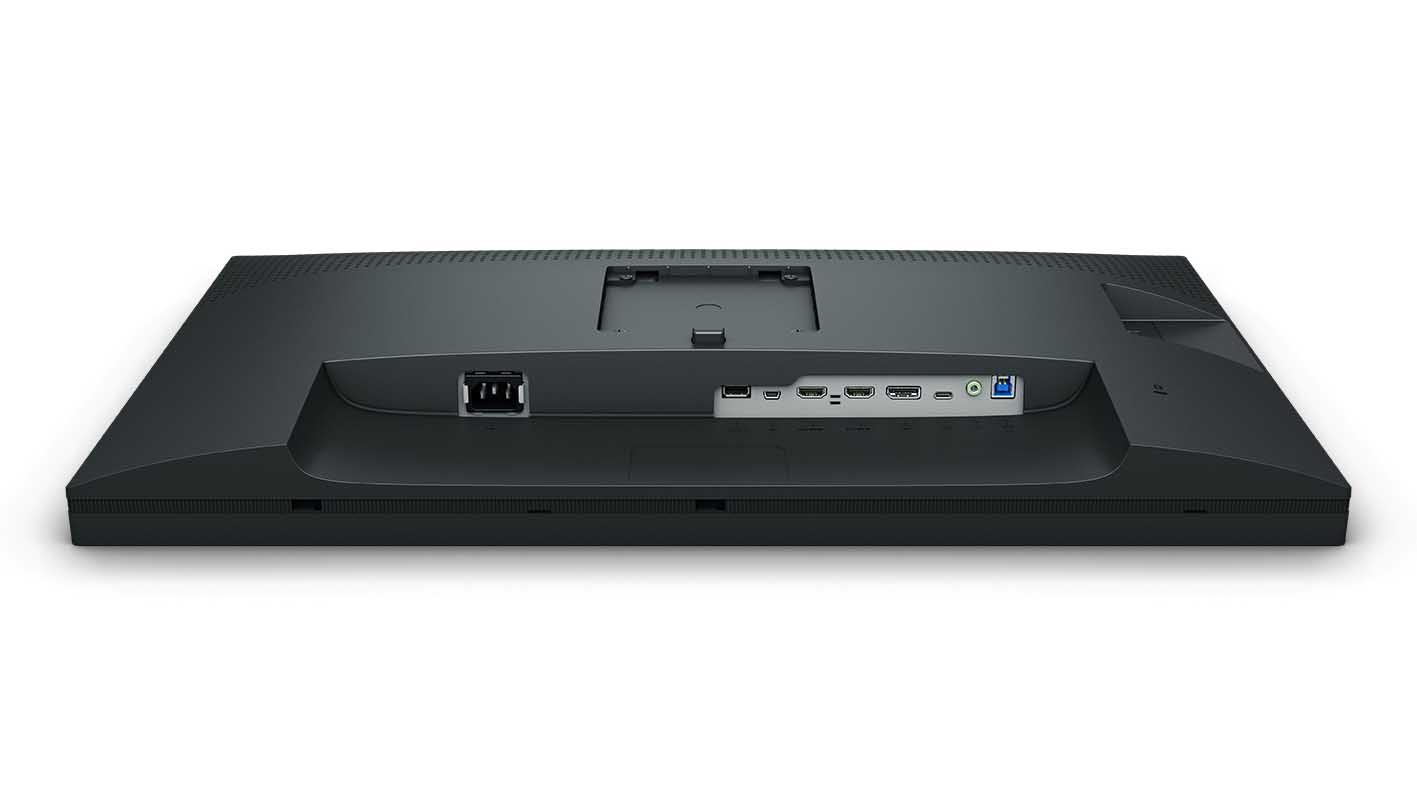
With the monitor on your desk, you then need to connect it to the power and your computer. At this point, your initial euphoria may fizzle out as you realised that the connection ports are all on the back of the screen facing down. Don’t despair, however, because the screen’s ability to switch from landscape to portrait orientation comes to the rescue. Simply rotate the screen so that the ports are on the left side.
To rotate the screen, raise it on the stand and then turn it in a clockwise direction through 90°.
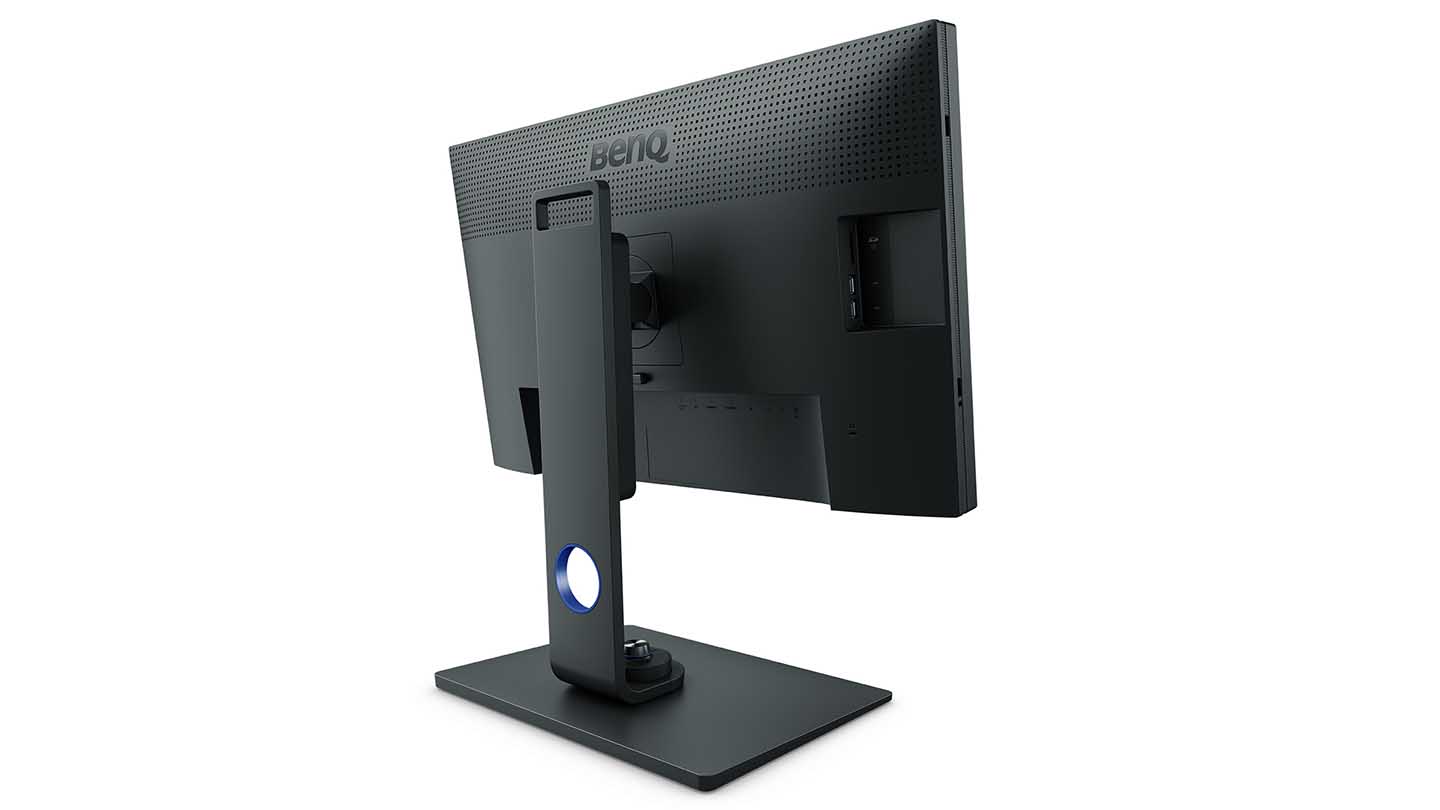
BenQ also supplied a hood that fits around the monitor whichever orientation you have it in, but it’s not designed for switching between the two orientations – or at least not quickly.
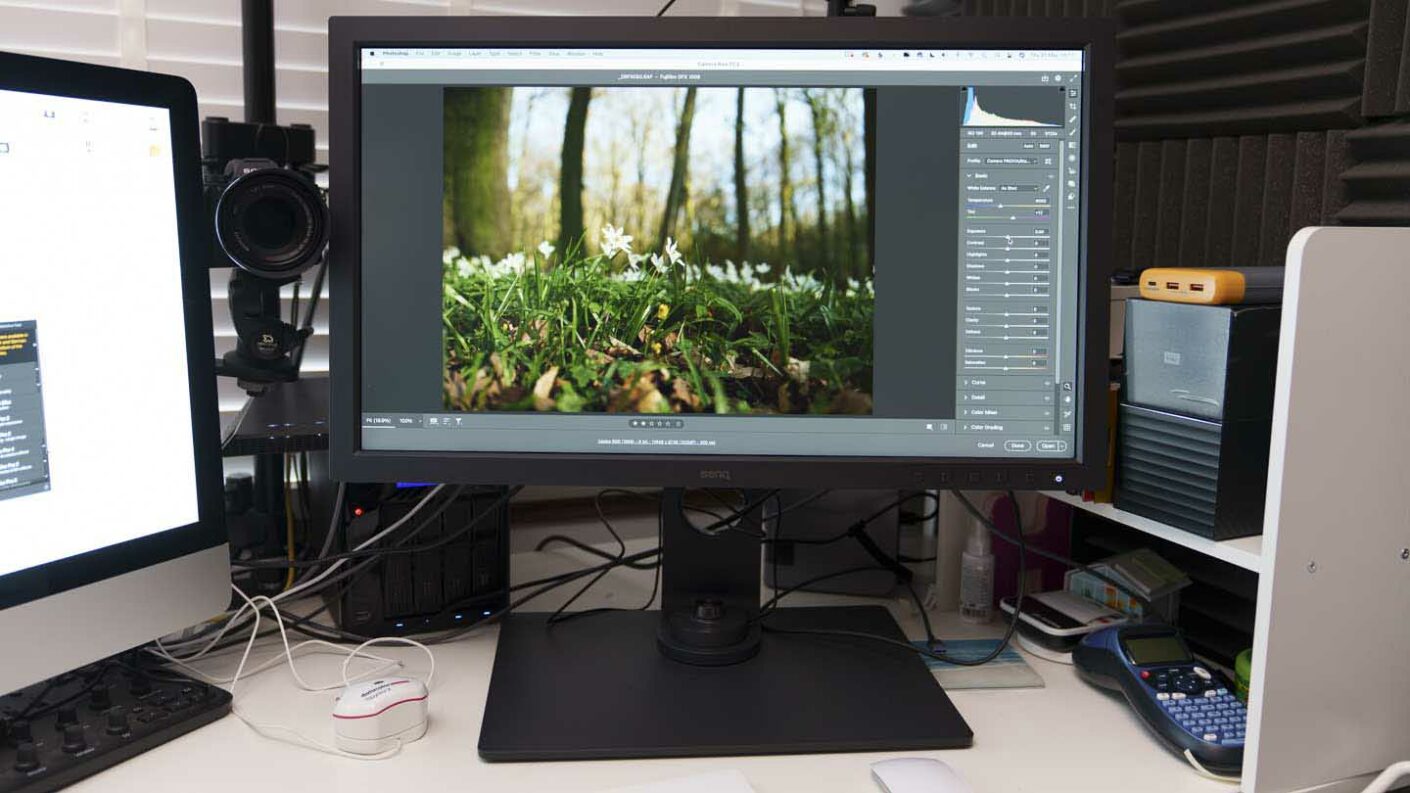
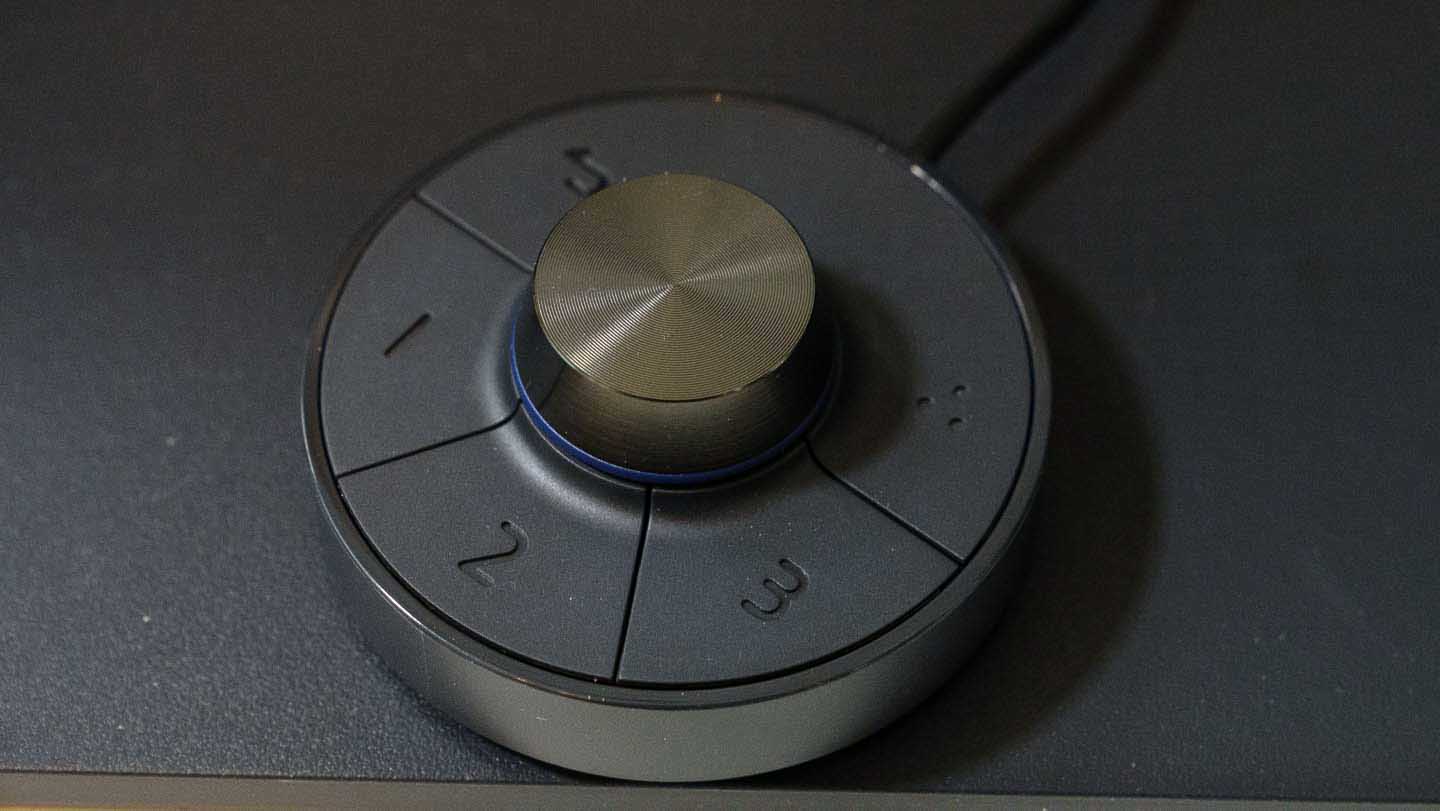
Like most computer monitors, the BenQ PhotoVue SW271C has a row of buttons on its front for adjusting the settings. However, there’s also a ‘hockey puck’ style adjusted that connects via a cable to the screen. This has a collection of five buttons around a central knob that rotates for making setting selections and is pressed for confirming the selection. It makes accessing and adjusting the monitor’s settings a bit quicker than using the buttons.
BenQ’s Palette Master Elements software is fairly straightforward to use. However, although the monitor can work with an HDMI connection to the computer, Palette Master Elements needs a USB-C connection to the computer to recognise the calibration device.
As usual, there are a few setting selections to be made. You can start with the default, but you may wish to tweak them to get the results that work best for you. Once the calibrator is in place on the screen and you set the software in motion, a series of white, grey, black and coloured rectangles appear on the screen for the calibrator to measure and compare with the known values.
Once the software has gone through its calibration and validation processes, it creates a profile to make the colours match its stored values. You can switch to other profiles and colour spaces using the hockey puck controller.