


Whether you go for a Lensbaby optic-swap system using the Composer Pro II or Spark 2.0 lens housing with an interchangeable optic like the Edge 35 or Sweet 50, or a standalone lens like the Lensbaby Burnside 35 or Velvet 28, there are a few steps that you need to take to ensure that you get the results you want.
If you’re unsure of the difference between the various Lensbaby lenses, housings and optics, and you’re wondering which would suit your camera or photography, pop over to our buyer’s guide to the best Lensbaby lenses which explains everything you need to know.
Manual Focus and No Contacts
One of the most important thing that you need to know about Lensbaby lenses and lens housings is that as well as being manual focus lenses, they have no electrical contacts. With some cameras in their default set-up, this will stop you being able to shoot with a Lensbaby, but there’s a very simple solution.
We’ve also got a couple of tips on how to nail the focusing.
How to use a Lensbaby
01 Shoot without a lens
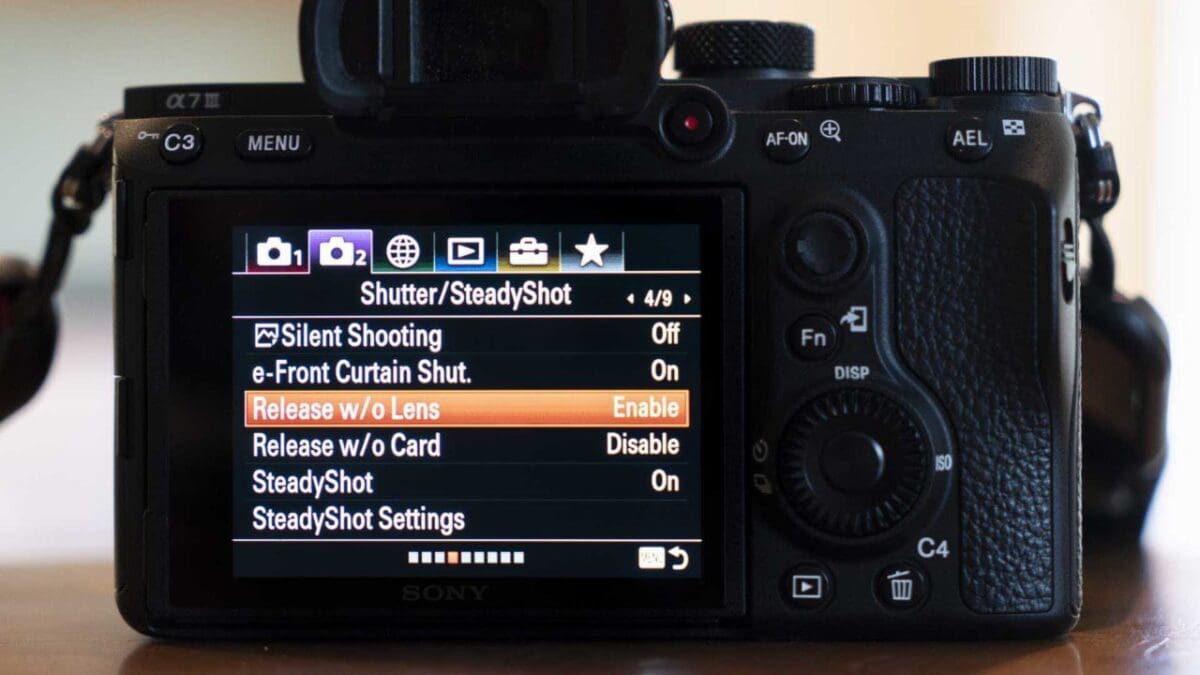
Because Lensbaby lenses don’t have any electrical contacts, your camera won’t recognise that there’s a lens mounted when you fit one. Some cameras are set by default to not capture images without a lens.
If you find you get an error message when you mount a Lensbaby on your camera, or it just won’t capture an image, there’s an easy fix. You just need to open the menu and find the option that lets you shoot or ‘release’ without a lens.
This is usually located in the set-up menu, but it can still sometimes be hard to find. Fujifilm, for example, puts ‘Shoot Without Lens’ in the Button/Dial Setting section of the Set Up menu.
03 Customise a button to magnify
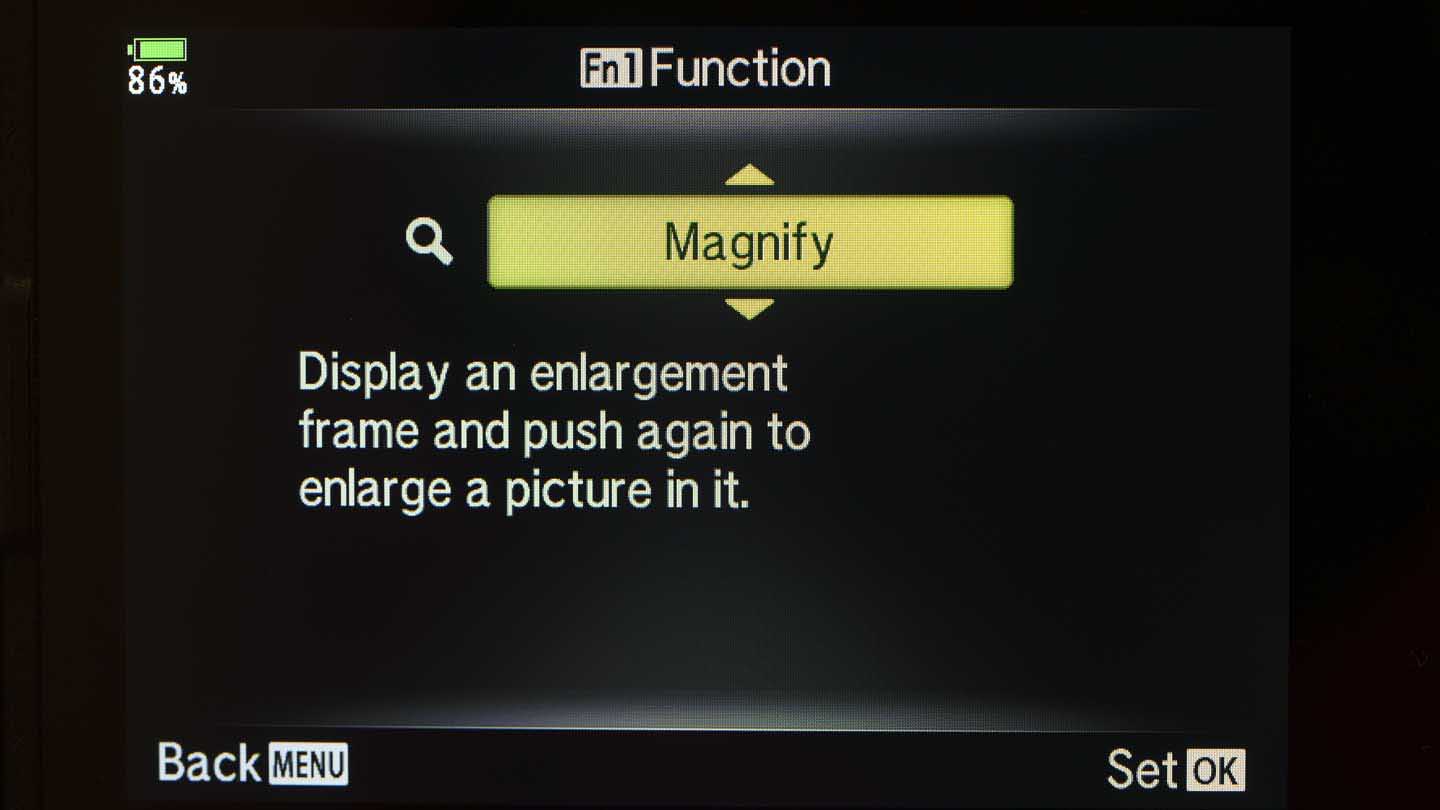
Most mirrorless cameras and some DSLRs in Live View mode have an option that sets the camera to magnify the image preview around the location of the AF point when the manual focus ring of a lens with electrical contacts is rotated.
As Lensbaby lenses have no contacts, the camera needs to be told to magnify the preview image on the screen or in the viewfinder of a mirrorless camera. This feature needs to be assigned to a button that you can press whenever you want to zoom in to focus.
03 Activate Focus Peaking
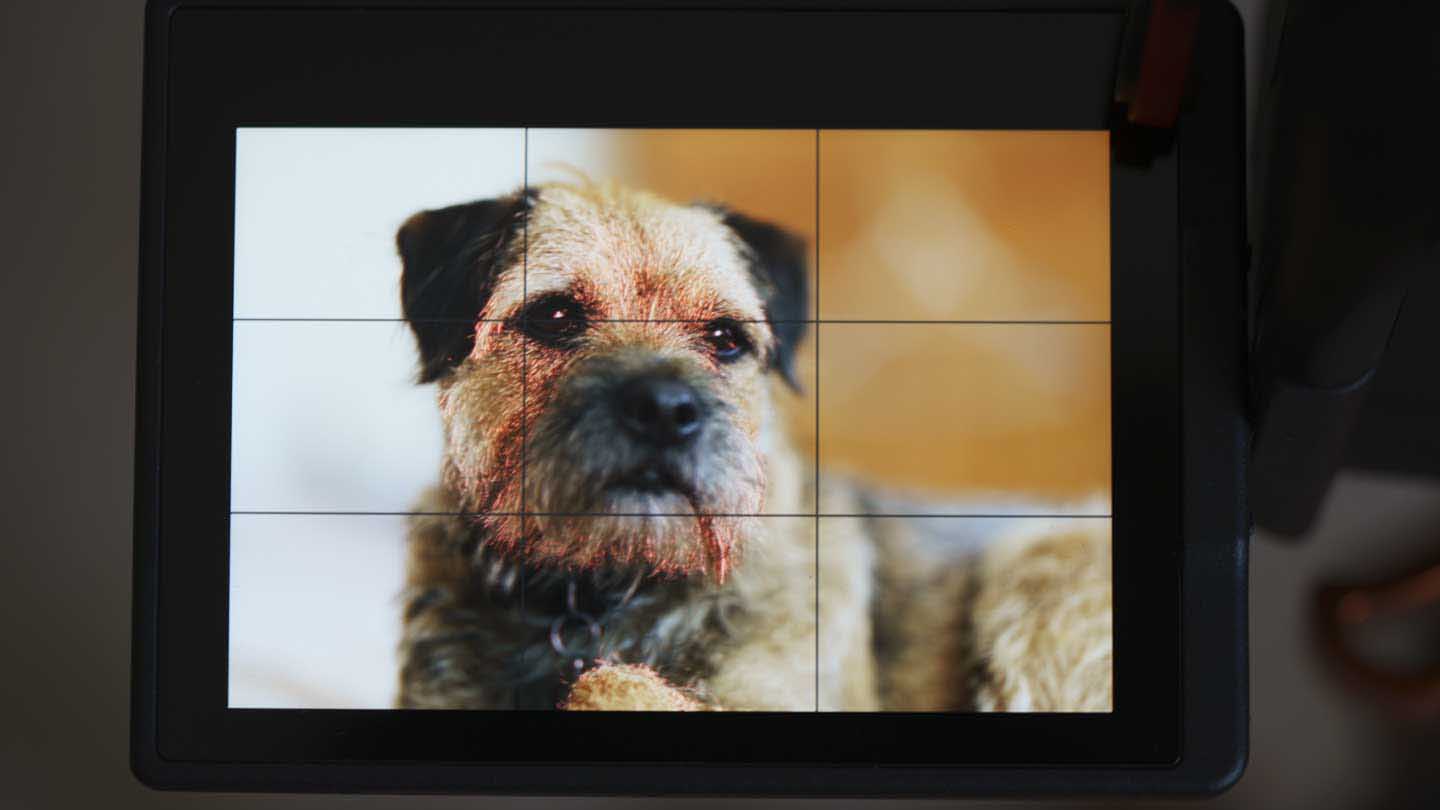
Focus Peaking is a useful manual focus aid that highlights the areas of highest contrast (usually the sharpest parts of the scene). When it’s activated via the camera’s menu, you’ll see the highlighted area move closer towards the camera or further away depending upon which way you adjust the focusing.
It’s usually possible to set the Focus Peaking indicator to one of a small number of colours, white, yellow and red are common. The Canon EOS R6’s focus peaking was set to red for the image above.
Ideally, pick a colour that contrasts with the scene that you’re shooting.
04 Rotate or Squeeze to Focus
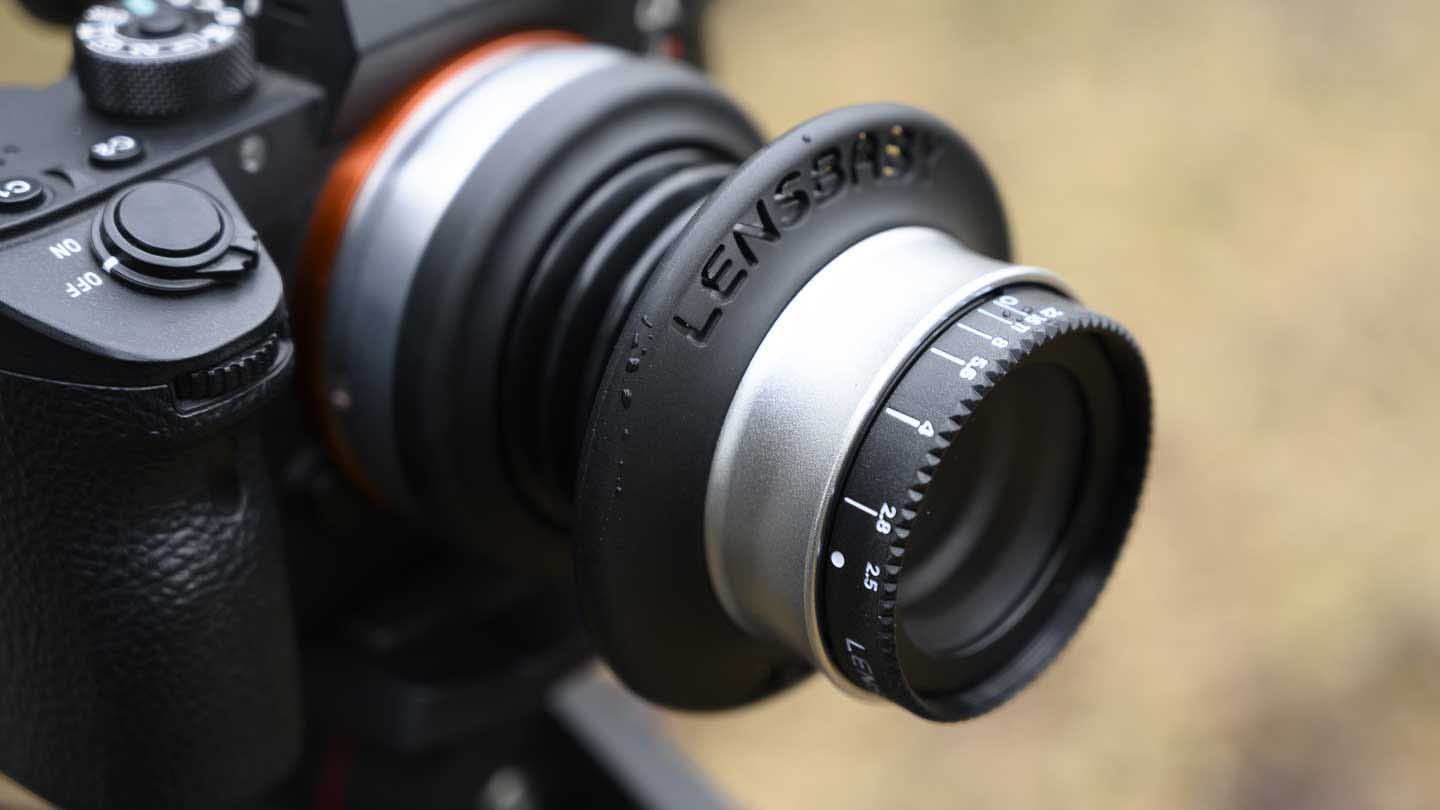
Like Lensbaby’s standalone lenses such as the Burnside 35, Velvet 85, Velvet 56 and Velvet 28, the Composer Pro II has a focus ring that you rotate to focus. The Spark 2.0 (shown above), however, is a bit different. Instead of rotating a ring, you compress or stretch the concertina-like body to focus.
You can also compress or stretch the Spark 2.0 unevenly so that it bends, shifting the point of focus around the image frame and distorting the bokeh.
The Composer Pro II also has the shifting capability but it has a ball and socket design which mean you can push or pull the lens elements in the direction you want them to point. There’s a ring that enables you to tighten the movement so it won’t shift out of position accidentally.